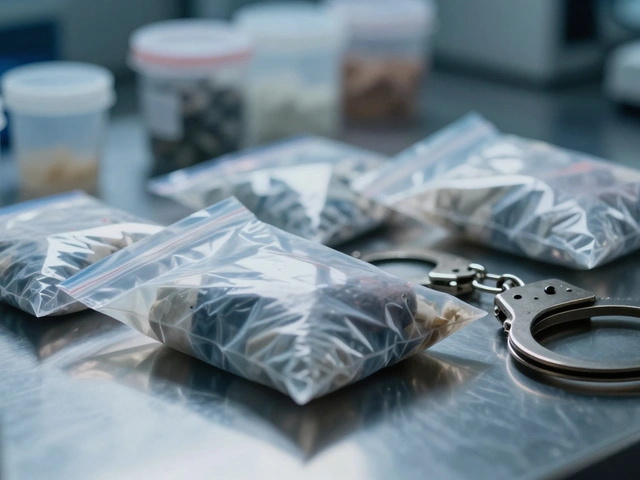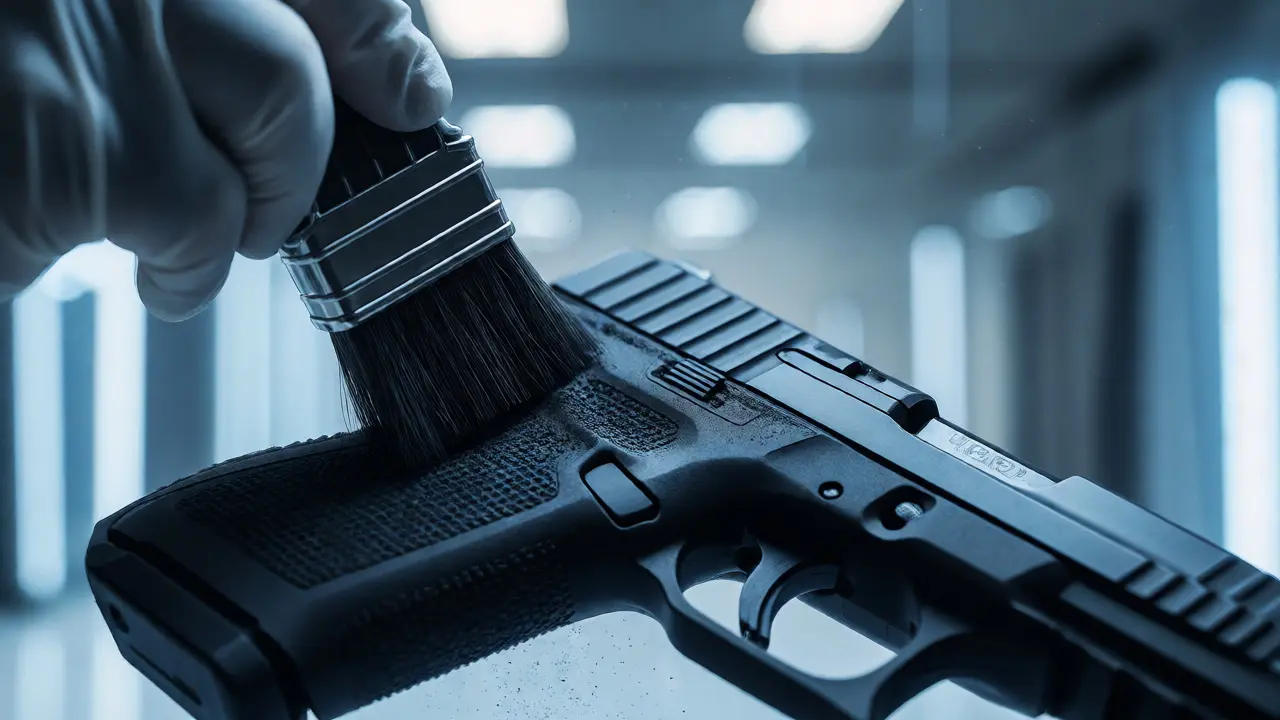
You pick up a revolver. You pull the trigger. You drop it. In less than ten seconds, you’ve left a permanent signature on the steel and wood. But here’s the catch: that signature is invisible to the naked eye, fragile, and easily destroyed by heat, humidity, or the very chemicals used to clean the weapon. Fingerprints on firearms are among the most critical pieces of physical evidence in criminal investigations, yet they are notoriously difficult to recover compared to prints on glass or paper. Why? Because guns are handled with gloves, wiped down, fired (which heats the metal), and often stored in environments that degrade biological material. If you’re a law enforcement officer, a crime scene technician, or just someone fascinated by how CSI actually works, understanding the specific challenges of recovering prints from weapons is essential.
This isn’t just about dusting for powder. It’s about chemistry, physics, and timing. A fingerprint left on a slide after a gunshot might be baked into the metal. A print on a grip might be obscured by sweat and oil. The difference between a conviction and an acquittal can hinge on whether you know which chemical reagent to use on a polymer frame versus a blued steel barrel. Let’s break down exactly how this process works, step by step, without the jargon-heavy fluff.
Why Gun Fingerprints Are Different
Before we talk about collection, you need to understand the substrate. Most modern firearms are made of three main materials: metal (steel, aluminum), polymer (plastic frames like Glock), and wood (grips). Each interacts with human skin oils differently.
Metal surfaces, particularly those with a matte finish, tend to hold ridge detail well but can oxidize over time. Polymer surfaces are non-porous but often have textured grips designed to prevent slipping. This texture is a nightmare for traditional powder lifting because the powder settles in the grooves, obscuring the actual friction ridge pattern. Wood is porous; it absorbs the amino acids in sweat, meaning the print goes *into* the material rather than sitting on top of it. You can’t just brush powder on wood and expect a clear lift. You need chemical treatments that react with the absorbed proteins.
Then there’s the environment. Firearms are often found outdoors, in rain, or near fire sources. Heat denatures proteins. Water washes away water-soluble components of sweat. If a gun was used in a struggle and then thrown into a river, standard powder methods are useless. You’re looking at advanced techniques like vacuum metal deposition or cyanoacrylate fuming. Understanding these variables dictates your entire workflow.
The Golden Rule: Sequence of Processing
One of the biggest mistakes rookie technicians make is jumping straight to the most obvious method. If you spray a gun with fluorescent dye before checking for latent prints with powder, you might ruin the evidence. There is a strict hierarchy in forensic processing, known as the sequence of processing.
- Visual Examination: First, look for visible impressions. Sometimes, blood, grease, or dirt leaves a negative impression (a patent print) that needs no development. Photograph it immediately.
- Non-Destructive Methods: Use alternate light sources (ALS) to see if any prints fluoresce naturally. Some people have lotion or sunscreen on their hands that glows under UV light. This doesn’t touch the evidence, so it’s safe to do first.
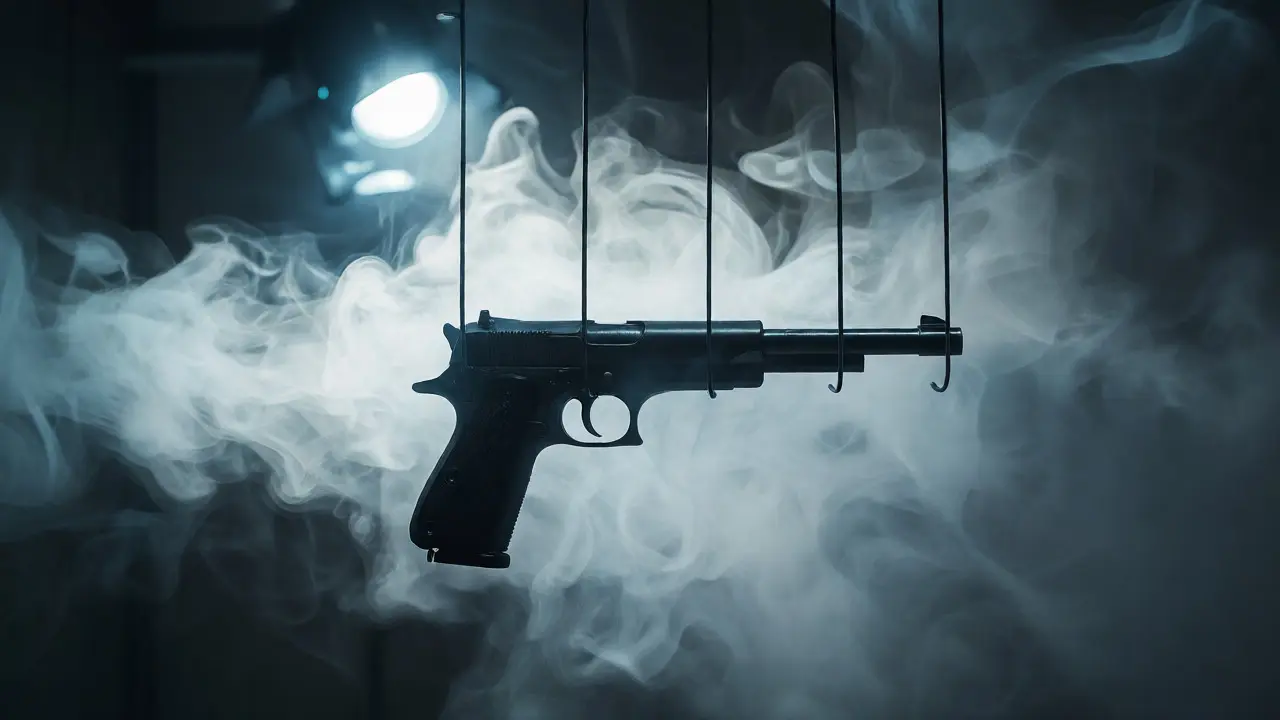
- Cyanoacrylate Fuming: If visual inspection fails, place the firearm in a fuming chamber. Super glue vapors bond with the moisture and fatty acids in the latent print, creating a white, hard residue. This stabilizes the print, making it durable enough to handle further processing.
- Dye Stains: After fuming, apply a fluorescent dye stain (like Rhodamine 6G) to the white residue. This makes the print pop against the dark metal or black polymer.
- Chemical Treatments for Porous Surfaces: For wooden grips, use Ninhydrin or DFO (1,8-diazafluoren-9-one). These react with amino acids to produce a purple color (Ruhemann’s purple).
- Physical Developers: As a last resort for wet or damp items, use a physical developer solution containing silver nitrate. It binds to the lipids in the print.
Skipping steps ruins evidence. Once you apply a liquid chemical, you cannot go back to fuming effectively. The order matters more than the tool itself.
Collection Techniques: Powder vs. Fuming vs. Chemicals
Let’s get practical. What do you actually do when you find a handgun at a scene?
If the gun is dry and indoors, start with magnetic powder. It’s gentle. Brush lightly along the grip panels and the slide. Avoid the bore and the action mechanism unless necessary, as powder inside the gun can affect ballistics analysis later. Lift the print with a low-tack adhesive tape. Low-tack is crucial because high-tack tape can pull the delicate ridge detail right off the surface, especially on textured polymers.
If the gun is cold (found outside in winter) or hot (just fired), wait. Condensation forms on cold metal, destroying prints. Let it reach room temperature. If the gun is wet, do not wipe it. Dry it gently with air or place it in a drying cabinet. Then proceed to cyanoacrylate fuming. The fuming process takes anywhere from 30 minutes to several hours depending on humidity levels in the chamber. High humidity speeds up the reaction; low humidity slows it down. Technicians often add a small amount of water to the chamber to boost humidity if needed.
For wooden stocks, powder rarely works. Instead, swab the area with a cotton tip dipped in Ninhydrin solution. Let it dry. Heat it slightly (around 60°C) to accelerate the reaction. Within minutes, pink or purple ridges appear. Photograph them in situ before trying to lift them, as the color can fade over time.
Analysis: From Ridge Detail to Identification
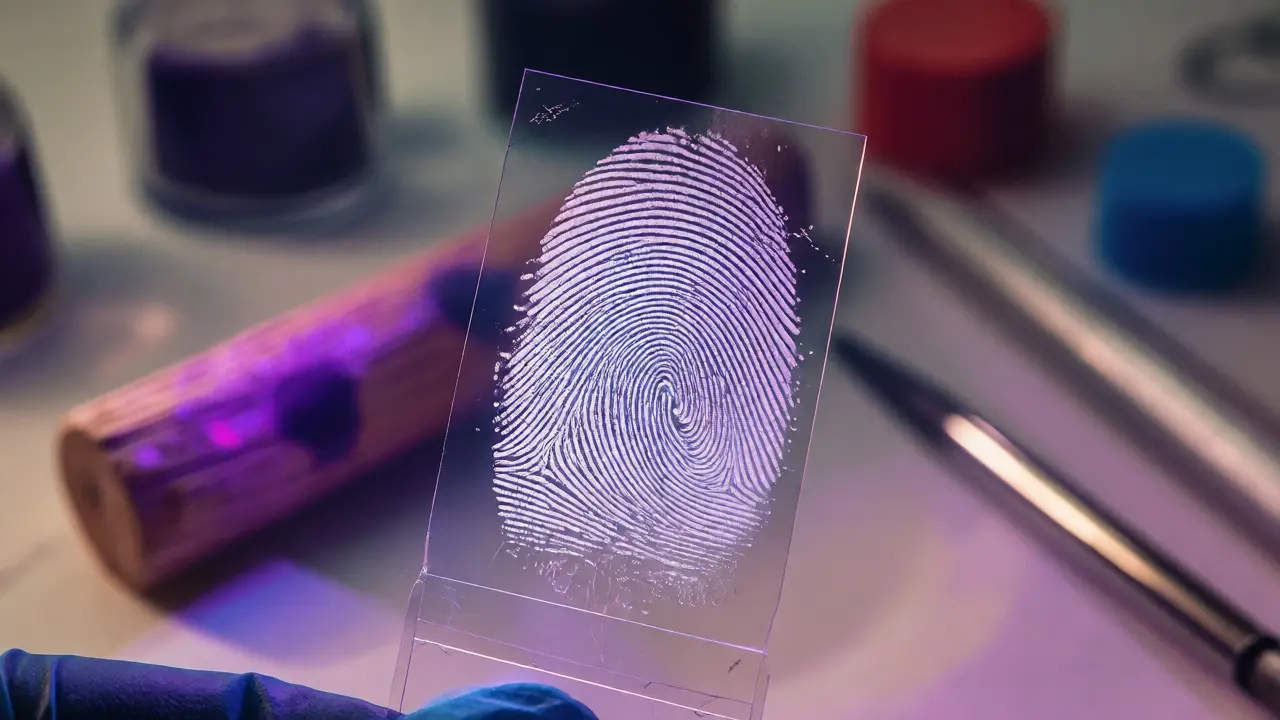
Collecting the print is only half the battle. Now you have a smudge on a card. How does that become a name? This is where the Automated Fingerprint Identification System (AFIS) comes in.
Forensic examiners don’t just compare two prints side-by-side like a child’s puzzle. They analyze minutiae points-specific features of the friction ridges. There are three main types of minutiae:
- Ridge Ending: Where a line stops abruptly.
- Bifurcation: Where one line splits into two.
- Dot: A tiny isolated island of ridge.
Modern AFIS software scans the developed print, extracts these points, and compares them against millions of records in national databases. However, automation has limits. If the print is partial-say, only 20% of the finger is visible-the computer might return hundreds of “possible” matches. This is where human expertise kicks in. An examiner looks at the quality of the ridge flow, the distortion caused by pressure, and the context of the location. Did the suspect hold the gun tightly? That distorts the print. Was it a loose grip? Cleaner lines.
It’s also vital to distinguish between the owner’s prints and a suspect’s. If a stolen gun is recovered, the registered owner’s prints will likely be all over it. The challenge is finding the “alien” print-the one that doesn’t belong to the owner or the officers who handled it during recovery. Chain of custody documentation is critical here. Every person who touches the evidence must be recorded, and their elimination prints (known prints) taken to rule them out.
Pitfalls and Preservation Challenges
Even with perfect technique, things go wrong. Here are the most common reasons firearm fingerprint evidence fails in court or lab analysis:
| Challenge | Impact on Evidence | Mitigation Strategy |
|---|---|---|
| Glove Usage | No transfer of ridge detail; only fabric fibers remain. | Analyze glove material; check for secondary transfers. |
| Heat Exposure | Denatures proteins; destroys amino acids. | Use physical developer or vacuum metal deposition. |
| Textured Grips | Obscures continuous ridge flow; breaks up minutiae. | High-resolution photography; digital enhancement. |
| Cross-Contamination | Multiple handlers create overlapping prints. | Strict chain of custody; elimination prints. |
| Environmental Moisture | Washes away water-soluble components. | Drying cabinets; hydrophobic coatings post-fuming. |
Another major issue is the “cleaning myth.” Many criminals wipe guns with household cleaners. Bleach and ammonia can strip away organic material, but they don’t always remove the lipid layer completely. Interestingly, some cleaning agents can actually enhance certain chemical reactions, though this is unpredictable. Never assume a wiped gun has no prints. Always test.
Legal Admissibility and Daubert Standards
In the US legal system, scientific evidence must meet the Daubert standard. This means the method used to develop the print must be generally accepted in the scientific community and reliably applied. Traditional powder and ninhydrin methods have decades of case law supporting them. Newer techniques, like laser ablation or mass spectrometry imaging, are still gaining traction. While powerful, they may face stricter scrutiny regarding error rates.
Juries often misunderstand fingerprint evidence. They think it’s infallible magic. It’s not. It’s probability-based science. A match is stated as “to the exclusion of all others,” based on the number of matching minutiae points. Typically, 12-16 points are required for a positive identification, though standards vary by jurisdiction. Defense attorneys frequently attack the subjectivity of the examiner’s judgment. To counter this, labs now require blind verification-a second examiner reviews the match without knowing the first examiner’s conclusion.
Future Trends: Beyond the Latent Print
We are moving toward a future where we extract more than just ridge patterns. Researchers are exploring DNA profiling directly from fingerprint residues. Yes, you can get a full genetic profile from the sweat on a fingertip. This dual-analysis approach allows investigators to identify a suspect even if the ridge detail is poor but the biological material is sufficient.
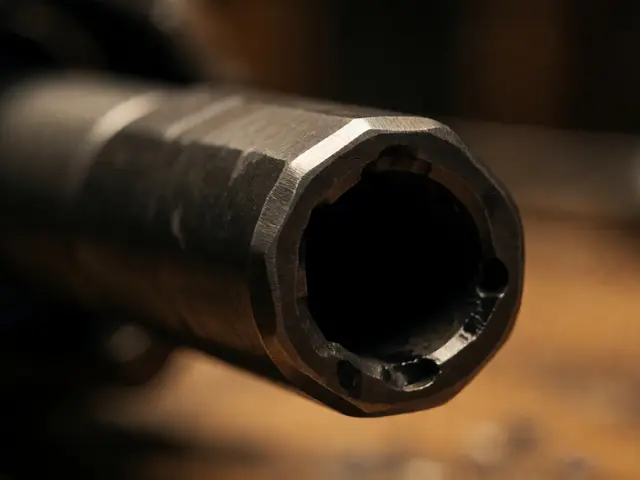
Additionally, hyperspectral imaging is being tested to visualize prints on curved, complex surfaces like gun barrels without physical contact. This preserves the integrity of the object while revealing details invisible to the human eye. As technology shrinks, portable fuming chambers and handheld ALS devices are becoming standard in patrol cars, allowing officers to secure evidence at the scene before transport, reducing degradation.
Can you get fingerprints from a gun that has been fired?
Yes, but it depends on the location. Prints on the grip are usually preserved because the hand doesn't touch the barrel. Prints on the slide or trigger may be affected by heat and carbon buildup. Cyanoacrylate fuming is often effective even on heated parts if the exposure wasn't extreme enough to burn off all organic compounds.
How long do fingerprints last on a firearm?
Indoors, on stable surfaces, prints can last months or years. Outdoors, weather factors dominate. Rain can wash them away in minutes. Sunlight (UV) degrades amino acids over days. Humidity helps preserve them by keeping the residue soft, but excessive moisture dissolves them. There is no fixed expiration date; it's entirely environmental.
Do rubber gloves leave fingerprints?
Not typically. Latent prints are formed by sweat and oil from the skin. Gloves block this transfer. However, gloves can leave behind fibers, powder residue (if worn over sweaty hands), or unique wear patterns that can sometimes be analyzed, but they do not provide standard friction ridge identification.
What is the best method for polymer framed pistols?
Cyanoacrylate fuming followed by fluorescent dye staining is widely considered the gold standard for modern polymer frames. The fuming creates a robust white deposit that adheres well to the plastic, and the dye provides high contrast against the often dark-colored frames.
Can cleaning a gun destroy fingerprints?
Aggressive cleaning with solvents, brushes, and cloths usually removes latent prints. However, if the cleaner evaporates quickly or doesn't fully penetrate textured areas, some residue may remain. It reduces the likelihood significantly but doesn't guarantee zero prints.