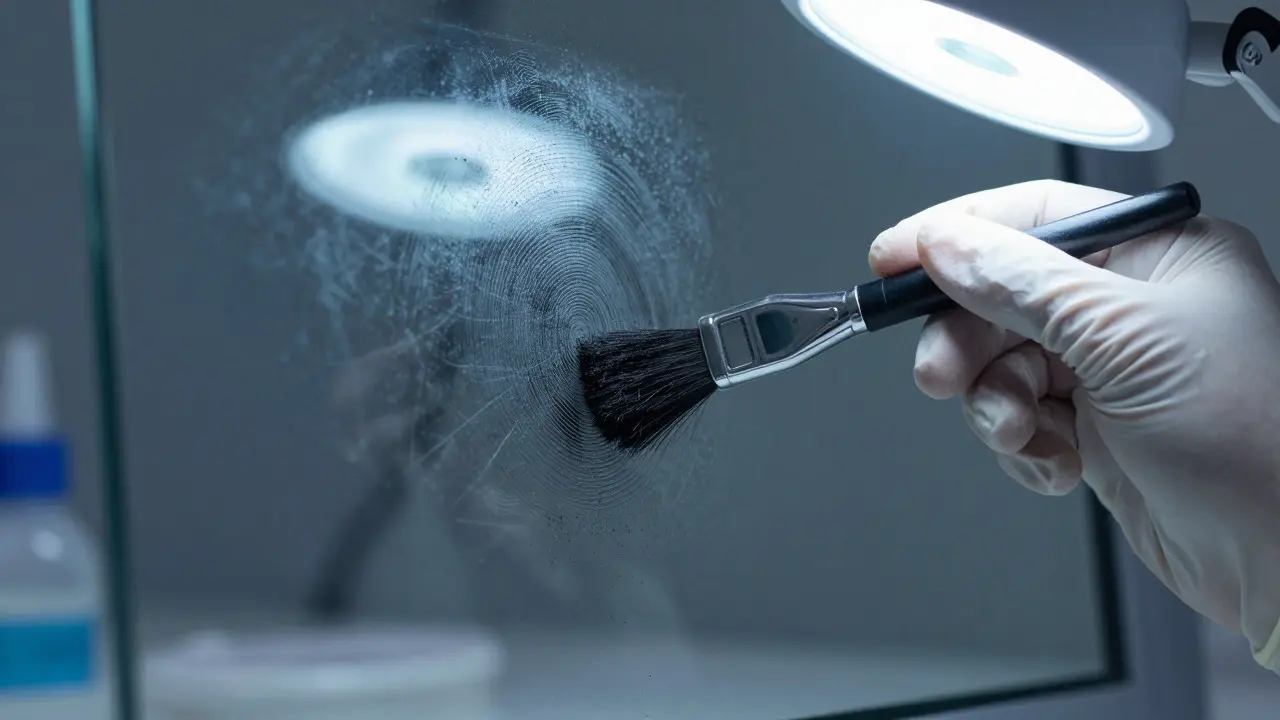
Imagine standing in a darkened room, holding a magnifying lamp over a glass window. You see nothing but your own reflection. Then, you gently apply a puff of aluminum powder, and suddenly, a clear whorl pattern emerges. That moment is why fingerprint powder remains one of the most reliable tools in Fingerprint Analysis is the scientific process of identifying individuals through their unique ridge patterns on fingers and palms.. However, picking the wrong powder for the surface can destroy evidence before it’s even lifted. This guide breaks down how to select the right technique based on the material, age, and environment of the scene.
Why Surface Compatibility Matters Most
The single biggest factor in choosing a powder method is the substrate. Not all surfaces react the same way to friction and chemical interaction. Smooth, non-porous surfaces like glass, metal, or plastic require different approaches than rough, porous materials like paper or wood. If you use a heavy powder on a delicate document, you might blot out the ink or tear the fiber. Conversely, using too light a touch on a greasy countertop will leave no visible contrast. Understanding the physical properties of the surface dictates whether you need a magnetic brush, a regular horsehair brush, or a specific powder color.
Understanding the Main Powder Types
Most crime scene investigators (CSIs) carry a standard kit containing three primary colors: black, white, and fluorescent. Each serves a distinct purpose depending on lighting and background conditions.
- Black Powder: The go-to choice for light-colored surfaces. It provides high contrast against white walls, silver appliances, or clear glass. It works well with both magnetic and manual brushes.
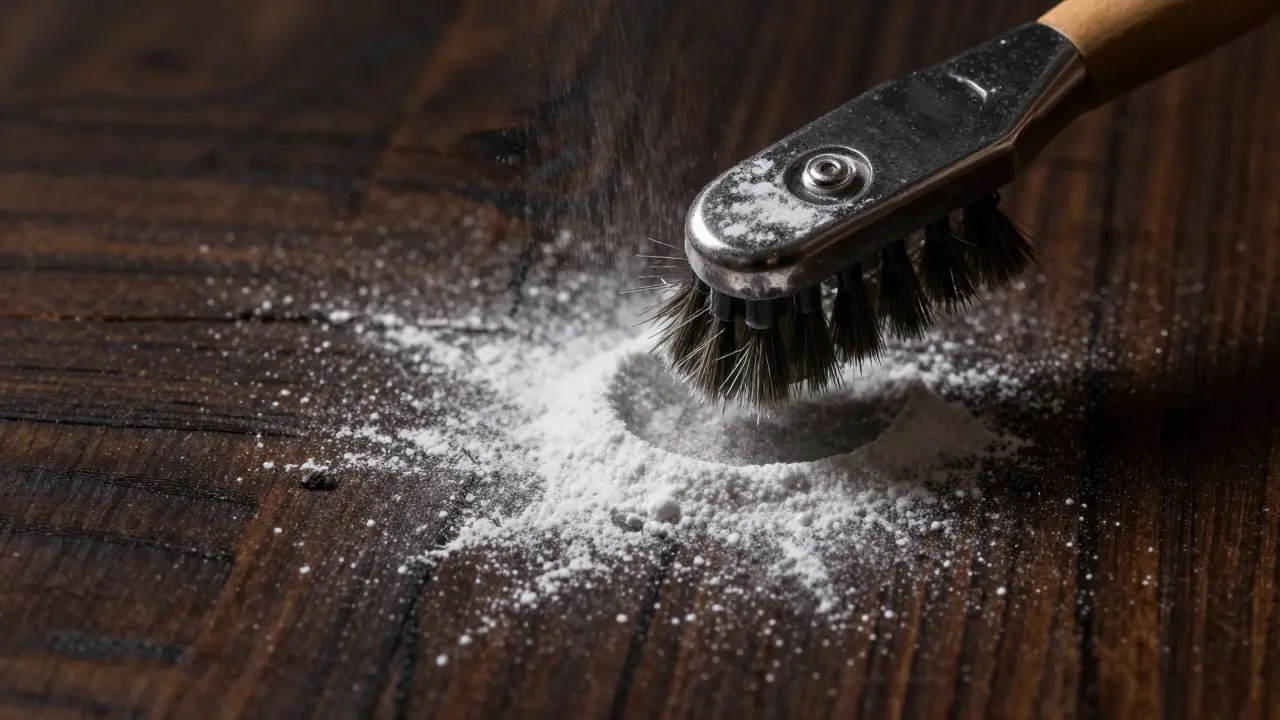
- White Powder: Essential for dark surfaces like black leather, dark wood, or asphalt. White aluminum powder stands out sharply against these backgrounds, making ridge details easier to capture in photographs.
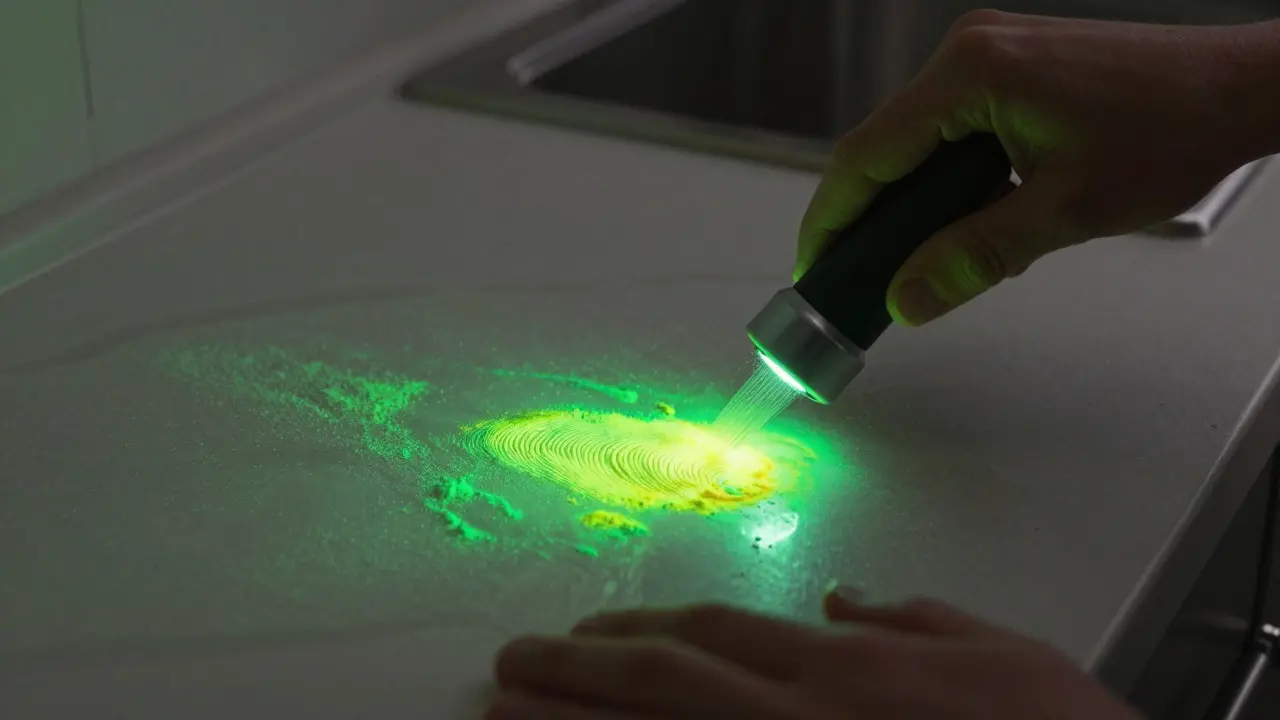
- Fluorescent Powder: Used when ambient light interferes or when the surface has a complex texture. Under UV or alternate light sources, this powder glows bright green or yellow, allowing you to visualize prints that are otherwise invisible.
Magnetic vs. Non-Magnetic Brushes: Which to Use?
This is where many new technicians make mistakes. The type of brush determines how much control you have over the powder application.
Magnetic Brushes contain iron particles mixed with the pigment. When you move the magnet inside the handle, the powder floats slightly above the surface, reducing friction. This makes them ideal for fragile surfaces like wet cardboard, old documents, or painted walls. Because the powder doesn’t drag across the surface, you minimize the risk of smudging existing prints or damaging the substrate. However, they require more practice to master. If you hold the magnet too close, the powder clumps; if too far, it won’t adhere properly.
Non-Magnetic Brushes (typically made from horsehair or synthetic fibers) rely entirely on the technician’s hand pressure. They offer direct contact with the surface, which can be beneficial for very smooth, hard surfaces like polished steel or ceramic tiles. The advantage here is precision. You can feel exactly where the ridge detail is forming. But the downside is higher friction. On sensitive surfaces, a heavy-handed stroke with a non-magnetic brush can wipe away a partial print. For this reason, many seasoned CSIs prefer magnetic brushes for initial processing and reserve non-magnetic ones for final detailing on robust surfaces.
Step-by-Step Application Process
Regardless of the powder type, the technique follows a consistent logic. Follow these steps to ensure maximum clarity:
- Inspect the Area: Before applying anything, look at the surface under oblique light. Identify potential print locations. Note any moisture, grease, or dust. Wet surfaces often need drying first, unless you are using a specialized wet-scene powder.
- Select the Powder: Match the color to the background. Light surface? Use black. Dark surface? Use white. Complex or low-light? Use fluorescent.
- Choose the Brush: Start with a magnetic brush for general areas. Switch to a non-magnetic brush only if you need extreme detail on a durable surface.
- Apply Lightly: Load a small amount of powder onto the brush. Tap off excess. Sweep the brush lightly across the area. Do not press down. Let the powder settle into the ridges naturally.
- Check Contrast: Step back and view the area from different angles. If the print is faint, add another layer. If it’s too dark, use a clean, dry brush to sweep away excess powder.
- Lift Immediately: Once the print is visible, lift it with adhesive tape or a lifting card while it is still fresh. Waiting too long allows environmental factors to degrade the image.
Common Pitfalls and How to Avoid Them
Even experienced technicians encounter issues. Here are the most common problems and how to fix them.
Over-Powdering: This is the most frequent error. Too much powder fills the valleys between ridges, creating a solid blob instead of a pattern. To avoid this, use less powder than you think you need. You can always add more; you cannot easily remove it without risking damage.
Wrong Color Choice: Using black powder on a dark blue shirt creates poor contrast. Always test a small, inconspicuous area first if you are unsure about the background color. A quick swatch can save hours of rework.
Ignoing Moisture: Applying powder to a wet surface can cause the powder to dissolve or slide. If the surface is damp, wait for it to dry or use a fan to accelerate evaporation. In urgent cases, some kits include water-soluble powders designed specifically for wet scenes, but these require immediate lifting.
Comparison of Techniques by Scenario
To help you decide quickly at the scene, consider this breakdown of scenarios versus recommended methods.
| Surface Type | Recommended Powder | Brush Type | Key Consideration |
|---|---|---|---|
| Glass / Clear Plastic | Black or Fluorescent | Magnetic | Low friction prevents smearing on smooth surfaces |
| Dark Wood / Leather | White Aluminum | Non-Magnetic | High contrast needed; durable surface tolerates friction |
| Paper / Cardboard | Black (Fine Grade) | Magnetic | Minimal pressure required to avoid tearing fibers |
| Greasy Kitchen Countertops | Fluorescent | Magnetic | UV light helps distinguish oil from ridge detail |
| Wet Outdoor Surfaces | Water-Soluble Powder | Magnetic | Must lift immediately after application |
Advanced Tips for Difficult Scenes
Not every scene is straightforward. What happens when the surface is textured, like brick or concrete? In these cases, traditional powdering often fails because the texture obscures the fine ridge detail. For rough surfaces, consider using a larger particle size powder or switching to an alternative method like cyanoacrylate fuming (super glue), which bonds directly to the sweat components rather than relying on visual contrast. However, if you must use powder, a coarse black powder applied heavily with a magnetic brush can sometimes highlight the macro-patterns, though microscopic detail may be lost. Always document the limitations in your notes so the examiner knows what to expect.
Another challenge is aged prints. Prints older than 48 hours lose moisture and become harder to develop. In these cases, fluorescent powders work better because they don’t rely as heavily on the absorption of moisture. The fluorescence highlights the residue left behind, even if the liquid component has evaporated. Pair this with a UV lamp for the best results.
Storage and Maintenance of Your Kit
Your equipment is only as good as its maintenance. Keep powders in airtight containers to prevent clumping from humidity. Store magnetic brushes in a cool, dry place to protect the internal magnets from demagnetization. Clean non-magnetic brushes regularly with a soft cloth to remove trapped debris. A clogged brush applies unevenly, leading to inconsistent results. Regularly inspect your lifting cards and tapes for static buildup, which can attract dust before you even start working. A well-maintained kit ensures that when you step into a scene, your tools are ready to perform.
Frequently Asked Questions
Can I use the same powder for both indoor and outdoor scenes?
Yes, but be cautious outdoors. Wind can blow loose powder away, and rain can wash it off. Use a heavier hand with magnetic brushes to keep the powder suspended closer to the surface. Also, choose powders with better adhesion properties for outdoor use, such as those formulated for wet conditions.
What should I do if a print smudges during application?
Stop applying powder immediately. Do not try to "fix" it by adding more powder, as this usually makes the smudge worse. Document the smudge location, then attempt to lift the remaining clear parts of the print. Sometimes, even a partial print is enough for identification. If the entire print is destroyed, note it in your report and consider alternative methods like electrostatic lifting for textured surfaces.
How long does fingerprint powder last once opened?
If stored in a sealed container away from moisture, most commercial powders last indefinitely. However, check the expiration date on the packaging. Once opened, humidity is the main enemy. If the powder starts to clump, sift it through a fine mesh screen to break up lumps before use. Clumpy powder applies unevenly and reduces visibility.
Is fluorescent powder safe for all surfaces?
Generally, yes. Fluorescent powders are chemically inert and do not stain most materials. However, always test on a hidden area if you are dealing with antique furniture, delicate artwork, or unknown fabrics. Some dyes in the powder can interact with certain pigments over time, though this is rare with modern formulations.
Which is better for beginners: magnetic or non-magnetic brushes?
Magnetic brushes are generally recommended for beginners because they are more forgiving. The floating action of the powder reduces the chance of dragging and smudging. Non-magnetic brushes require more finesse and consistent pressure, which takes time to develop. Start with magnetic, and transition to non-magnetic only when you feel confident in your control.