Imagine finding a clear thumbprint on a wet plastic bag, a greasy metal handle, or a rough concrete wall. For most people, these spots look like smudges. But for a forensic examiner, they are gold mines of evidence. The challenge isn't just seeing the print; it's pulling it out without destroying the detail. This is where fingerprint examination gets tricky. Standard powdering techniques often fail here, leading to missed opportunities in criminal investigations.
Why Difficult Surfaces Defy Standard Methods
Most basic fingerprint training focuses on paper, glass, or smooth wood. These are "porous" or semi-porous surfaces that absorb ridge details easily. However, real crime scenes rarely offer such convenient targets. A suspect might wipe their hand on a jacket, leaving prints on synthetic fabric. They might open a door with sweaty palms, leaving residue on painted steel. Or they might touch a textured tile floor. Each of these surfaces presents unique physical and chemical barriers.
The core problem lies in how ridges interact with the substrate. On smooth, non-porous surfaces, sweat and oils sit on top. You can lift them with tape or dust them with powder. But on textured surfaces, the ridge details get trapped in the valleys of the material. If you apply too much pressure with a brush, you smear the print. If you use too little, you miss the minutiae. On porous but rough materials like unglazed brick, the moisture wicks away quickly, evaporating before you can process the area. Understanding these interactions is the first step toward successful recovery.
Identifying the Surface Type
Before touching the evidence, you need to classify the surface. This classification dictates your entire workflow. We generally categorize difficult surfaces into three groups: non-porous/textured, porous/rough, and composite/mixed.
- Non-porous/Textured: Think plastic wrap, rubber mats, or embossed metal. The surface doesn't absorb fluid, but its texture complicates optical clarity.
- Porous/Rough: Concrete, unsealed wood, or canvas. These absorb sweat rapidly, making timing critical.
- Composite/Mixed: Painted walls (paint over plaster), laminated countertops, or leather goods. These have multiple layers that react differently to chemicals.
Misidentifying the surface is a common rookie mistake. Treating a rough concrete wall like a smooth glass window leads to over-dusting and loss of fine detail. Conversely, treating a delicate synthetic fabric like sturdy metal can tear the fibers and distort the print shape.
Techniques for Non-Porous and Textured Substrates
For non-porous surfaces, the goal is contrast without displacement. Traditional black powder works well on smooth glass, but on textured plastic, it fills the grooves and creates a solid black blob rather than distinct ridges. In these cases, alternative powders and lighting become essential.
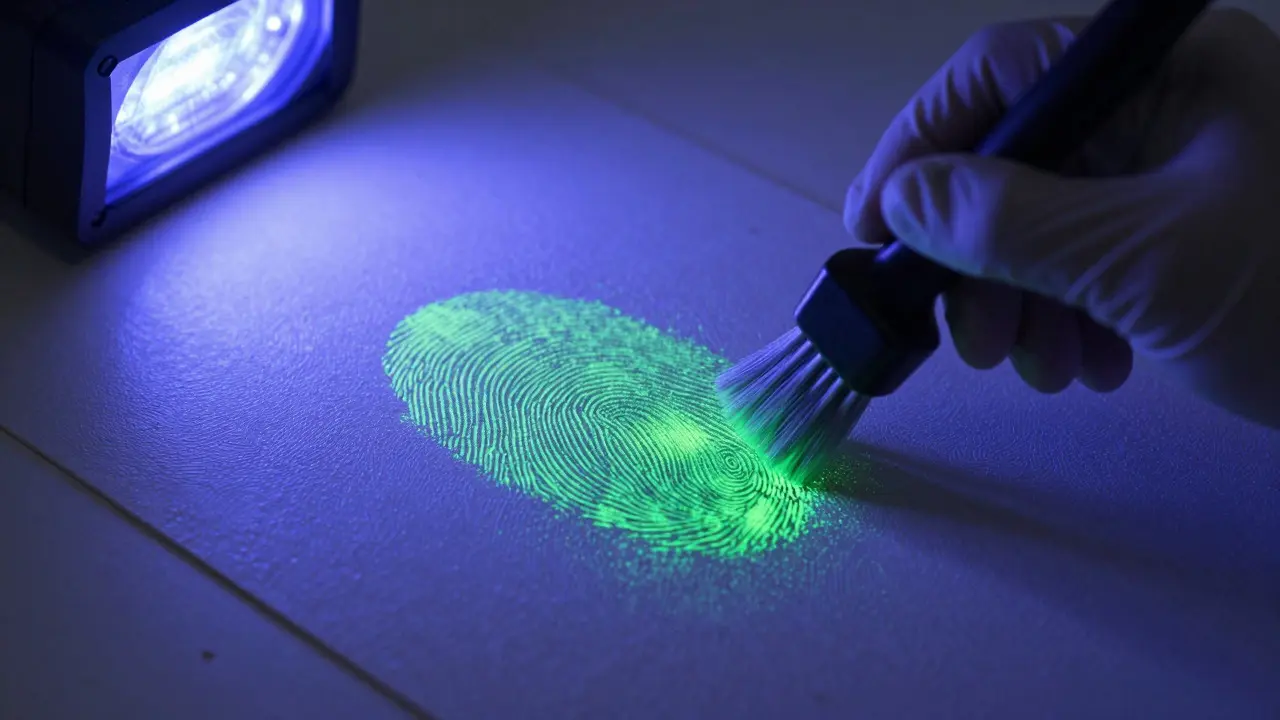
Fluorescent powders paired with UV or alternate light sources (ALS) are game-changers. When excited by specific wavelengths, the powder glows brightly against the dark background of the textured surface. This allows examiners to see ridge flow even when the physical texture would normally obscure it. Similarly, laser light sources can reveal prints based on fluorescence from natural residues, bypassing the need for physical application altogether.
Another powerful tool is cyanoacrylate fuming, also known as superglue fuming. This technique works best on non-porous surfaces. The vapor reacts with amino acids in sweat to form white polymer deposits along the ridges. Because the reaction happens at the molecular level, it preserves fine detail even on complex textures. After fuming, you can dye the print with fluorescent dyes for enhanced visualization under ALS. This two-step process is particularly effective on items like vehicle dashboards or textured weapon handles.
Handling Porous and Rough Materials
Porous surfaces demand speed and gentleness. Since sweat absorbs into the material, you have a narrow window of opportunity. If the print is fresh, direct visualization using oblique lighting or ultraviolet light might be enough. No powder, no lifting-just photography. This non-invasive approach preserves the original state of the evidence.
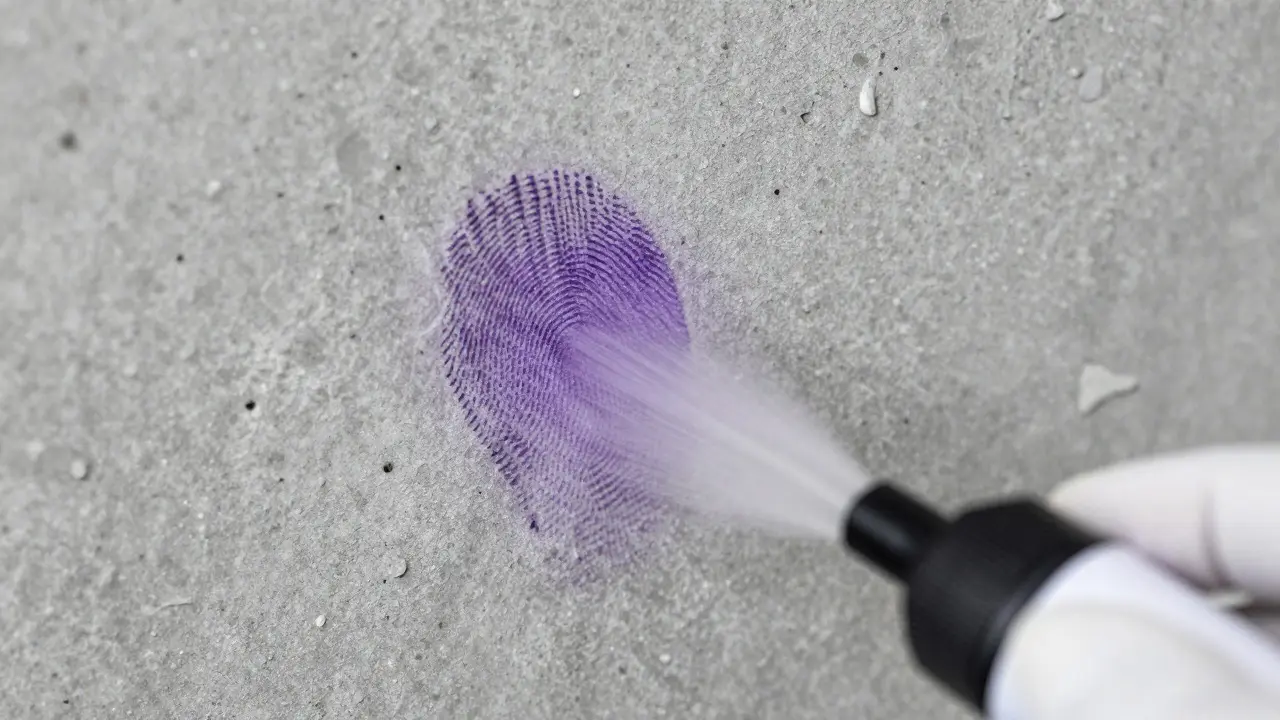
If the print has dried or is faint, chemical processing becomes necessary. Ninhydrin is a classic choice for porous surfaces. It reacts with amino acids to produce a purple color (Ruhemann's purple). However, applying ninhydrin to rough concrete requires care. Too much solution saturates the pores, causing bleeding and loss of resolution. Using a spray bottle with a fine mist nozzle helps control application. Another option is Physical Developer, which is ideal for older or water-damaged prints on porous materials. It develops silver crystals along the ridges, providing high-contrast images that survive long-term storage.
For very rough surfaces like stucco or unsealed brick, electrostatic dusting devices (EDL) can be useful. These devices use an electric field to attract powder particles to the raised portions of the print. Because they don't require physical contact, they minimize the risk of smearing. The resulting pattern can then be lifted onto special film for documentation.
Advanced Digital Imaging Solutions
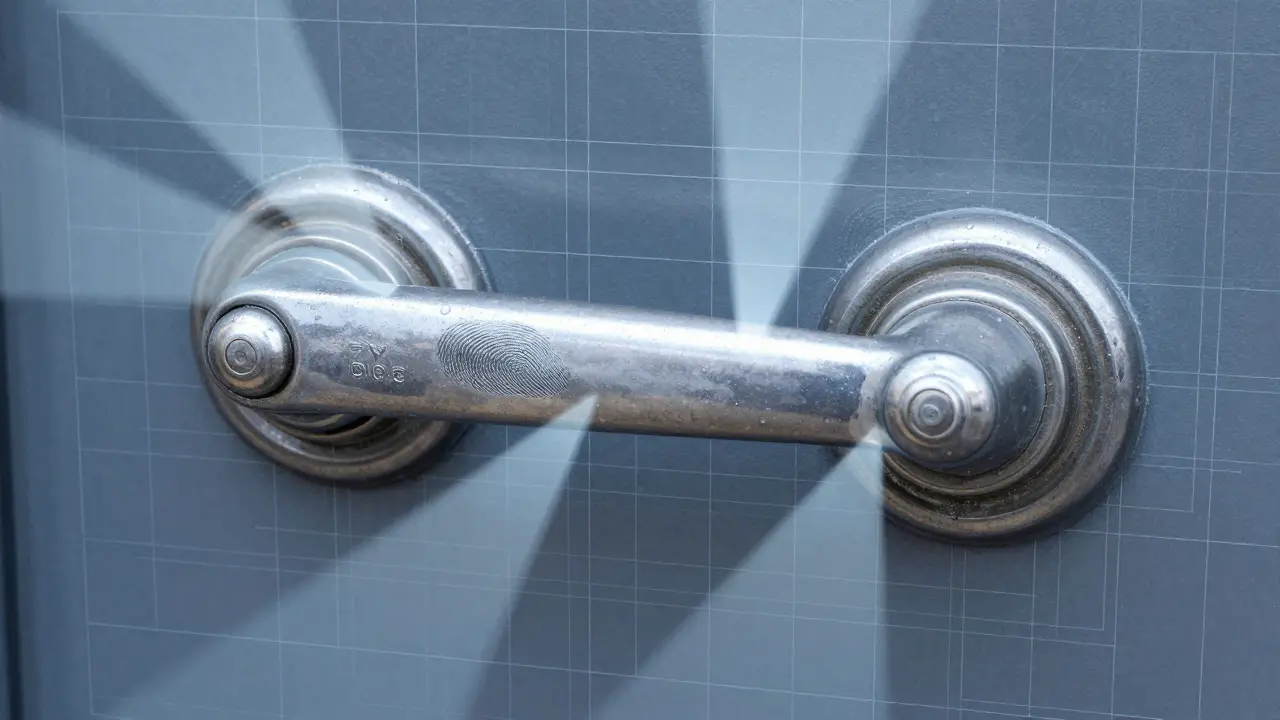
Sometimes, the best way to examine a difficult surface is to not touch it at all. Modern digital imaging technologies allow examiners to capture latent prints in situ. Multispectral imaging captures data across various wavelengths, revealing details invisible to the naked eye. Reflectance Transformation Imaging (RTI) uses multiple angles of light to create a digital model of the surface texture. By manipulating the virtual light source in software, you can highlight ridge details hidden in shadows or glare.
This technology is particularly valuable for fragile or large items that cannot be moved to a lab, such as car doors, walls, or machinery. RTI files are small and easy to share among experts, allowing for collaborative analysis without transporting the physical evidence. It bridges the gap between field collection and laboratory precision.
| Surface Type | Recommended Technique | Key Advantage | Main Risk |
|---|---|---|---|
| Textured Plastic | Cyanoacrylate Fuming + Dye | High detail preservation | Time-consuming setup |
| Rough Concrete | Ninhydrin Spray | Effective on old prints | Bleeding if over-applied |
| Wet/Greasy Metal | Fluorescent Powder + ALS | High contrast | Smearing during brushing |
| Fragile/Large Items | Reflectance Transformation Imaging | Non-invasive | Requires specialized software |
Common Pitfalls and How to Avoid Them
Even experienced examiners make mistakes on difficult surfaces. One frequent error is assuming a print is gone because it's not visible under white light. Many latent prints are only detectable under specific wavelengths. Always cycle through UV, IR, and visible spectrum options before declaring an area negative.
Another pitfall is inconsistent documentation. If you use a combination of techniques, you must photograph each stage. A photo of the raw surface, the processed surface, and the final lifted print creates a chain of visual evidence. Without this, defense attorneys may argue that the print was altered or fabricated. Use scale bars and orientation markers in every shot to maintain context.
Finally, beware of cross-contamination. When moving between different types of surfaces, clean your tools thoroughly. Residue from one print can transfer to another, creating chimeric patterns that confuse comparison. Dedicated kits for different surface types help mitigate this risk.
Best Practices for Field Collection
Successful examination starts in the field. Protect the surface from weather, foot traffic, and vibration. Cover large areas with clear plastic sheeting if rain is forecast. Mark the location with flags or chalk outlines so you can return to the exact spot after initial assessment.
Document the environment before processing. Take wide-angle photos showing the item in context, then close-ups with scales. Note the temperature and humidity, as these factors affect chemical reactions and evaporation rates. If the surface is part of a larger object, note its orientation relative to gravity, as this influences how sweat spread.
When possible, collect comparative samples from the same type of surface in the lab. Testing how a specific brand of concrete reacts to ninhydrin, for example, gives you a baseline for interpreting results. This proactive approach saves time and improves accuracy during the actual case work.
Future Directions in Latent Print Recovery
The field is evolving rapidly. Artificial intelligence algorithms are now being trained to identify potential print locations in complex backgrounds, reducing human oversight errors. Portable mass spectrometers allow for on-site chemical analysis of residue, helping determine the age of a print or the presence of specific substances. These tools complement traditional methods, offering a multi-layered approach to difficult surfaces.
As technology advances, the role of the examiner shifts from purely manual processing to data interpretation. Understanding the physics of light interaction with surfaces and the chemistry of residue remains fundamental, but the ability to leverage digital tools will define the next generation of forensic excellence.
What is the best method for fingerprints on wet surfaces?
For wet surfaces, avoid powdering immediately as it can disperse the residue. Instead, use infrared (IR) photography or alternate light sources to visualize the print while it is still wet. Once dry, standard non-porous techniques like cyanoacrylate fuming can be applied if the surface is non-porous.
Can you lift fingerprints from textured fabric?
Yes, but it requires careful handling. Use a soft brush and minimal powder, or better yet, try electrostatic dusting to avoid disturbing the fibers. Lifting tape should be applied gently to prevent tearing. In many cases, direct photography with oblique lighting yields better results than physical lifting.
How does cyanoacrylate fuming work on difficult surfaces?
Cyanoacrylate fuming releases vapor that reacts with amino acids in sweat to form a hard, white polymer layer along the ridges. This process is effective on non-porous and textured surfaces because it bonds chemically rather than physically, preserving fine detail that might be lost with powdering.
What is Reflectance Transformation Imaging (RTI)?
RTI is a digital imaging technique that captures multiple photographs of a surface under varying light angles. Software combines these images to create a model that allows users to virtually move the light source, enhancing the visibility of surface details like fingerprints on textured materials without physical contact.
How long do latent prints last on porous surfaces?
The lifespan varies depending on environmental conditions. In cool, dry environments, prints on porous surfaces can last for weeks or months. Heat and humidity accelerate evaporation and degradation. Chemical treatments like ninhydrin can develop prints even after they are no longer visible to the naked eye.