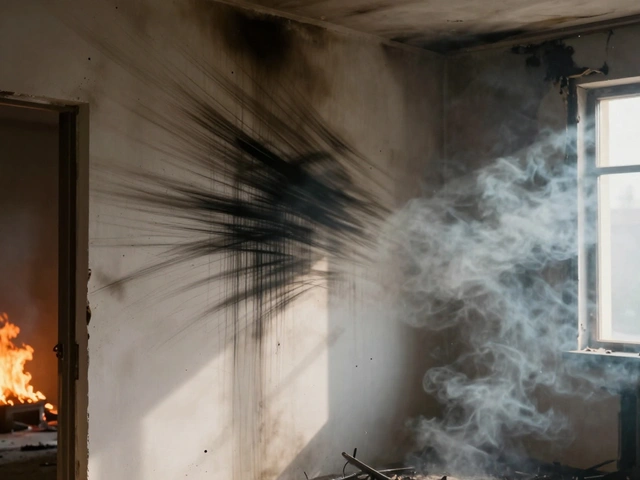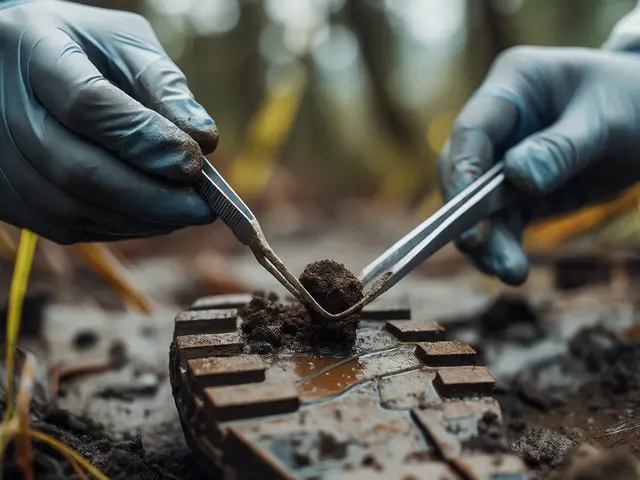
You walk into a room. The suspect touched the door handle, the glass on the table, maybe the edge of a laptop screen. They left behind something invisible to the naked eye but screaming with data to anyone who knows how to look: latent fingerprints. These aren't just smudges; they are unique biological signatures that can link a person to a place and time with startling accuracy. But here is the kicker: finding them is only half the battle. Interpreting them correctly is where careers are made or cases fall apart.
If you are working in crime scene investigation, you know that fingerprint evidence is often the first thing people think of when they hear "forensics." It’s the CSI staple. But real-world application isn’t like TV. You don’t always get a perfect, high-contrast print on a white card. Sometimes you’re dealing with partials, overlapping ridges, or surfaces that fight back against your powder. This guide cuts through the noise to give you the practical steps, decision trees, and technical nuances you need to master fingerprint analysis from collection to court testimony.
The Science Behind the Smudge: Why Your Fingers Leave Marks
Before you grab the brush, you need to understand what you’re actually looking at. Human skin isn’t smooth. It has ridges-tiny raised lines on the fingertips, palms, and soles. These ridges serve a purpose: grip. As you touch things, sweat glands (eccrine) release moisture and oils onto these ridges. When you press down, that residue transfers to the surface. That transfer is a latent print.
Three key characteristics make this evidence powerful:
- Permanence: Ridge patterns form in the womb around the fourth month of pregnancy and remain unchanged until decomposition. Scars might alter the pattern, but the underlying structure doesn’t shift.
- Individuality: Even identical twins have different fingerprints. No two fingers on the same hand match, let alone across the population.
- Persistence: Unless physically removed or degraded by extreme conditions, the residue stays put. On non-porous surfaces like glass, it can last months. On porous paper, it’s there forever if developed correctly.
Understanding the composition helps you choose your method. Sweat is mostly water, but it also contains amino acids, salts, urea, and lipids. Porous surfaces absorb these components, while non-porous surfaces hold them on top. This distinction dictates whether you use chemical processing or physical lifting.
Surface Selection Dictates Your Method
The biggest mistake rookie investigators make is using the same technique on every surface. You wouldn’t use duct tape on wet paper, right? Same logic applies here. You must categorize the surface before you touch it.
| Surface Type | Examples | Primary Method | Secondary/Backup Method |
|---|---|---|---|
| Non-Porous Smooth | Glass, polished metal, plastic, tile | Magnetic Powder & Lifting Tape | Cyanoacrylate Fuming + Dye Stain |
| Non-Porous Textured | Car dashboards, leather, painted walls | Small Particle Reagent (SPR) | Electrostatic Dust Lift |
| Porous | Paper, cardboard, raw wood, fabric | Ninhydrin (for amino acids) | DFO (1,8-Diazafluoren-9-one) |
| Semi-Porous | Varnished wood, glossy magazine pages | Cyanoacrylate Fuming | Physical Developer (if wet) |
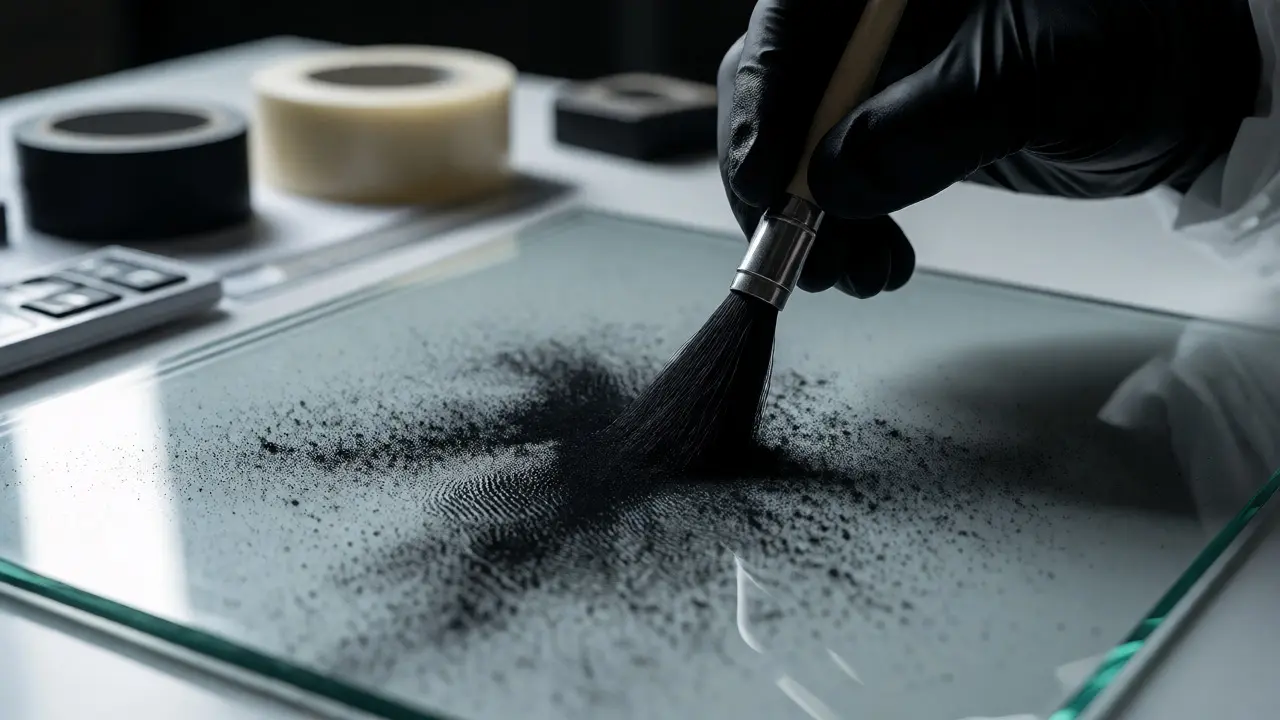
For non-porous smooth surfaces, black magnetic powder is your go-to because it’s gentle and reduces background staining. If the surface is shiny and curved, like a beer bottle, cyanoacrylate fuming (superglue fuming) polymerizes the residue into a hard white substance that sticks to the object. Then you dye it fluorescent for better contrast.
When you’re dealing with documents, stop reaching for the powder. It smears ink and destroys the paper fibers. Use Ninhydrin. It reacts with amino acids in the sweat to produce a purple color called Ruhemann’s purple. It’s slow-you might need to wait 24 hours-but it’s specific and effective. For older documents, try DFO. It’s more sensitive than Ninhydrin and works under green light with orange filters, making faint prints pop.
Collection Techniques: Don’t Ruin the Evidence
Once you’ve identified the potential print location, your collection method determines its admissibility. Here is the workflow that keeps chain-of-custody clean and evidence intact.
- Visual Inspection: Look for visible (patent) prints in blood, grease, or dirt. Photograph them in situ before touching anything. Use a scale ruler in the shot.
- Alternate Light Source (ALS): Shine UV or blue/green lights across the surface. Many residues fluoresce naturally or after treatment. Mark any hits with small arrows.
- Processing: Apply your chosen method (powder, spray, fume). Start with the least destructive method. Once you powder a print, you can’t easily do chemical processing later without ruining it.
- Lifting: For powders, use clear lifting tape. Press firmly, peel slowly, and mount on a backing card. Label the card immediately: Date, Time, Location, Item Description, Collector Name.
- Photography: Always photograph lifted prints next to a scale. If the print was chemically developed, photograph it directly on the item with appropriate lighting filters.
A pro tip: Never lift a print if you can send the whole object to the lab. A gun barrel is better processed in a controlled environment than in a muddy field. If you must lift, ensure the tape doesn’t trap air bubbles, which distort ridge detail during analysis.
Ridgeology: Reading the Details
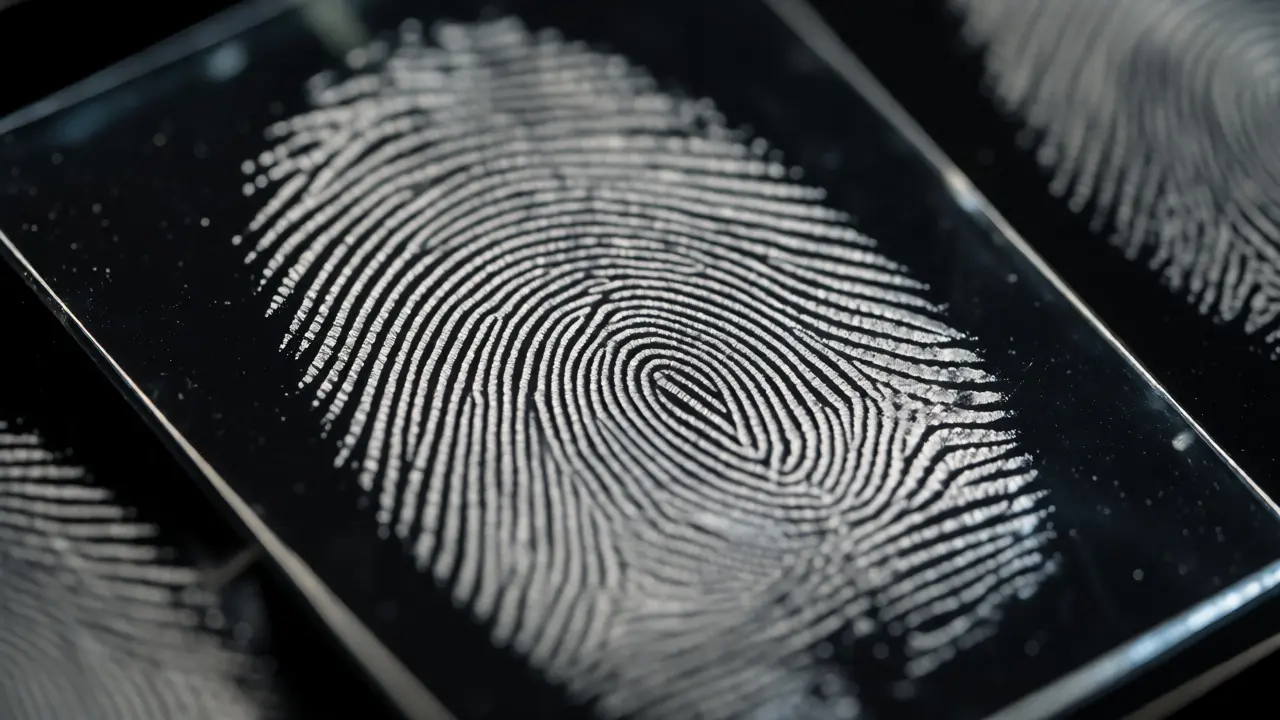
Now you have a print. How do you compare it? This is where ridgeology comes in-the study of friction ridge characteristics. You aren’t just looking for "loops" and "whorls." Those are class characteristics, useful for narrowing down suspects but not for identification. Individualization requires minutiae.
Minutiae are specific points where ridges end or split. Common types include:
- Bifurcation: One ridge splits into two.
- Ridge Ending: A single ridge terminates abruptly.
- Dot: A very short ridge, almost circular.
- Enclosure: A ridge splits and rejoins, creating an island.
In the US, many jurisdictions follow the ACE-V methodology: Analysis, Comparison, Evaluation, Verification. During Analysis, you assess quality. Is the print distorted? Is it partial? If you have fewer than 8-10 clear minutiae, comparison becomes risky. During Comparison, you overlay the known print (from a suspect) with the unknown (from the scene). Do the minutiae align in sequence and spatial relationship? Not just count, but position matters. Two bifurcations close together mean nothing if they aren’t in the same relative orientation.
Be wary of distortion. Fingers are flexible. Pressing hard spreads ridges; pressing lightly compresses them. This causes "elastic deformation." Experienced analysts learn to recognize this stretch. If the distance between two minutiae expands uniformly, it’s likely pressure, not a different finger.
The Role of AFIS in Modern Investigations
You might wonder why we still manually analyze prints if computers exist. Enter AFIS (Automated Fingerprint Identification System). AFIS doesn’t identify; it searches. It compares digital images of latent prints against millions of stored records (criminal history and civil).
Here’s the catch: Garbage in, garbage out. If you upload a poor-quality scan, AFIS returns hundreds of false positives. High-quality input requires:
- High resolution (500 ppi minimum).
- Clear contrast between ridges and valleys.
- Correct orientation markers.
AFIS provides a candidate list ranked by similarity score. The analyst then performs the manual ACE-V process on the top candidates. Never rely solely on the computer’s rank. I’ve seen cases where the #1 hit was wrong, and the #47 hit was the true match because the latent had significant distortion that the algorithm couldn’t account for.

Common Pitfalls and How to Avoid Them
Even seasoned pros slip up. Here are the most frequent errors in fingerprint work:
- Over-processing: Applying too much powder obscures fine details. Less is more. If you can’t see it, add a tiny bit more. Don’t dump the jar.
- Contamination: Touching the center of a print area with bare hands. Wear nitrile gloves, but change them frequently. Latex gloves can leave their own prints!
- Ignoring Context: A print on a coffee mug in a living room might belong to the homeowner. Corroborate with other evidence. Did the suspect have access? Was the item moved?
- Tunnel Vision: Confirming bias. If you think you know who did it, you’ll force the print to match. Keep an open mind. Document discrepancies honestly.
Another issue is environmental degradation. Heat, humidity, and sunlight break down sweat residues. In Portland, our damp climate can help preserve prints on outdoor surfaces longer than in arid regions, but rain washes them away instantly. Adjust your timeline expectations based on local weather.
Testifying About Fingerprints
Eventually, you’ll be asked to explain your findings to a jury. Avoid jargon. Instead of saying "the minutiae exhibit a concordance," say "the specific patterns of line endings match perfectly between the suspect's finger and the mark found on the weapon."
Explain the limitations. If you only have three clear minutiae, state that clearly. Juries expect certainty, but science offers probability. Be honest about what the evidence supports. Overstating confidence erodes credibility. Show them the photos. Point to the matches. Let them see the connection visually.
Fingerprint analysis remains one of the most reliable forensic tools available. It’s cost-effective, widely applicable, and deeply rooted in biological uniqueness. By mastering surface-specific techniques, understanding ridge dynamics, and respecting the limits of technology, you turn invisible marks into compelling proof.
How long do fingerprints last on different surfaces?
It varies wildly. On non-porous surfaces like glass or stainless steel, prints can last weeks or months if undisturbed and kept dry. On porous surfaces like paper, the residue absorbs into the fibers and can remain detectable indefinitely, even years later, provided the document is stored properly. Outdoor prints are vulnerable to rain, wind, and UV light, potentially degrading within hours or days depending on weather conditions.
Can gloves prevent fingerprints entirely?
Not entirely. Thin latex or nitrile gloves can still transfer ridge patterns if they fit tightly and pick up sweat or oil from the wearer's hands. Thicker leather or cotton gloves usually obscure individual ridge detail, leaving only a general texture impression. However, criminals sometimes wear gloves to avoid transferring DNA or skin cells, but they may still leave trace evidence like glove fibers or tool marks.
What is the difference between a patent and a latent print?
A patent print is visible to the naked eye, typically formed when a finger touches a surface coated with a visible substance like blood, grease, paint, or dirt. A latent print is invisible or barely visible, formed by natural sweat and oil residues. Latent prints require development techniques like powder, chemicals, or light sources to become visible for analysis.
How many matching points are needed to identify a fingerprint?
There is no universal standard number required for identification in the United States. Historically, some agencies used a threshold of 12 points, but modern practice emphasizes quality over quantity. An experienced examiner can confidently identify a source with as few as 6-8 clear, distinctive minutiae if the overall pattern and spatial relationships are consistent. Conversely, 20 points might not be enough if the print is heavily distorted or ambiguous.
Does age affect fingerprint patterns?
The fundamental ridge patterns (loops, whorls, arches) do not change with age. However, the clarity and size of the ridges do. Elderly individuals often have drier skin and less pronounced ridge depth, leading to fainter prints. Children’s prints grow larger as they develop but maintain the same pattern configuration. Scar tissue from injuries can permanently alter the ridge flow in specific areas.