You just collected a critical piece of evidence. Maybe it’s a blood-stained shirt from a domestic dispute or a sealed bag of narcotics seized during a traffic stop. You’ve logged it, photographed it, and placed it in a container. But here is the harsh reality: if that container isn’t sealed correctly, your hard work can vanish in court. A defense attorney doesn’t need to prove the evidence is fake; they only need to prove it could have been tampered with. That’s where proper evidence tape application becomes your best friend.
Tamper-evident seals aren’t just stickers. They are the physical guarantee that nobody opened that box between the crime scene and the lab bench. If you’re new to forensics or looking to refine your technique, getting this right saves you from awkward cross-examinations later. Let’s break down exactly how to apply these seals so they hold up under scrutiny.
Why Standard Packaging Tape Fails in Forensics
Most people grab whatever roll of clear packing tape is lying around the office. In forensics, that’s a mistake. Standard clear tape is easy to peel off and reapply without leaving obvious signs of disturbance. It stretches, it tears unevenly, and it often fails to adhere properly to porous surfaces like cardboard boxes.
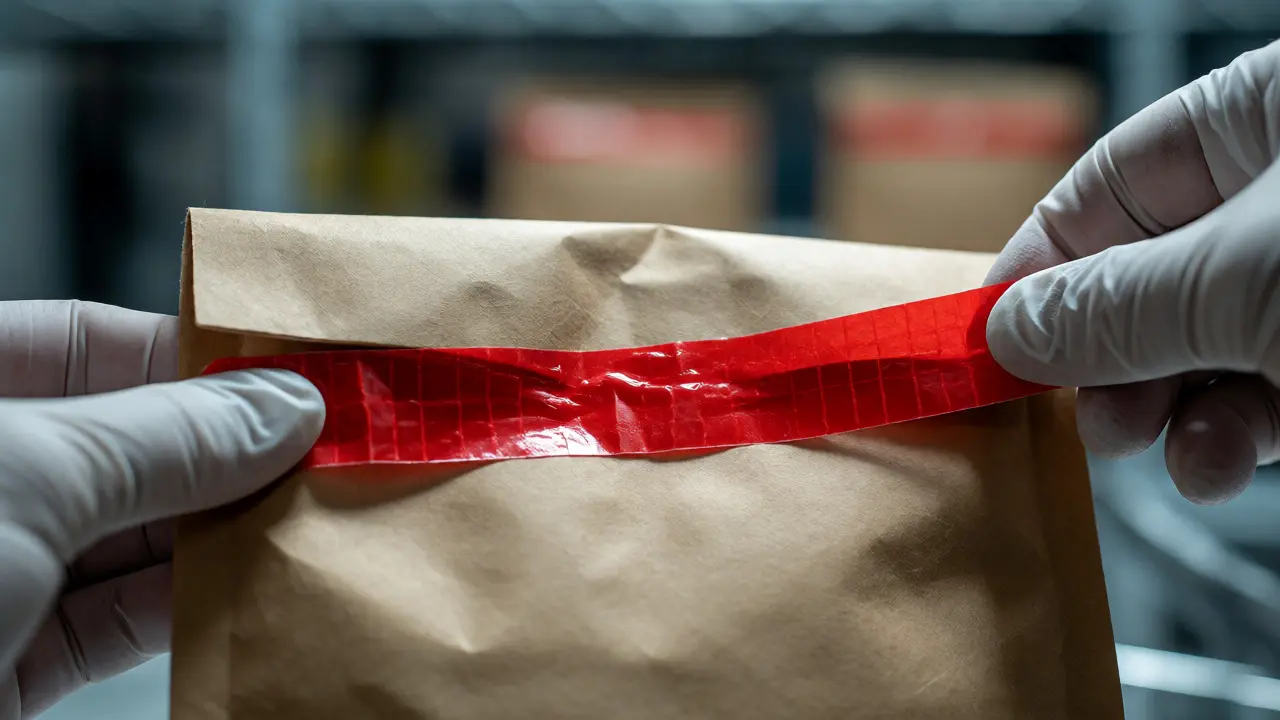
Evidence tape is a specialized adhesive product designed specifically for sealing forensic containers, featuring unique visual characteristics that reveal when a seal has been broken. Unlike generic tape, evidence tape usually comes in bright colors-often red, orange, or blue-and frequently includes a patterned design or text such as "EVIDENCE" or "DO NOT REMOVE." This visual cue serves two purposes: it alerts anyone handling the package that its contents are legally sensitive, and it creates a distinct visual record of the seal’s state.
Think about the physics of removal. When you pull standard tape, it often leaves a clean edge. When you pull tamper-evident tape, it tends to shred, leave residue, or separate into layers. These microscopic changes are what experts look for under magnification. If you use the wrong material, you’re essentially handing the defense team an easy win before you even step on the stand.
The Anatomy of a Proper Seal
A good seal isn’t just about slapping a sticker on a box. It’s a layered process involving three key components: the container, the closure mechanism, and the verification mark. Each part plays a role in maintaining the chain of custody.
- The Container: Whether it’s a paper sack, plastic biohazard bag, or rigid evidence box, the surface must be clean and dry. Moisture or dust prevents proper adhesion, leading to accidental openings.
- The Closure Mechanism: This is the tape itself. For paper bags, you typically fold the top flap over and secure it with tape across the entire width. For boxes, you tape all seams, including the bottom, to prevent sliding out.
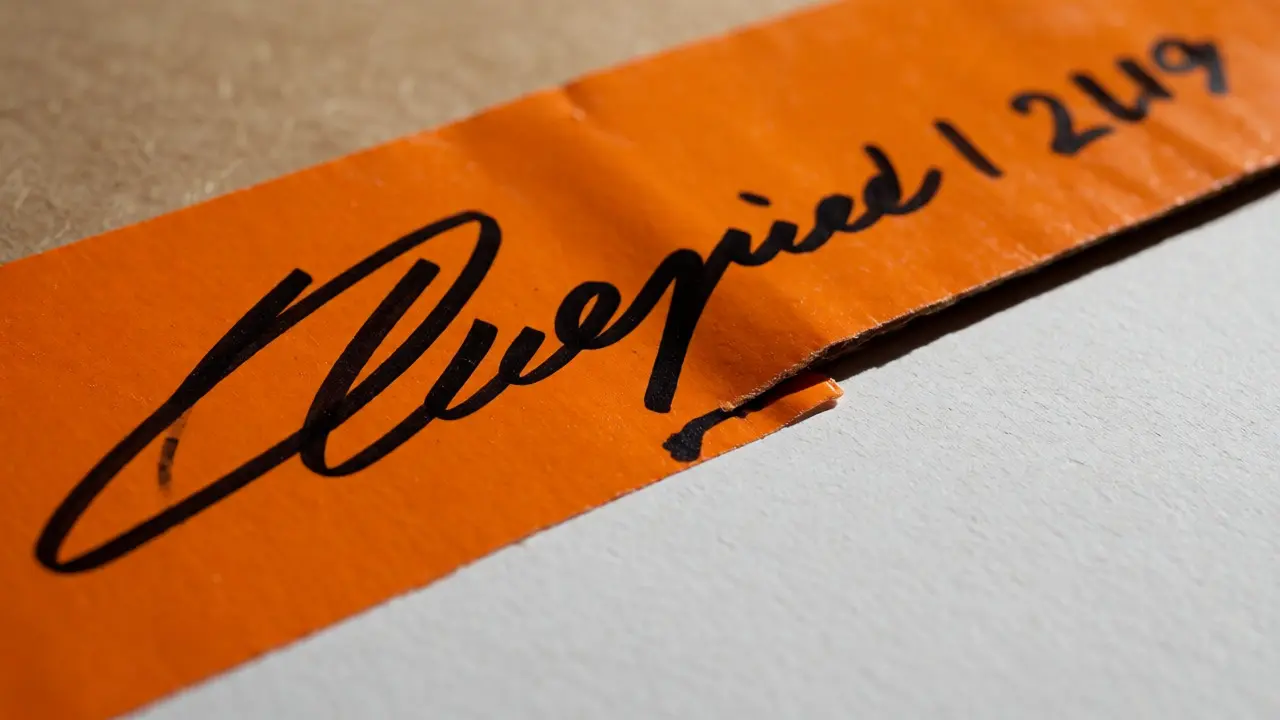
- The Verification Mark: This is the signature, date, and initials written directly onto the tape. Crucially, the writing must extend from the tape onto the underlying container. If someone cuts the tape and reseals it, the signature won’t line up perfectly, revealing the breach.
This last point is non-negotiable. Many rookies sign their name entirely on the tape strip. If I cut the tape, remove a sample, and put a new piece of tape over the gap, my original signature stays on the old tape fragment. The new tape looks pristine. By writing half on the tape and half on the box, any attempt to lift the tape breaks the continuity of the ink. It’s a simple trick, but it’s powerful.
Step-by-Step Application Technique
Let’s walk through the actual hands-on process. Imagine you are sealing a paper evidence bag containing a firearm. Follow these steps to ensure integrity.
- Prepare the Surface: Wipe down the area where the tape will go with a lint-free cloth. Ensure there is no powder residue, moisture, or grease. Adhesives hate contaminants.
- Fold and Flatten: Fold the top flap of the paper bag completely over. Press it flat against the body of the bag. There should be no air pockets trapped underneath, as pressure can cause the seal to pop open during transport.
- Cut the Tape: Measure enough tape to cover the entire width of the folded flap plus at least one inch on each side. Do not stretch the tape while cutting; let it relax slightly to avoid tension-induced peeling later.
- Apply the Tape: Center the tape over the fold. Smooth it down from the center outward using your thumb or a roller tool. This pushes out air bubbles. Air bubbles are weak points where moisture can seep in and degrade the adhesive.
- Secure the Edges: Run a second strip of tape vertically along the sides of the bag if necessary, especially for heavy items. This reinforces the structural integrity.
- Sign Across the Seam: Using a permanent marker (black or blue, never pencil), write your initials, the date, and the time. Start on the bag, cross the edge of the tape, and continue onto the tape. Repeat this on both ends of the horizontal seal.
For rigid boxes, the approach is similar but requires more coverage. You need to seal every opening. If the box has flaps, tape them shut. Then, run strips of tape along all major seams. Remember, the goal is to make it impossible to access the contents without visibly damaging the tape.
Choosing the Right Material for the Job
Not all evidence tapes are created equal. Your choice depends on what you’re packaging and how it will be stored. Here is a quick comparison of common materials used in modern forensic labs.
| Material Type | Best Use Case | Tamper Evidence Level | Adhesive Strength |
|---|---|---|---|
| Paper-Based Evidence Tape | Paper sacks, envelopes, light items | High (fibers tear) | Moderate |
| Plastic/Polyester Tape | Rigid boxes, heavy items, long-term storage | Medium-High (leaves residue) | High |
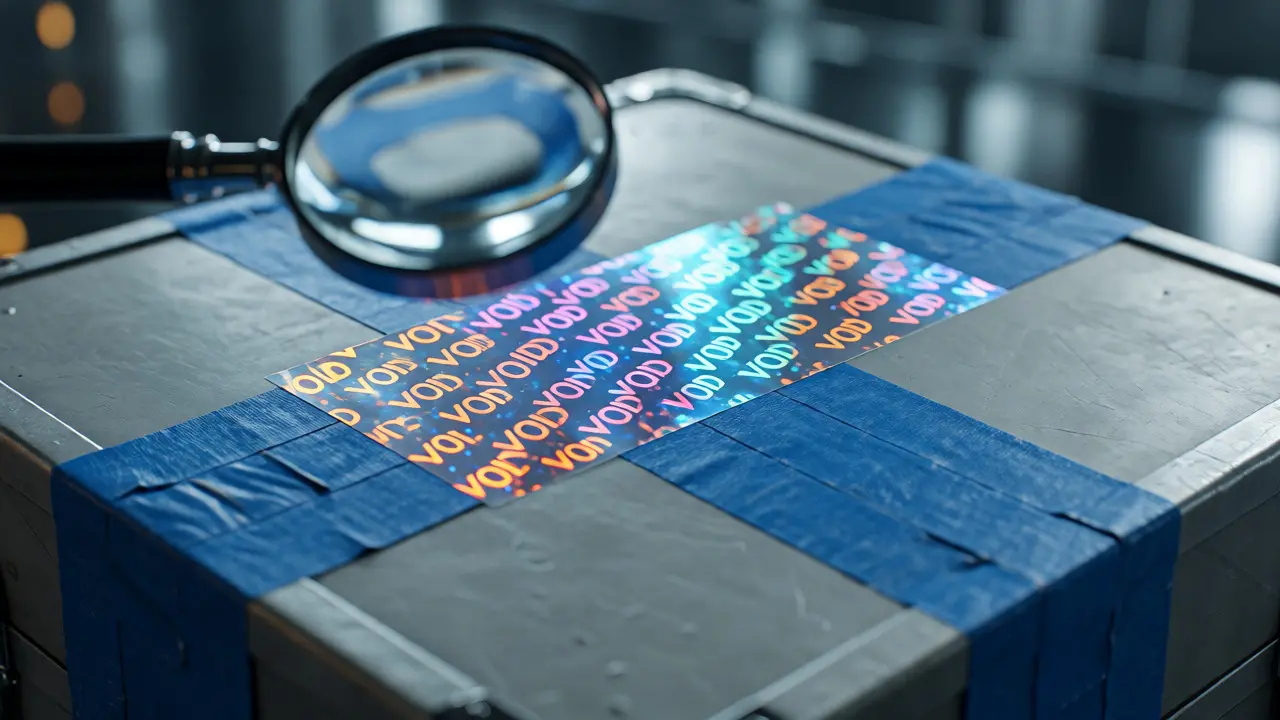
| Security Labels/Holograms | High-value items, drug vaults | Very High (void patterns) | Variable |
| Zip Ties/Cable Seals | Firearms, large equipment cases | High (must cut to open) | N/A (Mechanical) |
Paper-based tape is ideal for breathability. If you’re packaging biological samples that might still be damp, paper allows some moisture exchange, reducing mold risk compared to fully sealed plastic. However, paper tape loses strength when wet. If the evidence is going into a freezer or a humid environment, switch to polyester-backed tape. It resists moisture and maintains its grip.
For high-security scenarios, consider combining methods. For example, seal a gun case with tape, then place a numbered security label over the seam. The label adds an extra layer of verification. If the label is removed, it leaves a "VOID" pattern behind. This dual-layer approach makes unauthorized access nearly impossible to hide.
Common Pitfalls That Break Chain of Custody
Even experienced officers make mistakes. Here are the most frequent errors seen in courtrooms and how to fix them.
The "Lift and Stick" Error: Never reuse a piece of tape. If you misalign it, rip it off and start over. Reapplying tape compromises the adhesive bond and creates ambiguity about whether the package was ever opened.
Incomplete Signatures: As mentioned earlier, signing only on the tape is risky. Always bridge the gap between the container and the tape. If you forget, add a secondary seal immediately and note the correction in your logbook.
Ignoring Environmental Factors: Extreme heat can melt adhesives; extreme cold can make them brittle. If you’re working outdoors in Portland’s rainy winters, ensure the surface is bone-dry before applying tape. Water trapped under the tape acts as a lubricant, causing the seal to slide open.
Obscuring Critical Data: Don’t cover existing labels or barcodes with your new tape unless absolutely necessary. If you must overlap, ensure the barcode remains scannable. Automated inventory systems rely on these codes, and a covered code means manual entry, which introduces human error.
Digital Trends and Future-Proofing Seals
While physical tape remains the gold standard, technology is creeping in. Some agencies now use QR codes printed directly onto tamper-evident labels. Scanning the code links the physical package to a digital chain-of-custody log. This doesn’t replace the physical seal-it enhances it. If the tape is broken, the system flags an alert. If the scan fails, you know something is wrong with the data link.
However, don’t abandon physical verification for digital convenience. Batteries die, servers crash, and scanners malfunction. The physical integrity of the seal is your first line of defense. Use digital tools as a backup, not a replacement. The tactile feedback of checking a seal-feeling if it’s tight, seeing if the ink lines up-is irreplaceable.
What happens if evidence tape falls off accidentally?
If a seal fails due to environmental factors (like humidity) rather than tampering, you must document it immediately. Take photos of the compromised seal before resealing. Apply new tape, sign it, and add a note in the chain-of-custody log explaining the incident. Never simply re-tape without documentation, as this raises suspicion of intentional alteration.
Can I use duct tape for evidence packaging?
Generally, no. Duct tape lacks the specific tamper-evident properties required for legal standards. It is difficult to remove cleanly without leaving significant residue, which can contaminate porous evidence like fabric or paper. Additionally, its gray color offers poor contrast for signatures, making verification harder. Stick to approved forensic evidence tape.
How do I seal a liquid evidence container?
Liquid evidence usually goes into a leak-proof vial or jar with a screw cap. First, ensure the lid is tight. Then, wrap evidence tape horizontally around the junction of the lid and the container body. Sign across the seam. This ensures that if the lid is unscrewed, the tape is broken, providing immediate visual proof of access.
Does the color of the evidence tape matter?
Yes, primarily for visibility and agency protocol. Bright colors like red or orange stand out against neutral backgrounds, making it easy to spot a broken seal at a glance. Some departments use color-coding to indicate hazard levels (e.g., yellow for biohazards). Always follow your local agency’s specific guidelines regarding tape color and type.
What marker should I use to sign evidence tape?
Use a permanent, waterproof, fade-resistant marker. Black or dark blue ink provides the best contrast against most tape colors. Avoid pencils, as they smudge easily. Avoid ballpoint pens, as the ink may bleed or fail to adhere to glossy tape surfaces. Sharpie-style industrial markers are commonly recommended by forensic suppliers.