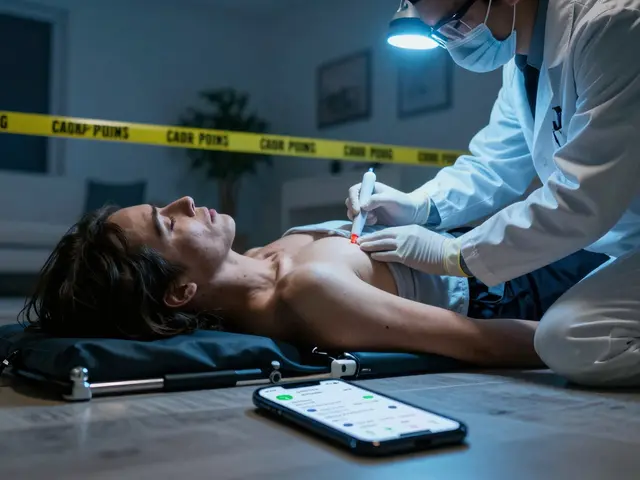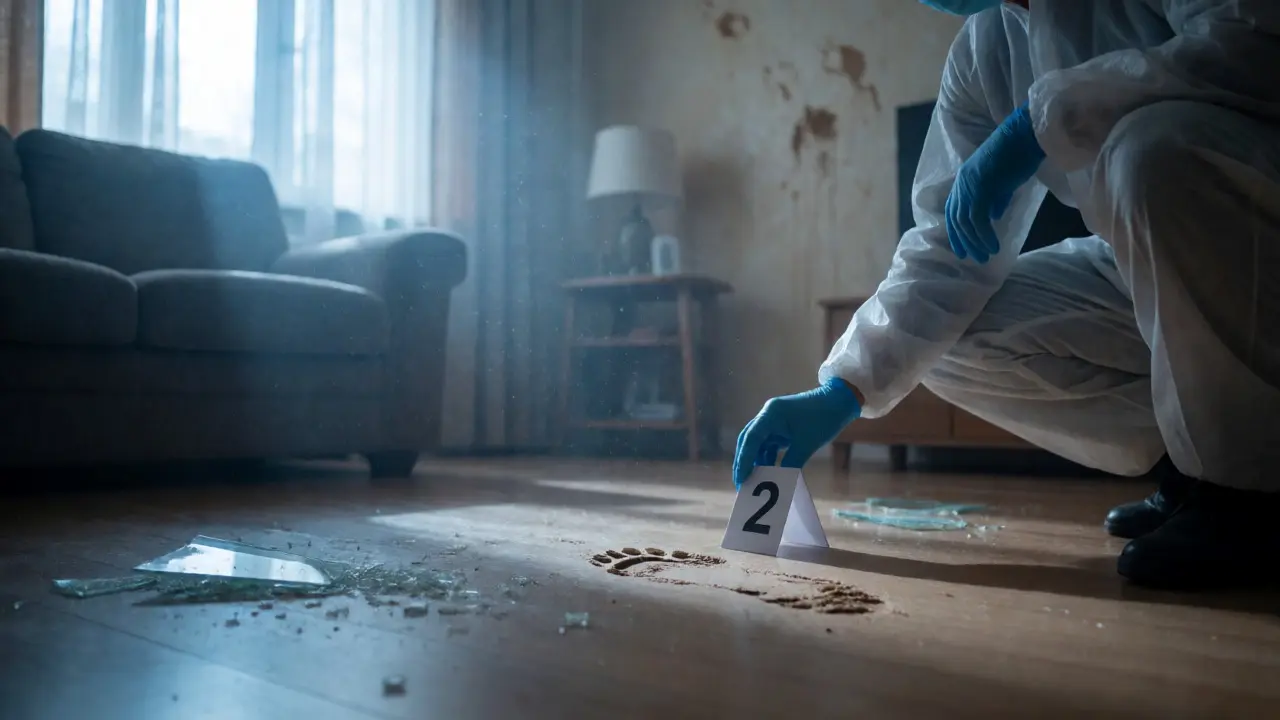
You walk into a messy living room. Blood spatter on the wall. A shattered glass on the floor. A muddy footprint near the door. You have one shot at this. If you pick up the glass first, you might crush the footprint. If you swab the blood before photographing it, you lose context forever. This isn't just about being careful; it's about the evidence collection sequence. The order in which you collect items determines whether that DNA sample gets you a conviction or thrown out of court.
Why the Order of Operations Is Non-Negotiable
Think of a crime scene like a layered cake. The top layer is visible to everyone-the obvious weapons, the bodies, the broken windows. But underneath? Latent prints, trace fibers, biological fluids seeping into carpet. If you dig for the bottom layer while standing on the top, you ruin everything. Evidence degradation is real. Biological samples dry out, evaporate, or get contaminated by your own boots. Chemical residues react with air. Digital devices lose power and wipe their temporary memory.
When investigators skip steps or grab things randomly, defense attorneys pounce. They don’t need to prove you’re wrong; they just need to show the process was sloppy. A single breach in the collection sequence can unravel an entire case. That’s why protocols aren’t suggestions-they’re survival guides for the truth.
The Golden Rule: Fragile First, Destructive Last
The core principle here is simple: preserve what disappears fastest. You start with the most volatile evidence and move toward the most stable. This isn’t arbitrary. It’s based on how materials degrade over time and under stress.
- Biological Fluids: Blood, semen, saliva. These dry quickly and can be destroyed by heat or light. Collect these early if they are exposed.
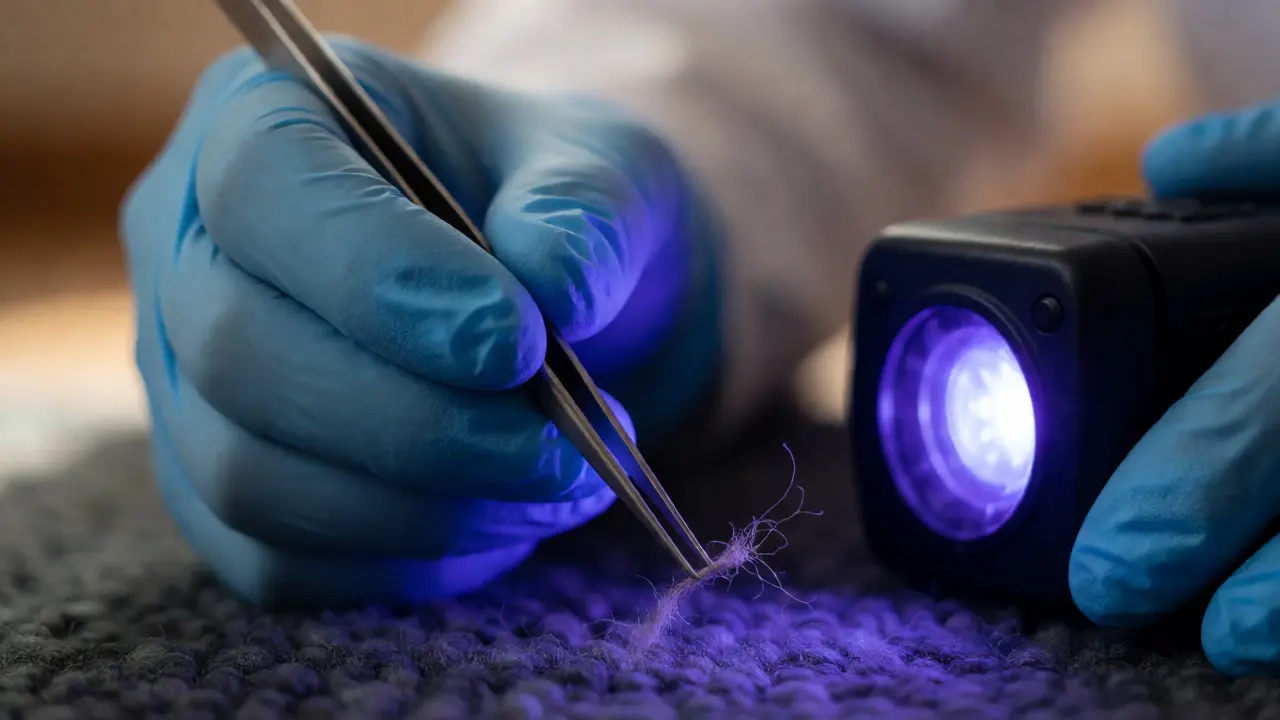
- Trace Evidence: Hair, fibers, pollen, gunshot residue (GSR). These are easily blown away by wind or stepped on. Vacuuming should happen before heavy foot traffic occurs.
- Impressions: Footprints, tire tracks, tool marks. Photograph them first. Then cast them if necessary. Do not lift tape-lifts until photography is complete.
- Latent Prints: Fingerprints on surfaces. These require chemical processing or powder. Doing this too early can contaminate nearby biological samples.
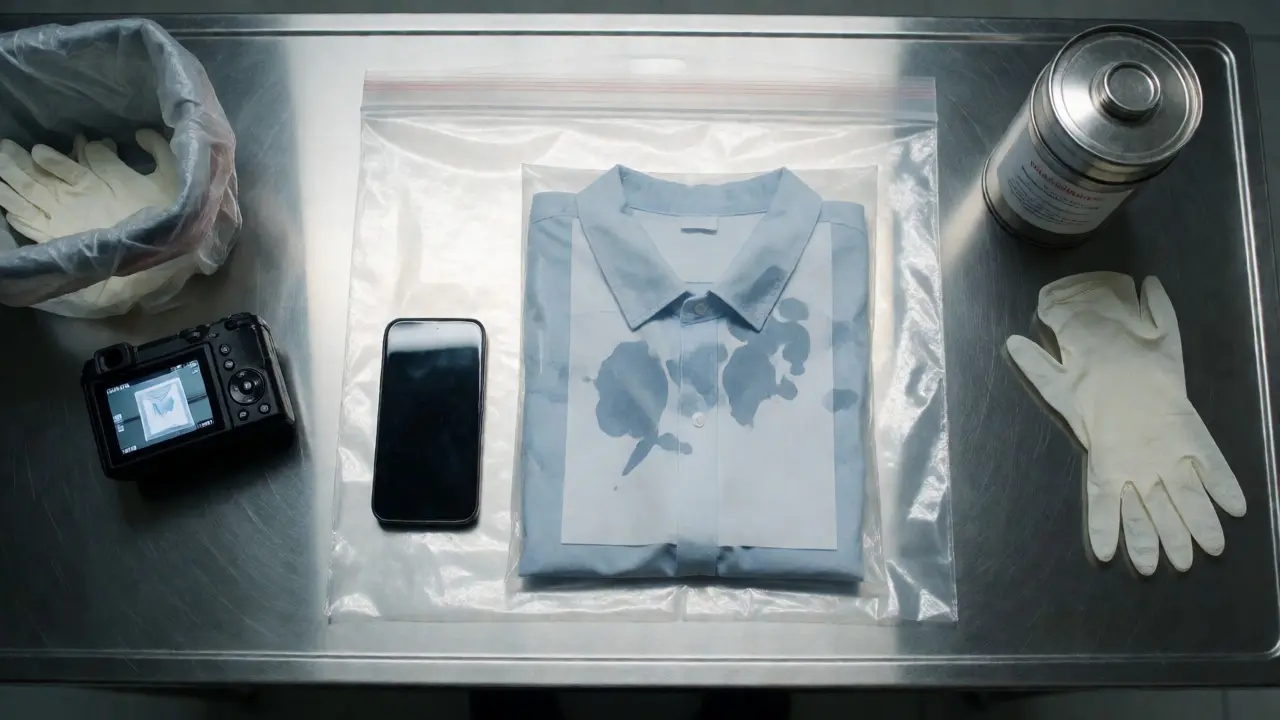
- Physical Objects: Weapons, clothing, phones. These are sturdy. Handle them last to avoid disturbing the finer details around them.
Step-by-Step: The Standard Collection Protocol
While every scene is unique, most major agencies follow a variation of this workflow. Deviating from it requires a strong reason documented in your notes.
- Scene Security & Documentation: Before touching anything, secure the perimeter. Take overall photographs from all four corners. Sketch the layout. Note weather conditions, lighting, and odors. These contextual clues vanish once the scene is processed.
- Volatile Evidence Search: Use alternate light sources (ALS) to find bodily fluids invisible to the naked eye. Mark them with numbered tents. Swab or cut these areas immediately if they are drying out.
- Trace Evidence Collection: Systematically vacuum floors and upholstery. Use different filters for each area to prevent cross-contamination. Collect hair and fibers using tweezers or tape lifts only after ALS inspection.
- Impression Casting: For three-dimensional impressions (like shoe prints in dirt), photograph with scale bars. Then apply dental stone or casting material. Let it set before moving on.
- Latent Print Development: Apply powders or chemicals to smooth surfaces. Lift prints with specialized tape. Label each lift clearly with location and date.
- Large Object Recovery: Now you can move furniture, pick up weapons, and bag clothing. Ensure each item is packaged separately to prevent contact between items (e.g., don’t put a bloody shirt next to a clean knife).
- Digital Evidence: Secure phones and computers. Keep them powered on if possible to preserve RAM data. Bag them in anti-static containers. Do not attempt to unlock or charge them yourself unless trained.
Common Mistakes That Ruin Admissibility
I’ve seen seasoned detectives trip up on basic sequencing errors. Here are the big ones to watch out for:
| Mistake | Consequence | Correct Action |
|---|---|---|
| Lifting fingerprints before photographing the surface | Loss of spatial context; print may be lifted incorrectly | Photograph first with scale, then develop/lift |
| Packaging wet evidence in plastic bags | Mold growth destroys DNA within hours | Air-dry completely, then use paper bags |
| Using the same gloves for multiple zones | Cross-contamination between suspect and victim samples | Change gloves frequently; label hand usage |
| Ignoring digital device battery levels | Device shuts down, losing active session data | Connect to power source immediately if safe |
Special Cases: Fire Scenes and Water Bodies
Not all scenes behave the same way. In fire investigations, the priority shifts. You’re dealing with structural instability and toxic fumes. Start with external evidence-accelerant cans, ignition sources outside the building. Move inside only when safe. Charred wood samples must be collected carefully because accelerants can evaporate from porous materials rapidly. Seal these in metal cans, not plastic, to trap vapors.
For submerged objects, like a gun in a lake, the clock starts ticking differently. Rust forms instantly upon exposure to air. Once recovered, keep the object wet in its original water source until lab processing. Drying it out causes rapid oxidation that can destroy serial numbers or bullet striations. This counter-intuitive step saves critical ballistics data.
The Role of Technology in Modern Sequencing
Today’s tools change how we think about order. Laser scanning creates a 3D model of the scene before anyone touches it. This allows virtual walkthroughs later, reducing the pressure to capture every angle manually. However, technology doesn’t replace human judgment. A scanner can’t tell you that a faint smell of almonds indicates cyanide presence. Your nose still matters.
Also, consider smartphone apps used for tagging evidence. While convenient, they rely on GPS accuracy. In basements or dense urban areas, GPS drift can misplace evidence locations by several feet. Always double-check manual measurements against digital tags. Trust, but verify.
Documentation: The Invisible Evidence
Your notes are part of the evidence. If you didn’t write it down, it didn’t happen. Detailed logs of who touched what, when, and why are crucial. Did you wait twenty minutes for the sun to rise for better photos? Write it down. Did you use a specific brand of adhesive tape? Record it. These details help experts reconstruct your actions months later during trial.
Remember, the goal isn’t just to find evidence. It’s to present it in a way that tells a coherent story. A disjointed collection sequence creates a disjointed narrative. Juries notice inconsistencies. They ask, “Why did he touch the phone before checking the window?” If you don’t have a good answer, the doubt sticks.
Why is the order of evidence collection so important?
The order prevents contamination and loss of fragile evidence. Volatile items like biological fluids or trace fibers can disappear or degrade if handled after sturdier items disturb the scene. Proper sequencing ensures that the most perishable evidence is preserved first, maintaining its integrity for analysis.
What happens if I break the chain of custody?
Breaking the chain of custody means there is a gap in the documentation of who held the evidence and when. This can lead to the evidence being ruled inadmissible in court because its authenticity cannot be guaranteed. Defense attorneys often challenge cases where the chain is broken, arguing that tampering could have occurred.
Should I always collect biological evidence first?
Generally, yes, if it is exposed and at risk of drying or contamination. However, you must document and photograph the scene fully before any collection begins. If the biological evidence is protected (e.g., inside a sealed container), you might prioritize other volatile elements like digital data or impression casts depending on environmental conditions.
Can I re-enter a crime scene after initial collection?
Yes, but it requires strict protocol. Re-entry must be logged, and new personnel must wear fresh protective gear. Any new evidence found during re-entry follows the same collection sequence rules. Ideally, minimize re-entry to reduce the risk of introducing contaminants or altering the scene layout.
How does weather affect evidence collection sequence?
Weather dictates urgency. Rain can wash away trace evidence and dilute biological samples, requiring immediate protection or collection. Heat accelerates decomposition and evaporation. Wind disperses lightweight trace materials. Adjust your sequence to address these threats first, such as covering outdoor prints before collecting indoor items.