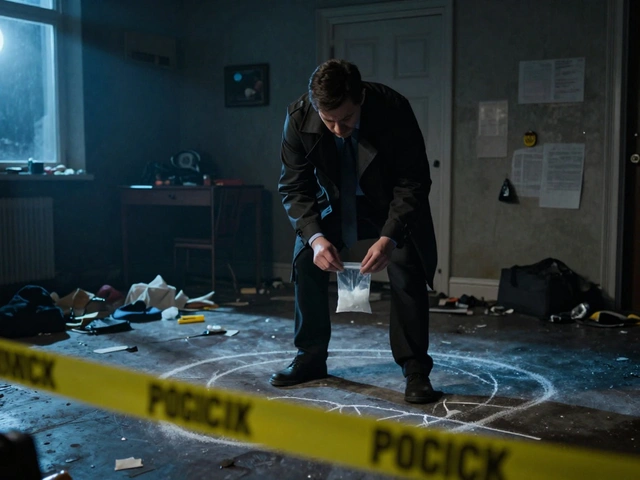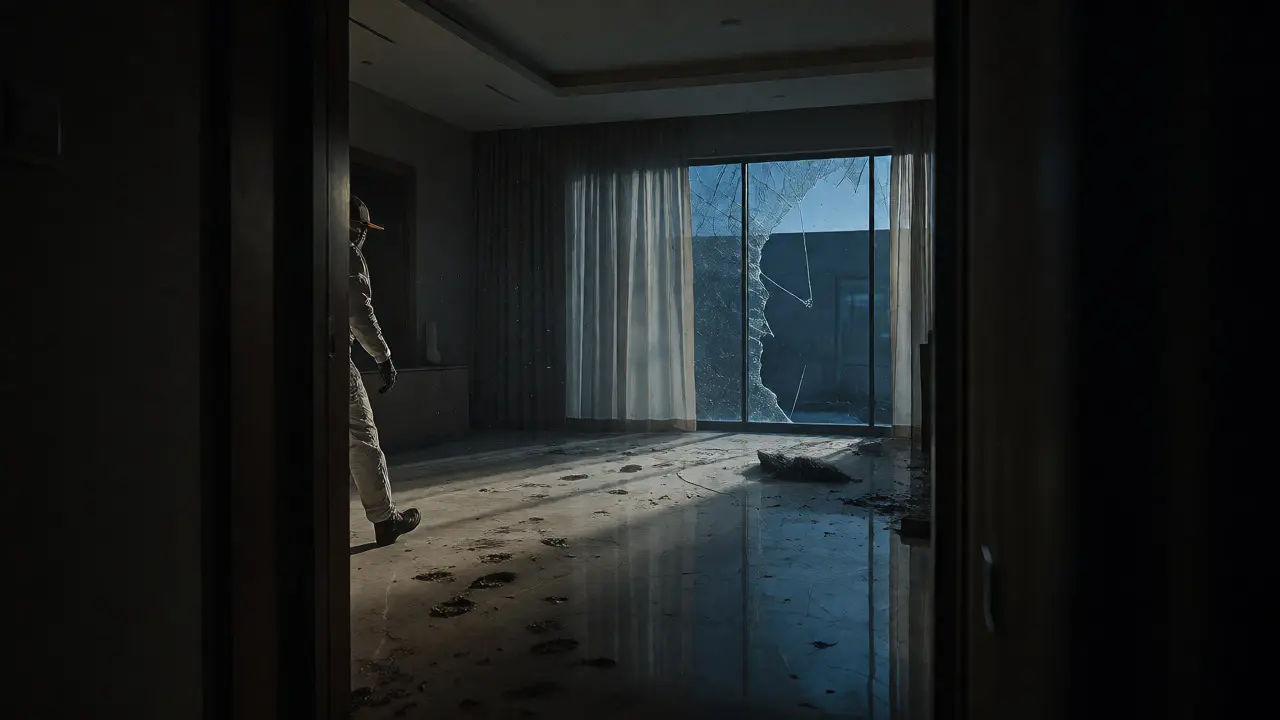
You walk into a room. The air is stale, maybe metallic. There’s a body on the floor, or perhaps just a shattered window and a muddy footprint near the door. Your job isn’t to solve the mystery yet; it’s to freeze time. If you don’t capture what you see right now, exactly as it is, that evidence might vanish forever when the first officer moves a chair or the rain starts falling outside.
Digital photography has replaced film as the standard for documenting crime scenes, but having a camera doesn’t make you a forensic photographer. It requires a specific mindset: systematic, objective, and technically precise. One blurry shot or one missed angle can turn a solid case into a defense attorney’s nightmare. This guide breaks down how to use digital tools effectively to preserve the truth of a scene before it changes.
Why Digital Beats Film (But Isn’t Magic)
Let’s be honest about why we switched from film to digital. Speed. In the old days, if you messed up an exposure, you wouldn’t know until the lab processed the roll hours later. By then, the scene was cleaned up. With digital sensors, you get instant feedback. You can check your histogram, zoom in on focus, and reshoot immediately.
But here is the trap: because you can shoot hundreds of images without cost, many investigators take too many. They panic-shoot. A disorganized hard drive full of 500 random shots is useless compared to a curated set of 50 logical images. Digital photography in forensics isn’t about quantity; it’s about creating a visual narrative that anyone-a jury, a judge, another detective-can follow without being there.
The core advantage is metadata. Every digital file carries embedded data: time, date, GPS coordinates, lens settings, and white balance. This EXIF data acts as a digital chain of custody. If you change nothing else, ensure your camera’s clock is synchronized with official time sources. An image timestamped three minutes after the body was moved tells a different story than one taken before.
The Three-Layer Approach to Coverage
Never start shooting close-ups. That’s the most common rookie mistake. You need to build context from the outside in. Think of it like peeling an onion, or better yet, zooming out on a map.
- Overall Shots: These show the scene in its environment. If it’s a house, photograph the street number, the front door, and the surrounding neighborhood. If it’s inside, stand in the doorway and shoot across the room. These photos answer the question: "Where did this happen?"
- Mid-Range Shots: Now move closer. Show the relationship between objects. If there’s a weapon next to a body, photograph them together. Do not separate them yet. These images establish spatial relationships. They prove that Item A was next to Item B.
- Close-Up Shots: Only after the context is locked in do you get tight. Fill the frame with the detail: the bullet hole, the blood spatter pattern, the serial number on a shell casing. Always include a scale reference here.
Skipping steps creates confusion. If a juror sees a close-up of a knife, they don’t know if it was on the counter or under the bed unless you showed them the mid-range shot first. Structure your workflow so every close-up has a corresponding wider shot nearby in the sequence.
Lighting: The Silent Killer of Evidence
Flash is not always your friend. While modern DSLRs and mirrorless cameras have great high ISO performance, relying solely on built-in flash flattens the image. It kills texture. Blood looks like paint. Dust disappears. Shadows vanish.
Use ambient light whenever possible. Walk around the scene. See where the shadows fall. Sometimes, turning off a ceiling light reveals details hidden by glare. When you must use artificial light, try off-camera flash. Holding the flash at a 45-degree angle casts long shadows that highlight tool marks, shoe impressions, or faint handwriting on paper.
| Scenario | Recommended Technique | Why It Works |
|---|---|---|
| Blood Spatter | Side lighting / Off-camera flash | Creates contrast between droplets and surface texture |
| Tool Marks | Oblique lighting (low angle) | Highlights depth and striations invisible to naked eye |
| Dark Interiors | Tripod + Long Exposure | Captures natural ambience without harsh flash artifacts |
| Outdoor Night | Strobe or High ISO + Wide Aperture | Balances subject brightness with background visibility |
Watch out for reflections. Glass windows, car windshields, and wet floors are notorious for bouncing flash back into the lens. Tilt the camera slightly or adjust your position to avoid these hotspots. If you’re photographing a license plate through a windshield, press the lens hood against the glass to block stray light.
Scales and Markers: Making Size Real
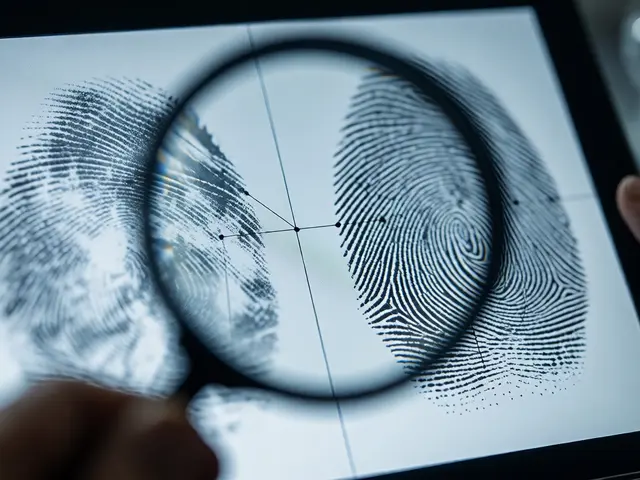
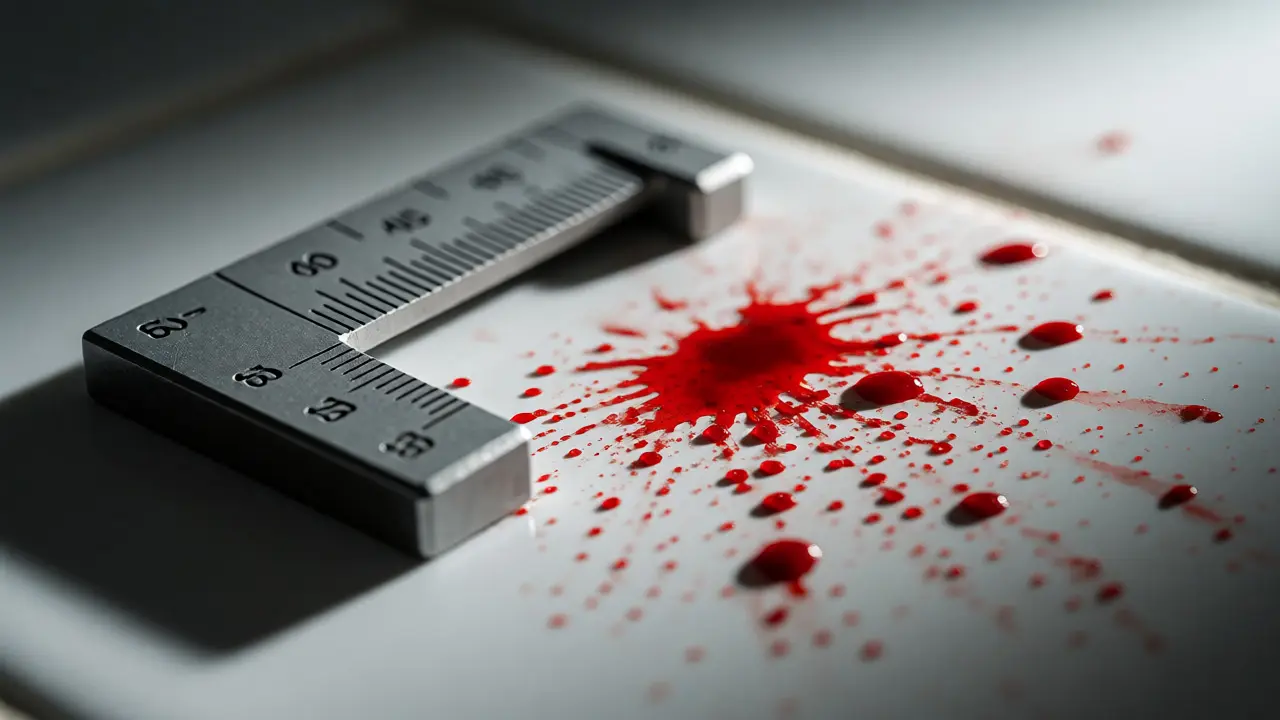
A photo of a fingerprint means nothing without size context. Is that smudge 1 inch wide or 5 inches? Without a scale, it’s guesswork. Always place an L-shaped forensic scale next to the evidence before taking the close-up.
There are two types of scales you need in your kit:
- L-Shape Scales: Place these vertically and horizontally next to the object. This allows software to correct perspective distortion later.
- Ruler Bars: For large areas, like a blood trail, use a long ruler bar to show continuity over distance.
Keep the scale clean. If it’s covered in dust or blood, wipe it. If the scale is bent, throw it away. A distorted scale distorts the measurement. And please, never hold the scale with your hand if you can avoid it. Use a small stand or tape it down. Hands shake, and fingers obscure evidence.
File Management and Chain of Custody
Once the shutter clicks, the work isn’t done. How you handle the files matters as much as how you took them. Never delete a bad shot in the field. Keep everything. If a photo is out of focus, leave it in the folder. Deleting files raises suspicion during cross-examination. "Why did you remove those ten images? Were they incriminating?"
Use a consistent naming convention. Instead of "IMG_001.jpg," rename files immediately if possible, or use a logbook. Write down: Time, Location, Subject, Photographer. Better yet, use voice-to-text apps while walking the scene. Record: "Photo 14, overall view of living room, north wall, showing entry point." Later, match this audio to the timestamps.
Back up your cards daily. Don’t wait until the end of the shift. Copy the raw files to two separate drives. One stays with the evidence locker, one goes to the lab server. Raw format (.CR2, .NEF, .ARW) preserves all sensor data. JPEGs compress information. If you ever need to brighten a dark corner to reveal a hidden clue, Raw gives you more latitude to recover details without introducing noise.
Common Pitfalls to Avoid
We’ve seen cases lost due to simple technical errors. Here are the big ones:
- White Balance Errors: Shooting indoors under yellow tungsten lights without adjusting white balance makes everything look sickly. Set custom white balance using a gray card or neutral target. Color accuracy can matter-was the shirt blue or black?
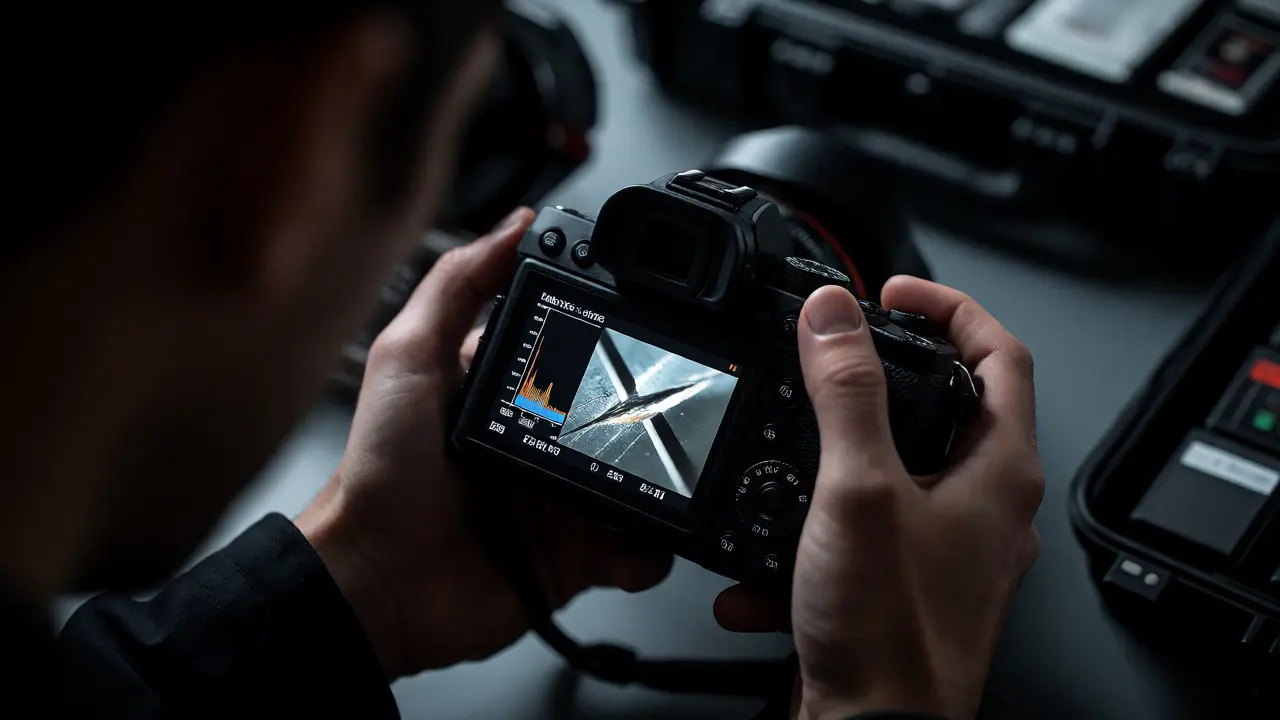
- Focus Misses: Zoom in on the LCD screen after every critical shot. Check the sharpest part of the image. If the eyes aren’t sharp on a portrait, or the edge of the wound isn’t crisp, retake it.
- Ignoring the Floor and Ceiling: Investigators often look straight ahead. But evidence falls. Bullets bounce. Blood drips down walls and pools on the floor. Photograph the floor beneath key objects. Look up for spray patterns on ceilings.
- Overcrowding the Frame: Clutter distracts. Move non-evidence items out of the shot if possible, or clearly mark them as irrelevant. A messy photo suggests a messy investigation.
Remember, the camera is an extension of your observation skills. It records what you choose to show. If you miss something because you weren’t looking closely enough, the camera won’t fix it. Slow down. Observe. Then shoot.
Frequently Asked Questions
Do I need a professional-grade camera for crime scene photography?
Not necessarily, but you need control. A smartphone can work for preliminary documentation, but for evidentiary quality, a DSLR or Mirrorless camera with manual mode is preferred. You need the ability to adjust aperture, shutter speed, and ISO independently. Smartphones often auto-process images, which can alter colors and contrast in ways that misrepresent evidence.
Can I edit my crime scene photos?
Yes, but strictly limited edits. You can crop, adjust brightness/contrast, and correct color balance. You cannot add, remove, or clone elements. Any adjustment must be documented in a processing log. If you enhance an image to reveal a detail, keep the original unedited version available for comparison. Over-editing can lead to accusations of manipulation.
What is the best resolution setting for forensic photography?
Shoot at the highest native resolution your camera supports, typically 20MP or higher. This ensures you can print large-format exhibits or zoom in digitally without pixelation. Always shoot in RAW format to retain maximum dynamic range and detail. Store JPEGs only as low-res previews if storage space is critically limited, but never discard the RAW originals.
How do I handle photos taken in complete darkness?
Use a tripod and a long exposure (several seconds). If the scene has some ambient light, let the camera gather it naturally. If it's pitch black, use external strobes or continuous LED panels. Avoid handheld long exposures as camera shake will blur the image. If using flash, multiple bursts may be needed to illuminate deep corners evenly without blowing out the foreground.
Is metadata legally admissible?
Yes, EXIF metadata is widely accepted as proof of authenticity and timing. However, it can be altered. To strengthen admissibility, hash values (digital fingerprints) should be generated for each file upon import. This proves the file hasn't been tampered with since capture. Ensure your camera's internal clock is accurate and synchronized with official time standards.