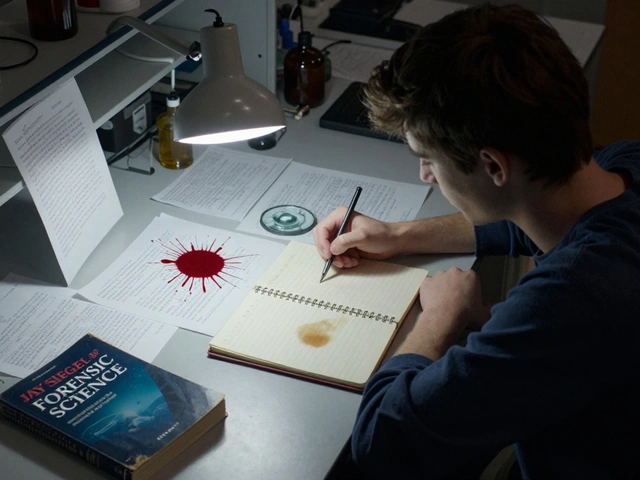
When a crime scene involves blood, the patterns left behind aren’t just messy stains-they’re silent witnesses. These patterns tell investigators how the violence unfolded: the direction of impact, the height of the attacker, whether the victim was moving or still. But none of that matters if the evidence isn’t documented correctly. Bloodstain photography and measurement are the backbone of accurate forensic reconstruction. Get it wrong, and you risk losing critical details that could change the outcome of a case.
Why Documentation Matters More Than You Think
Forensic analysts don’t just look at bloodstains-they rebuild events from them. A single drop can reveal whether someone was standing, falling, or being dragged. But none of that analysis is possible without a perfect visual record. Photos and measurements become the permanent archive of the scene. Once evidence is collected, cleaned, or moved, there’s no going back. The only thing left is what you captured.
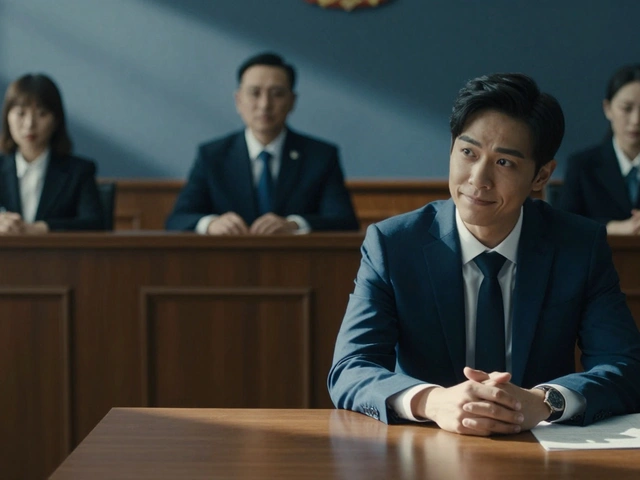
Imagine a defense attorney asking, “How do we know that stain was 8 inches wide?” If your photo doesn’t show a scale, or if the angle distorted the shape, you’ve created reasonable doubt. That’s why documentation isn’t just a step-it’s the foundation of every bloodstain pattern analysis.
The Four Essential Photo Views
There’s no such thing as “enough” photos when documenting blood. You need four distinct types, taken in order, to cover every angle:
- Overall photographs show the entire room or area where blood is present. These give context-where the body was, what furniture was nearby, how the blood spread across the floor and walls.
- Medium-range photographs zoom in just enough to show how different stains relate to each other and to key objects. A pool of blood near a chair? A trail leading to a door? This is where those connections become visible.
- Close-up photographs capture the fine details of individual stains: satellite spatters, cast-off arcs, drip patterns. These are often the most telling shapes.
- Specific evidence photographs focus on one or two critical stains that may hold special significance-a single high-velocity spatter near a weapon, or a pattern that matches a suspect’s shoe.
Each photo must be taken from the same position as the last one. If you shift your angle even slightly, you lose the ability to compare shapes later. That’s why a tripod isn’t optional-it’s mandatory.
Measurement Scales: The Non-Negotiable Rule
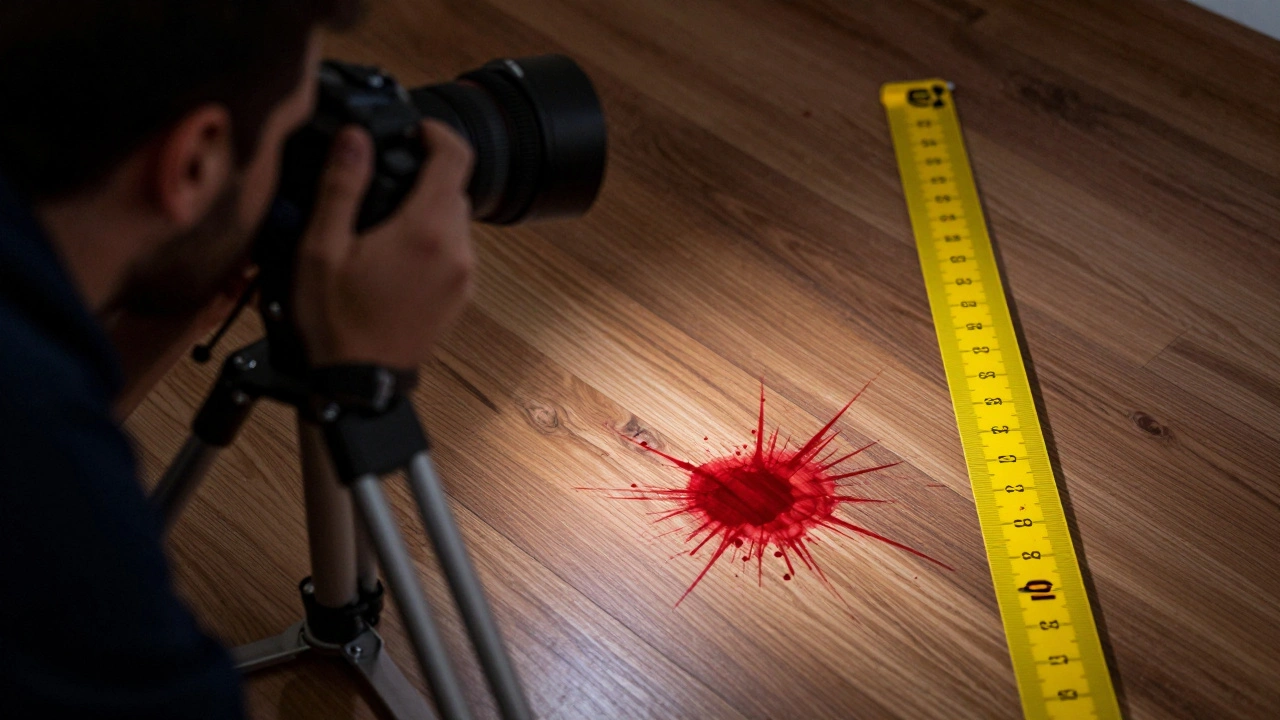
Never take a photo of a bloodstain without a scale. Not “sometimes.” Not “if it’s easy.” Always. The standard is a metric scale-centimeters and millimeters-because forensic science operates globally in metric units. A ruler in inches might make sense to you, but it’s useless in international courtrooms or cross-border investigations.
Place the scale directly beside the stain, parallel to the surface. Don’t lay it on top. Don’t angle it. Position it so it runs both horizontally and vertically around the pattern. This gives analysts the ability to measure length, width, and depth from any angle later.
For large areas, use multiple scales. If a trail of blood stretches across a 10-foot hallway, take one photo with a scale at the start, another with a scale in the middle, and another at the end. Don’t assume one scale will cover everything. Distance distorts perception.
The Roadmapping Technique: A System That Works
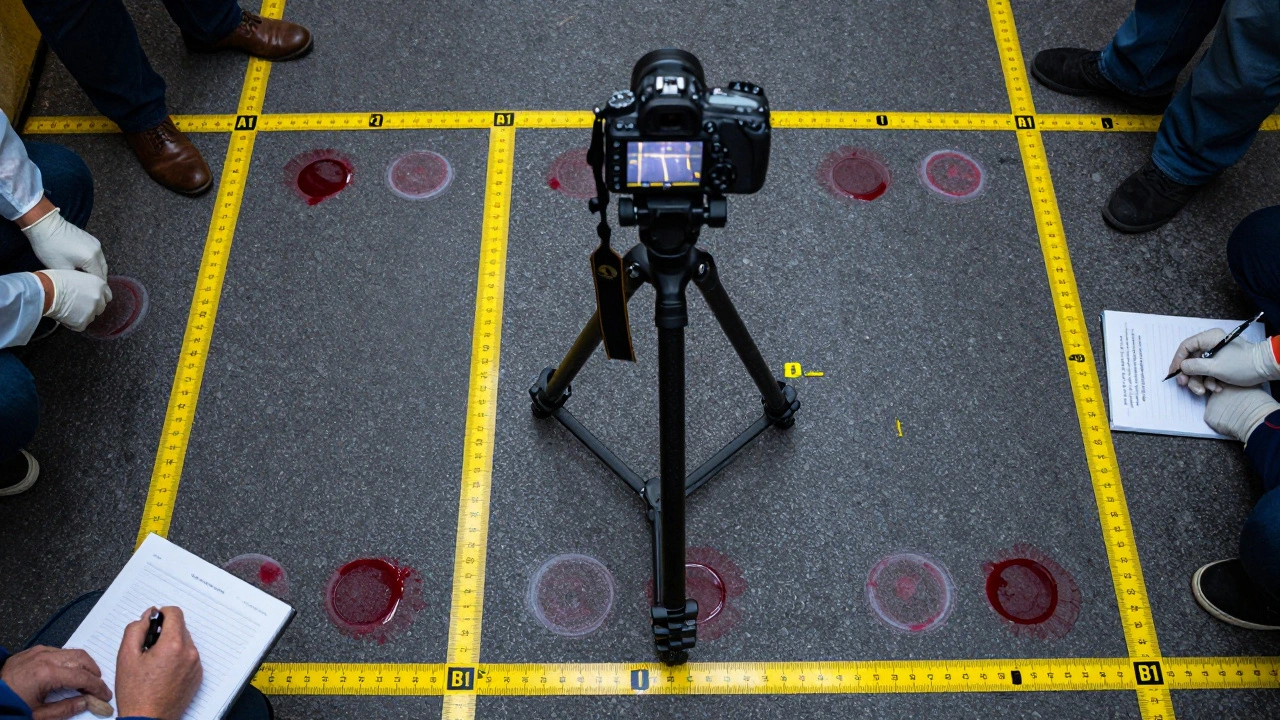
Developed by Toby L. Wolson of the Miami-Dade Police Department, the roadmapping technique is now the industry standard for organizing complex bloodstain scenes. It turns chaos into clarity. Here’s how it works in five steps:
- Identify each distinct bloodstain pattern. Is it a drip? A splash? A swipe? Group them logically.
- Apply yellow measurement scales using adhesive tape. These 8x8 inch scales are bright, non-reflective, and easy to photograph. Place them so they frame each pattern on all sides.
- Label each group with adhesive letters: A, B, C. This helps you keep track of patterns during analysis.
- Sub-label individual stains within each group. So if pattern A has three key stains, label them A1, A2, A3. Use smaller 50mm adhesive scales for these.
- Photograph everything using the four photo views for each labeled group. Don’t skip one. Don’t rush.
This system doesn’t just help you-it helps the prosecutor, the defense, the jury, and the judge. Anyone reviewing the case later can follow the same path you did. No guesswork. No confusion.
Equipment You Can’t Afford to Skip
You don’t need the most expensive gear-but you do need the right gear. Here’s what works:
- Digital SLR camera with manual controls. Auto mode will fail you. You need to adjust aperture, shutter speed, and ISO on the fly.
- 50mm lens or macro lens. This gives you the right balance of detail and depth-of-field. A wide-angle lens warps shapes. A telephoto lens loses context.
- External flash mounted off-camera. On-camera flash creates harsh shadows and glare on wet surfaces. An off-shoe flash gives even, directional light.
- Heavy-duty tripod that can tilt to 90 degrees. You’ll be shooting floor stains from above. You need to be able to lower the camera directly over the stain without leaning in.
- Yellow measurement scales and adhesive labels-available through forensic supply vendors. Don’t use paper or tape that smudges or reflects.
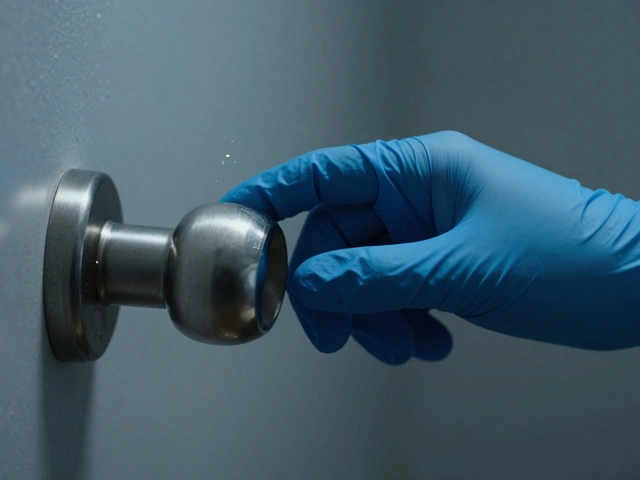
And always wear gloves. Not just for your safety-but to prevent contamination. Your fingerprints on a scale? That’s evidence too.
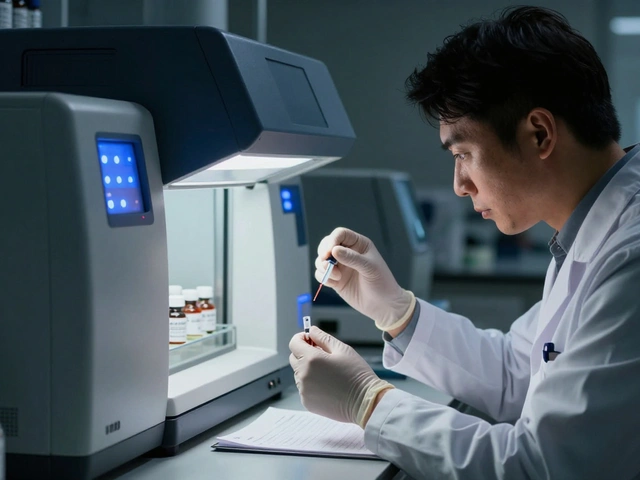
When Blood Isn’t Visible: Chemical Enhancement and Infrared
Sometimes, blood isn’t obvious. It’s been cleaned, diluted, or soaked into dark carpet. That’s when you turn to enhancement techniques.
Chemical reagents like Luminol, Bluestar, or Leucocrystal Violet react with blood’s iron to glow faintly in the dark. But here’s the catch: you still need to photograph the enhanced stain. The same rules apply-scale, perpendicular shot, no shadows. A glowing pattern means nothing if you can’t prove it was blood and not a chemical artifact.
Infrared photography is another tool. Blood absorbs infrared light differently than most surfaces. An IR-sensitive camera can reveal stains invisible to the naked eye, especially on dark fabrics or tiles. It’s not common, but when it’s needed, it’s irreplaceable.
Software like Adobe Photoshop can help too-adjusting contrast, sharpening edges, removing background noise. But never alter the original file. Always work on a copy. And document every edit you make. Transparency matters more than perfection.
What Happens After the Scene Is Cleared?
Documentation doesn’t end when the body is removed. You still need to photograph the empty space where the blood was. Why? Because what’s underneath matters. Was the stain on hardwood? Tile? Carpet? Was there a rug underneath? Was the floor damp? These details affect how the blood spread.
Take photos of the cleaned area. Take photos of the cleaned area with the scale in place. This becomes part of the evidence record. Later, when someone questions whether the stain could have come from a different location, you have proof of what was there.

Photo Logs: The Paper Trail That Protects You
Every photo you take must be logged. Not just “10 photos taken.” You need:
- Date and time
- Camera settings (aperture, shutter speed, ISO)
- Distance from subject
- Scale used
- Pattern label (A1, B3, etc.)
- Photographer’s initials
Use a notebook or digital log that’s timestamped. If a defense attorney asks, “Was this photo taken before or after the body was moved?” you need to answer with certainty. A sloppy log can unravel your entire case.
Common Mistakes That Ruin Evidence
Here’s what goes wrong more often than you’d think:
- Using a ruler that’s too small-if the scale doesn’t span the entire stain, measurements are inaccurate.
- Shooting from an angle-even 10 degrees off perpendicular distorts the shape of a spatter.
- Forgetting to photograph the scale-you took a close-up of the stain, but not the scale next to it. Now it’s useless.
- Using flash on reflective surfaces-this creates glare that hides stain edges.
- Not labeling patterns-you have 20 stains and no way to tell which is which. Chaos.
One mistake doesn’t ruin a case. But three? That’s enough for a judge to throw out the evidence.
Final Thought: Precision Over Speed
Bloodstain documentation isn’t about being fast. It’s about being exact. You’re not just taking pictures-you’re preserving the truth of what happened. One misaligned scale, one blurred photo, one unmarked pattern, and the entire reconstruction could be wrong.
Take your time. Double-check your scales. Confirm your angles. Log every shot. Let the evidence speak. And make sure it’s heard.
Do I need to photograph bloodstains on clothing separately?
Yes. Clothing with bloodstains is treated as individual evidence. Photograph it flat on a clean surface with a scale placed next to each pattern. Use the same four-view method: overall, medium, close-up, and specific. Label each stain with adhesive tags if multiple patterns are present. Never fold or roll the item before photographing-it changes the pattern.
Can I use my smartphone for bloodstain photography?
Not for official documentation. Smartphones lack manual control over aperture, shutter speed, and focus, which are essential for accurate color reproduction and depth-of-field. They also don’t allow for 90-degree perpendicular shots over floor stains. Use a DSLR with a tripod. If you must use a phone, it’s only for preliminary shots before the official documentation begins.
What if the bloodstain is on a curved surface, like a wall or a car door?
Use a flexible measuring tape to create a straight reference line across the stain. Place the scale along that line. Take multiple photos from different angles, but always keep the camera perpendicular to the surface at the point of measurement. You may need to take a series of overlapping photos and stitch them later using photogrammetry software. Never rely on a single shot.
How important is lighting for bloodstain photos?
Critical. Blood is dark red, and many surfaces are dark too. Poor lighting hides texture and shape. Use an off-camera flash with a diffuser to eliminate harsh shadows. Natural light often isn’t enough-especially indoors or at night. Always test exposure before taking the final shot. Use bracketing: take three shots at different exposures to ensure one captures the detail.
Can I edit the photos after taking them?
You can enhance contrast or brightness to improve visibility, but never remove or add elements. Never erase a stain or darken an area to hide detail. All edits must be documented. Always keep the original unedited file. The court will want to see both versions. Any manipulation that alters the shape or size of a stain can be challenged as tampering.