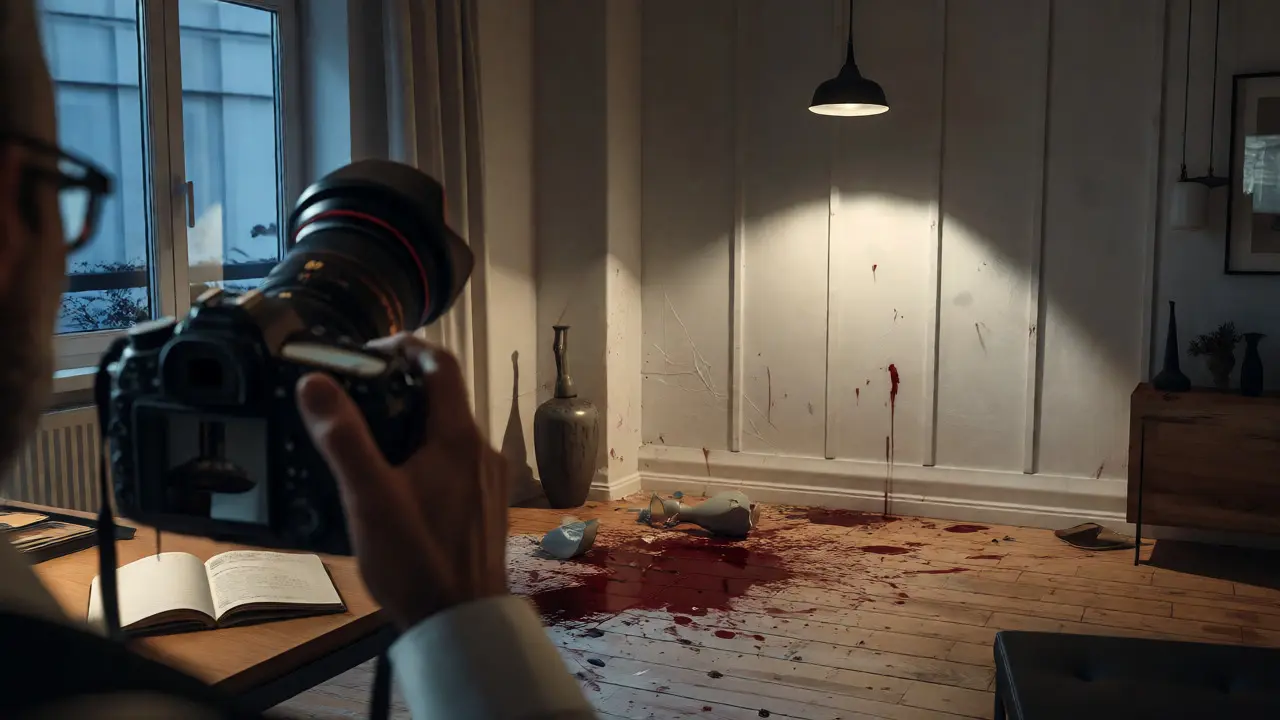
You walk into a room. It’s chaotic. There’s blood on the floor, a shattered vase near the window, and a notebook open on the desk. Your job isn’t just to find clues; it’s to prove they existed exactly as you found them. If you fail to document that scene properly, those clues might as well not exist in court. Crime scene documentation is the backbone of any successful investigation, turning physical reality into admissible legal evidence.
Most rookie investigators think taking good photos is enough. It’s not. Photos are great, but they lack scale and context if done poorly. A sketch provides dimensions. Notes provide the narrative. Logs track who touched what. When these four pillars-photography, sketching, note-taking, and evidence collection logs-work together, you build an unbreakable chain of evidence. When one fails, defense attorneys have a field day tearing your case apart.
The Four Pillars of Scene Documentation
Think of documentation as a safety net. You need redundancy because human memory is flawed, and technology can fail. The standard protocol relies on four specific methods, each serving a unique purpose that the others cannot fully replicate.
- Photography: Captures the visual state of the scene at the moment of arrival. It shows color, texture, and spatial relationships.
- Sketches: Provide accurate measurements and top-down layouts that photos distort due to perspective.
- Note-Taking: Records transient details like smells, temperatures, lighting conditions, and initial observations before anything is moved.
- Evidence Logs: Track the movement of every single item from the scene to the lab, ensuring integrity.
If you skip notes, you lose the smell of gasoline or the fact that the heater was running. If you skip sketches, you can’t prove the distance between the bullet hole and the victim’s head was consistent with a self-inflicted wound. Each element fills a gap left by the others.
Mastering Forensic Photography
Forensic photography is different from artistic photography. You aren’t trying to make the scene look beautiful; you’re trying to make it look true. The golden rule here is consistency. Every photo must be sharp, properly exposed, and focused on the subject without distortion.
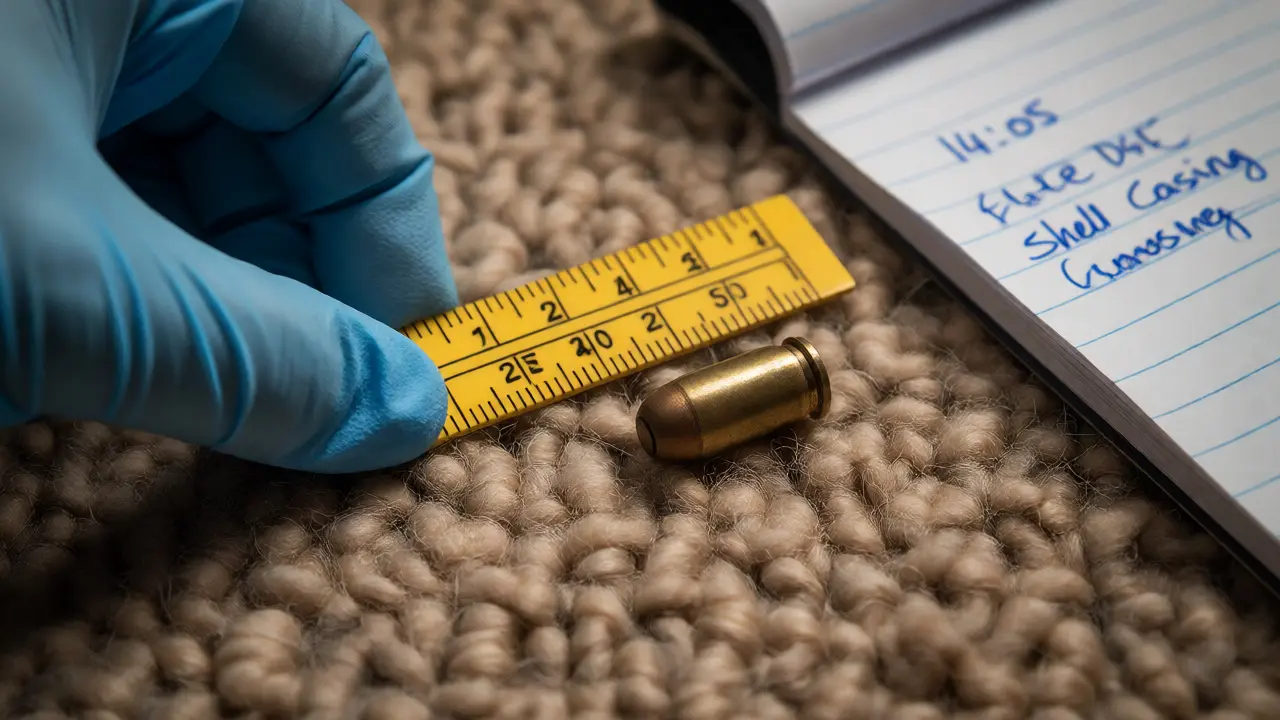
Start wide. Take overall shots of the exterior and interior to establish location. Then move to mid-range shots that show the relationship between objects (e.g., the gun relative to the sofa). Finally, take close-ups of individual pieces of evidence. Always use a scale marker-a ruler or L-scale-in close-up shots. Without a scale, a drop of blood looks the same size as a stain three feet away.
| Shot Type | Purpose | Key Requirement |
|---|---|---|
| Overall | Establish scene location and layout | Capture all four walls; include entry/exit points |
| Mid-Range | Show relationship between evidence items | Include two fixed reference points (e.g., door frame) |
| Close-Up | Detail specific evidence characteristics | Lens parallel to surface; include scale marker |
A common mistake is using flash indiscriminately. Flash kills shadows, which are crucial for showing depth and texture. Use ambient light when possible, or bounce the flash off the ceiling to soften harsh highlights. And never delete a bad photo in the field. Keep everything. The metadata in your digital files proves when and where the shot was taken, which is vital for authenticity.
The Art of the Crime Scene Sketch
While photos capture how things look, sketches capture where things are. Crime scene sketches are hand-drawn diagrams that provide precise measurements. They strip away the clutter of a photograph to focus purely on geometry and position.
You don’t need to be an artist. You need to be accurate. Use graph paper. Mark north. Label every object with a number that corresponds to your evidence log. Measure distances using triangulation: pick two fixed points in the room (like a corner of a wall) and measure the distance from each point to the evidence. This method is more reliable than measuring from a single point because it accounts for angles.
There are two main types of sketches:
- Rough Sketch: Done in the field during processing. It includes rough measurements and is used for immediate reference.
- Finished Sketch: Created later in the office using computer software or careful drafting. This is the version presented in court. It removes clutter and highlights only relevant evidence.
Why bother with a finished sketch if you have photos? Because juries struggle to interpret complex 3D spaces from 2D photos. A clean, labeled diagram helps them visualize the sequence of events. Did the suspect enter from the left or right? Was the weapon within reach? A sketch answers these questions instantly.
Effective Note-Taking Strategies
Notes are often neglected, yet they hold the most critical temporal data. By the time you process the scene, you’ve already altered it. You opened doors, turned on lights, maybe even moved a chair to see under it. Your notes must record the scene’s condition before you touched anything.
What should you write down?
- Environmental Conditions: Temperature, humidity, lighting (was a lamp on?), weather outside.
- Sensory Details: Smells (alcohol, smoke, decay), sounds (running water, ticking clock).
- Personnel Log: Who arrived, when, and why. This starts your chain of custody.
- Actions Taken: "At 14:05, I photographed the body. At 14:10, I collected the shell casing."
Be objective. Don’t write "The victim looked terrified." Write "The victim’s eyes were wide open, mouth agape." Interpretations belong in reports, not raw notes. Raw notes are facts. Facts stand up to cross-examination; opinions get shredded.
Maintaining the Chain of Custody
The Chain of custody is the chronological documentation of the seizure, custody, control, transfer, analysis, and disposition of evidence. If this chain breaks, the evidence is inadmissible. No matter how damning the DNA match, if you can’t prove who held the sample and when, it’s worthless.
Every piece of evidence needs a unique identifier. This usually involves tagging the item at the scene. The tag should include:
- Case Number
- Date and Time of Collection
- Collector’s Name and Badge Number
- Description of Item
- Location Found
When transferring evidence to another person-say, from the officer at the scene to the evidence clerk-both parties must sign the log. No exceptions. Even if you’re handing it to your partner you’ve known for ten years, sign the book. Bureaucracy protects you.
Digital Evidence and Modern Challenges
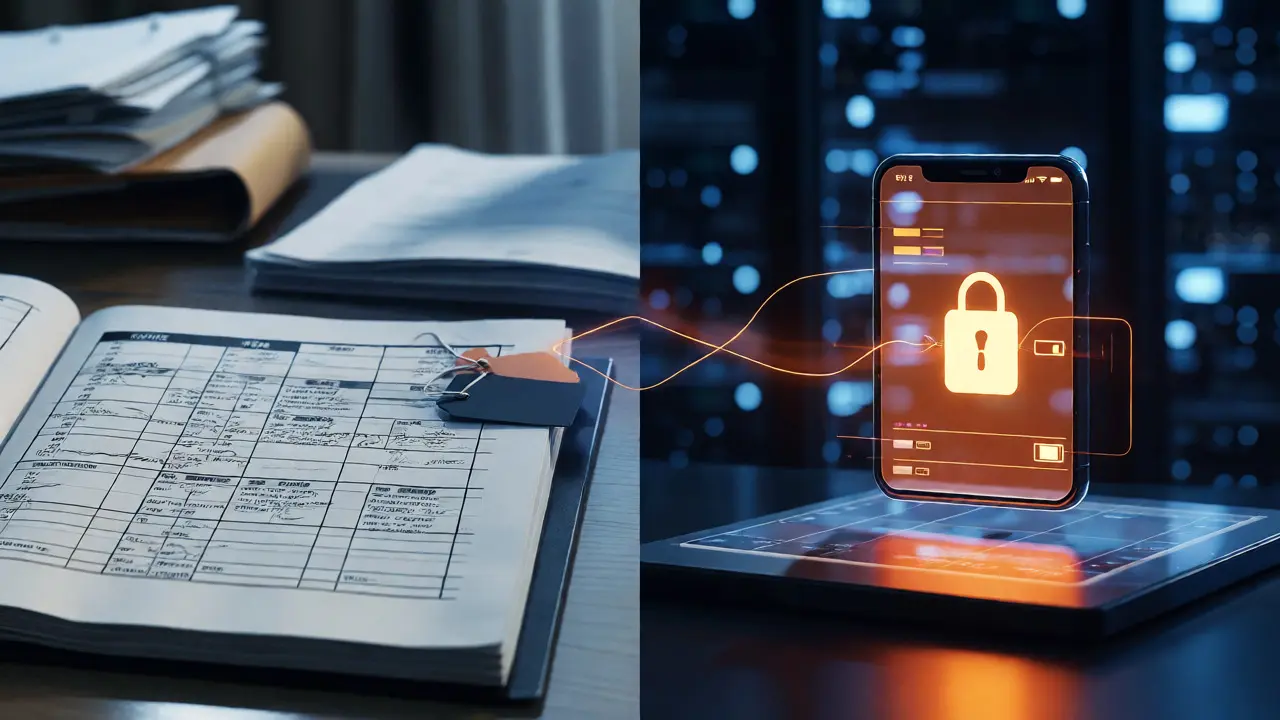
Modern scenes are rarely analog. Smartphones, smart thermostats, and security cameras add layers of complexity. Documenting digital evidence requires a different approach. You can’t just photograph a phone screen; you need to document its state.
For mobile devices, note whether the phone was locked or unlocked. Check battery level. Photograph the home screen if accessible. For computers, document the BIOS settings and boot order if possible. These details help reconstruct user activity. Also, remember that cloud storage means evidence exists off-site. Your documentation should reflect attempts to preserve volatile data before powering down devices.
Common Pitfalls to Avoid
Even experienced investigators slip up. Here are the most frequent errors that compromise documentation:
- Inconsistent Lighting: Changing light sources between overall and close-up shots makes comparisons difficult.
- Missing Scales: Close-ups without rulers render size estimates useless.
- Vague Descriptions: Writing "blood stain" instead of "reddish-brown liquid stain, approx. 2 inches in diameter."
- Ignoring Negative Evidence: Not documenting areas where expected evidence was absent (e.g., no footprints in the hallway).
- Poor Legibility: Handwritten notes that no one else can read months later.
Negative evidence is particularly tricky. If a burglar broke in through a window, you expect glass shards inside. If there are none, document their absence. It suggests the window was broken from the inside, pointing to staging.
Putting It All Together
Documentation isn’t paperwork; it’s storytelling. You are building a narrative that a jury will accept as truth. The photos show them what happened. The sketch shows them where it happened. The notes explain how it felt and what was present. The log proves nothing was tampered with.
Practice makes perfect. Review old case files. See where gaps appeared. Could you determine the height of the shooter from the sketch alone? Did the notes clarify why the suspect’s story changed? Good documentation anticipates these questions before they’re asked in court.
Do I need to take photos before moving any evidence?
Yes, absolutely. Once evidence is moved, its original position is lost forever. You must capture its relationship to surrounding objects and fixed points in the room before any alteration occurs. This establishes the context necessary for reconstruction.
Can I use a smartphone for crime scene photography?
In emergencies or minor incidents, yes. However, smartphones often have automatic HDR and lens corrections that distort reality. For serious felonies, dedicated forensic cameras with manual controls are preferred to ensure geometric accuracy and consistent exposure. Always disable auto-enhancement features if using a phone.
What happens if I forget to sign the chain of custody log?
A missing signature creates a break in the chain. Defense attorneys can argue that the evidence could have been tampered with during that unsigned period. While judges may sometimes allow testimony to cure a technical defect, it weakens the prosecution's case and invites scrutiny. Immediate correction with a dated annotation is better than silence.
How detailed should my crime scene notes be?
As detailed as necessary to reconstruct the scene without seeing it again. Include exact times, names of witnesses present, environmental conditions, and specific descriptions of evidence. Avoid conclusions. Focus on observable facts. If you can't verify it visually or physically, leave it out of the raw notes.
Is video recording required for crime scene documentation?
Not always required by law, but highly recommended. Video provides a continuous, immersive view of the scene that photos cannot match. It captures audio cues and spatial flow. Many agencies now mandate a walkthrough video for major crimes to supplement still images and sketches.