You walk into a room. It’s messy, chaotic, and potentially violent. Your job isn’t just to find the clues; it’s to freeze time. If you can’t prove what was there, where it was, and who touched it, that bloody fingerprint is worthless in court. Crime scene documentation is the backbone of any successful prosecution. It transforms a physical space into a legal record. Most rookie mistakes happen not because an investigator missed a clue, but because they failed to capture the context around it.
Why Documentation Is Non-Negotiable
Think of documentation as the bridge between the scene and the jury. Without it, you’re asking people to trust your memory from six months ago. The National Institute of Justice emphasizes that documentation must be complete, accurate, and objective. This isn't about writing a novel; it's about creating a reproducible record. If another investigator walked into that same scene with your notes, photos, and sketches, they should see exactly what you saw.
The core problem? Human memory is flawed. We forget details under stress. We bias our observations based on what we think happened. Proper documentation strips away that bias. It forces you to slow down and observe before you act. When you document correctly, you protect yourself from cross-examination attacks like, "Officer, did you move that weapon before photographing it?" or "Where exactly was the shell casing relative to the body?"
The Four Pillars of Scene Recording
Effective recording relies on four distinct methods. You need all of them. Relying on just one leaves gaps that defense attorneys love to exploit.
- Photography: Captures visual reality.
- Videography: Provides spatial continuity and audio context.
- Sketching: Offers precise measurements and relationships.
- Note-taking: Records transient conditions and procedural actions.
These aren't interchangeable. A photo shows color and texture, but it distorts distance. A sketch shows exact distances but lacks texture. Notes capture smells, sounds, and weather conditions that cameras miss. Videography connects the dots by showing the flow of movement through the space. You are building a multi-dimensional puzzle.
Mastering Crime Scene Photography
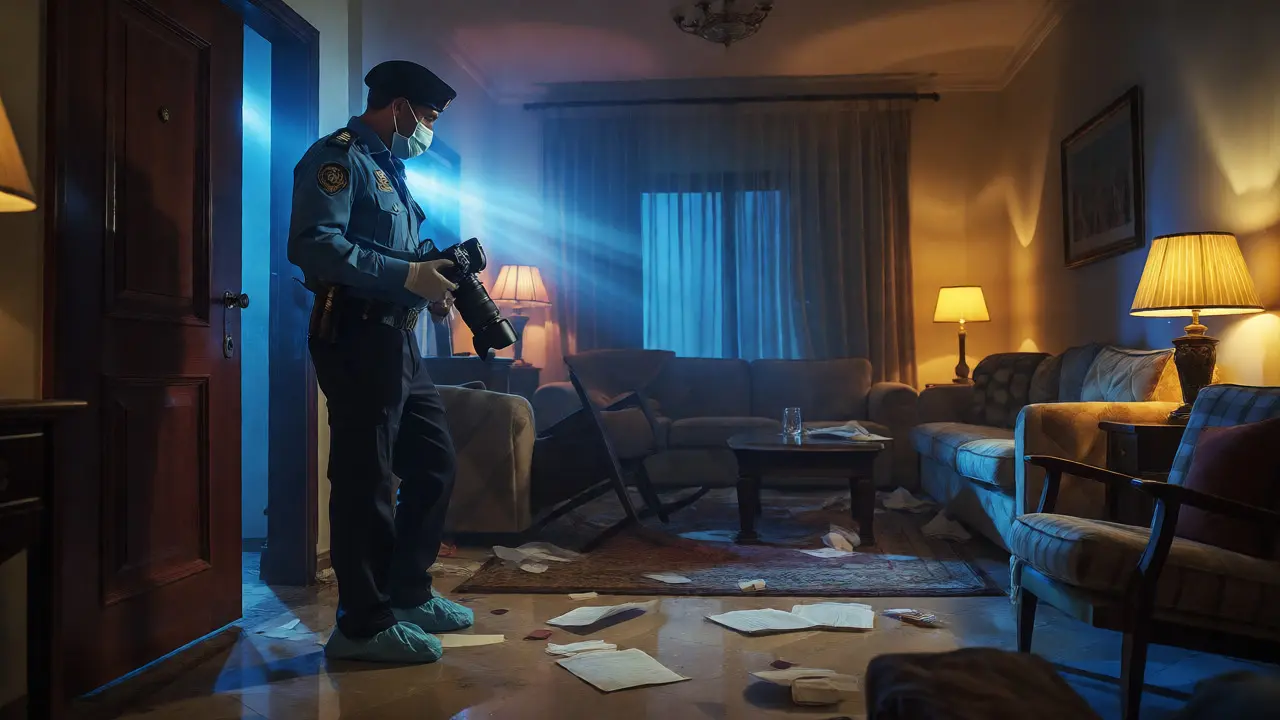
Photography is often the first thing people think of, but it’s frequently done poorly. The rule is simple: shoot wide, then narrow. Start with overall shots of the exterior and interior to establish location. Then move to mid-range shots that show evidence in relation to fixed objects (like a doorframe or window). Finally, take close-up shots with a scale marker.
| Shot Type | Purpose | Key Requirement |
|---|---|---|
| Overall | Establishes scene location and layout | Capture all four walls; include entry points |
| Mid-Range | Shows evidence in context | Include fixed landmarks (furniture, fixtures) |
| Close-Up | Details specific evidence | Must include an L-scale or ruler; perpendicular angle |
| Overhead | Shows relationship between multiple items | Use a tripod or overhead mount if possible |
A common pitfall is forgetting the scale. A close-up of a bullet hole without a ruler next to it is useless for determining caliber. Always place the scale flat against the surface, not propped up at an angle. Also, never remove evidence until you have photographed it in situ. Once it moves, the original position is lost forever unless meticulously recorded.
The Art of the Crime Scene Sketch
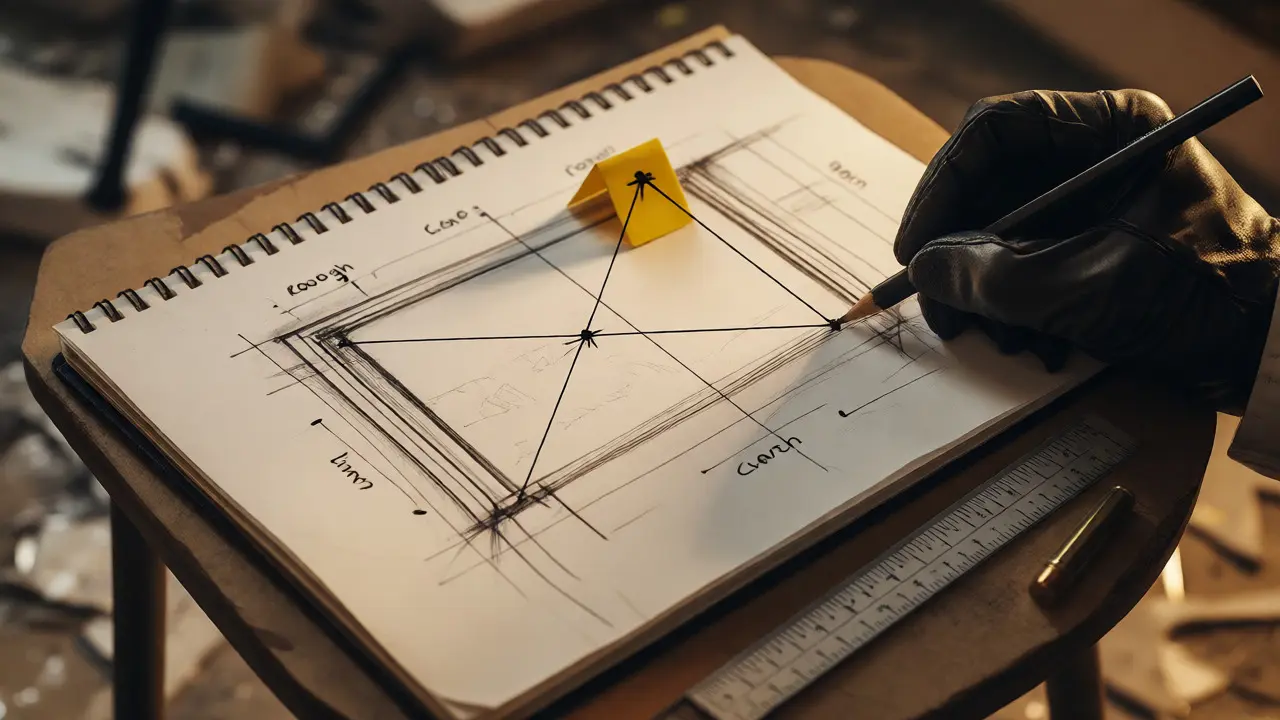
While photos are great, they don’t provide precise measurements. That’s where the sketch comes in. You don’t need to be an artist. You need to be accurate. There are two main types of sketches: rough and finished.
The rough sketch is drawn at the scene. It’s messy, quick, and functional. You mark permanent fixtures-walls, doors, windows-and then plot evidence locations using triangulation. Triangulation means measuring from two fixed points to the evidence. For example, measure from the north wall to the left side of the body, and from the east wall to the head. Write these numbers directly on the sketch. Do not rely on memory.
The finished sketch is created later, often digitally. It cleans up the rough sketch, adding legends, keys, and clean lines. It removes clutter. Importantly, the finished sketch must match the rough sketch exactly. If you change a measurement in the final version, you’ve introduced error. Keep the rough sketch as part of the file; it proves you didn’t fabricate data after leaving the scene.
Detailed Note-Taking and Observation
Your notebook is your best friend. It records things that don’t photograph well. Did the house smell like gas? Was the TV on? What was the temperature outside? These details matter. They help reconstruct the timeline and state of mind.
Start your notes with administrative data: date, time, weather, lighting conditions, and who else was present. Then, describe the scene objectively. Avoid conclusions. Instead of writing "The victim was murdered," write "The victim was lying face down with visible blood pooling." Save interpretation for the report, not the field notes.
Document every action you take. If you moved a chair to get a better view, write it down. If you turned on a light, note the time. This creates a chronological log of activity. Defense attorneys will ask, "Who entered the scene before you?" Your notes should answer that instantly.
Chain of Custody and Evidence Logs
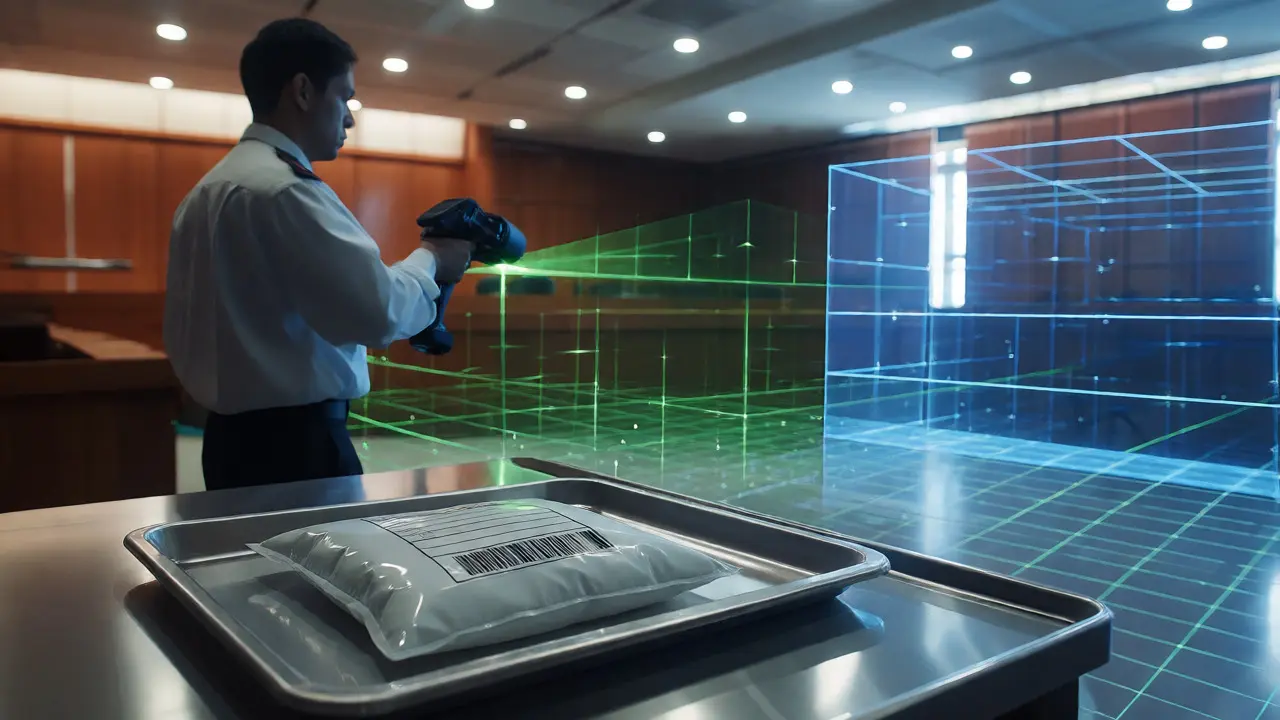
Once you collect evidence, the paperwork starts. The Chain of Custody is the unbroken record of who handled an item from collection to court. Every transfer must be documented. Who collected it? Who packaged it? Who transported it? Who received it at the lab?
Each piece of evidence needs a unique identifier. Use a consistent format, such as Case Number-Item Number (e.g., 2026-104-Blood-01). Attach this label to the packaging immediately. Fill out the evidence log form right then. Don’t wait until you’re back at the station. Memory fades fast.
If the chain breaks-if there’s a gap in time or an unsigned signature-the evidence may be inadmissible. No amount of scientific testing can save contaminated provenance. Keep duplicates of all forms. One goes with the evidence, one stays in your case file.
Common Pitfalls to Avoid
Even experienced investigators make errors. Here are the big ones:
- Contaminating the scene: Walking through blood pools or stepping on debris before documenting.
- Inconsistent scales: Using different rulers or angles for similar items.
- Vague descriptions: Writing "near the table" instead of "15 inches from the south leg of the oak table."
- Missing metadata: Photos without timestamps or GPS coordinates.
- Rushing: Trying to finish too quickly leads to skipped steps.
Remember, speed kills accuracy. Take your time. Double-check your measurements. Verify your photo angles. It’s better to spend an extra hour at the scene than to lose the case in trial because of sloppy paperwork.
Technology in Modern Documentation
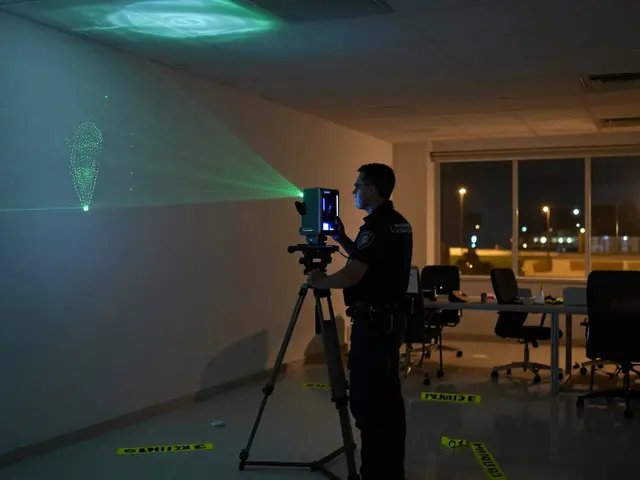
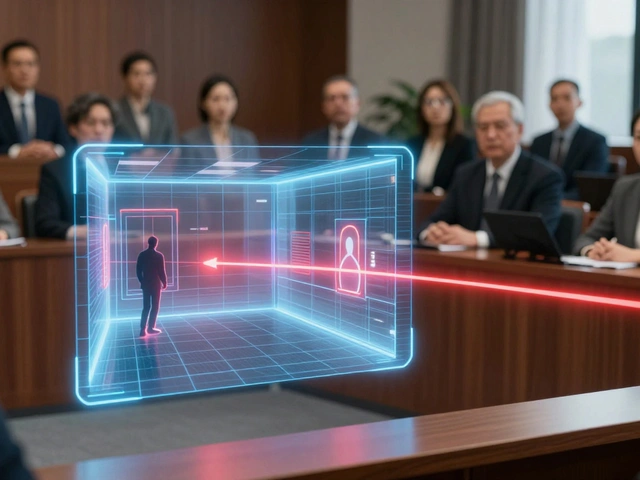
Things are changing. Many agencies now use 3D laser scanning and photogrammetry. Tools like LiDAR scanners create a point cloud of the entire scene, allowing virtual walkthroughs years later. This reduces the need for extensive manual sketching, though it doesn’t replace it entirely.
However, technology introduces new challenges. File formats become obsolete. Data storage fails. Metadata gets stripped when files are emailed. Always keep a PDF backup of digital scans. And never let tech fail you-always have paper and pencil ready as a backup.
Final Checklist Before Leaving the Scene
Before you pack up, run through this mental checklist:
- All photos taken? Wide, mid, close, overhead?
- Scale included in all close-ups?
- Rough sketch completed with triangulated measurements?
- Notes detailed enough for someone else to understand?
- Evidence labeled and logged with Chain of Custody started?
- Scene secured for release?
Documentation is not busywork. It is the product of your work. The scene itself disappears once cleaned. Your documentation is all that remains. Make it count.
Do I need to photograph the exterior of the building?
Yes. Exterior photos establish the location and access points. Capture street signs, parking areas, and any obvious disturbances like tire tracks or broken glass near the entrance. This helps reconstruct how suspects or victims arrived and departed.
Can I edit crime scene photos?
Minimal editing is acceptable, such as adjusting brightness or contrast for visibility. However, you must never crop out relevant context or add/remove elements. Always retain the original raw files. Any edits should be non-destructive and documented in the case file.
What if I forget to measure something?
If the scene is still intact, go back and measure. If the scene has been released, you cannot re-measure. In your notes, clearly state that the measurement was estimated or omitted. Honesty is better than guessing. A missing measurement is less damaging than a fabricated one.
How long should I keep documentation records?
Retention policies vary by jurisdiction and case type. Generally, homicide cases require permanent retention. Other felonies might be 7-10 years. Check local laws. Digital backups are crucial to prevent loss due to fire or flood.
Is video better than photos?
Video provides continuity and audio cues, which photos lack. However, video can distort perspective and is harder to analyze frame-by-frame. Use both. Video for the narrative flow, photos for static detail analysis. Neither replaces the other.