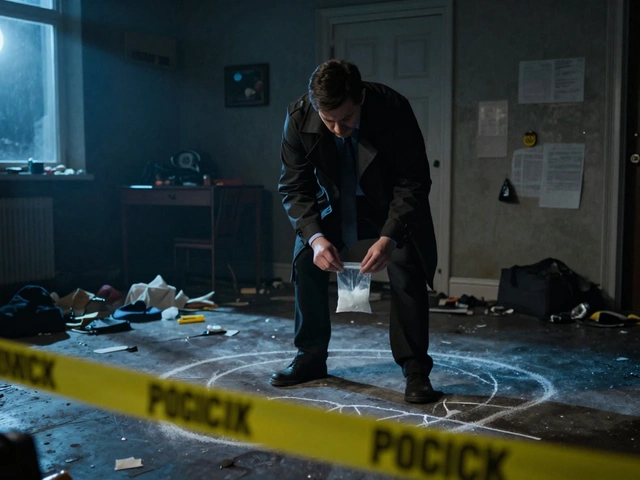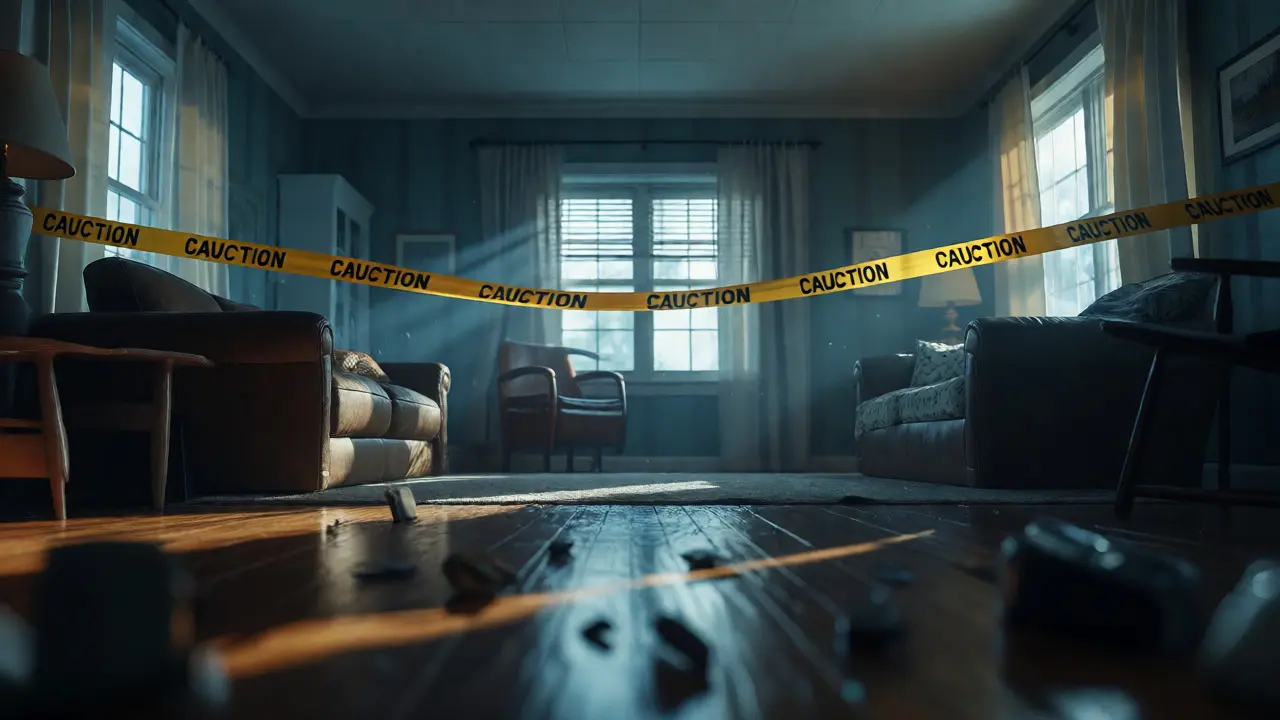
You walk into a room and see it. Maybe it’s a crime scene tape fluttering in the draft, or perhaps it’s just an unfortunate accident in your own home-a fall that didn’t go as planned. The sight of biological material triggers a primal instinct to run. But running doesn’t clean the mess. It leaves behind pathogens, smells, and liability. Whether you are a first responder, a property manager, or a homeowner facing a biohazard cleanup, knowing how to handle these sites is not just about hygiene; it’s about survival.
Most people underestimate the complexity of decontamination. It isn't simply mopping up visible fluids with bleach water. Biological hazards-blood, bodily fluids, mold spores, or animal waste-carry risks that invisible microbes thrive on. If you skip steps, you might look like you cleaned the area while actually spreading contaminants into the HVAC system or porous drywall. This guide breaks down the actual procedures used by professionals, so you can either do it right yourself or know exactly what to expect when hiring help.
Understanding the Threat: What Counts as a Biohazard?
Before you grab a mop, you need to identify what you’re dealing with. Not every mess requires hazmat gear, but misidentifying one can lead to infection or long-term health issues. In the United States, the Occupational Safety and Health Administration (OSHA) defines biohazards as infectious agents presenting a risk to the health of living organisms, primarily humans. This includes medical waste, laboratory cultures, and human blood.
Think about the difference between a kitchen grease spill and a blood spill from a cut. Grease is a nuisance; blood is a vector for diseases like Hepatitis B, Hepatitis C, and HIV. While the transmission risk from casual contact is lower than you might think, the concentration of viruses in fresh biological material is high. Furthermore, if the site involves decomposition-say, an unattended death-the situation escalates. Decomposition releases gases and fluids that can soak into subfloors, creating a breeding ground for bacteria that standard household cleaners cannot touch.
Here is a quick breakdown of common scenarios and their risk levels:
- Minor Blood Spills: Small amounts of blood from a nosebleed or minor cut. Low risk if cleaned immediately with proper disinfectants.
- Crime Scenes: Large volumes of blood, tissue, or bone fragments. High risk due to potential exposure to multiple pathogens and psychological stress.
- Unattended Deaths: Biological decomposition involving bodily fluids leaking onto floors, carpets, or walls. Very high risk due to odor and deep contamination.
- Mold Infestations: While technically a fungus, black mold (Stachybotrys chartarum) is often treated with similar precautions because its spores cause respiratory distress and allergic reactions.
The Golden Rule: Personal Protective Equipment (PPE)
If there is one mistake amateurs make, it is under-dressing for the job. You wouldn’t weld without a mask, and you shouldn’t clean biohazards without barriers. Your skin is a permeable membrane, especially if you have small cuts or abrasions you didn’t notice. The goal of PPE is to create a complete barrier between your body and the contaminant.
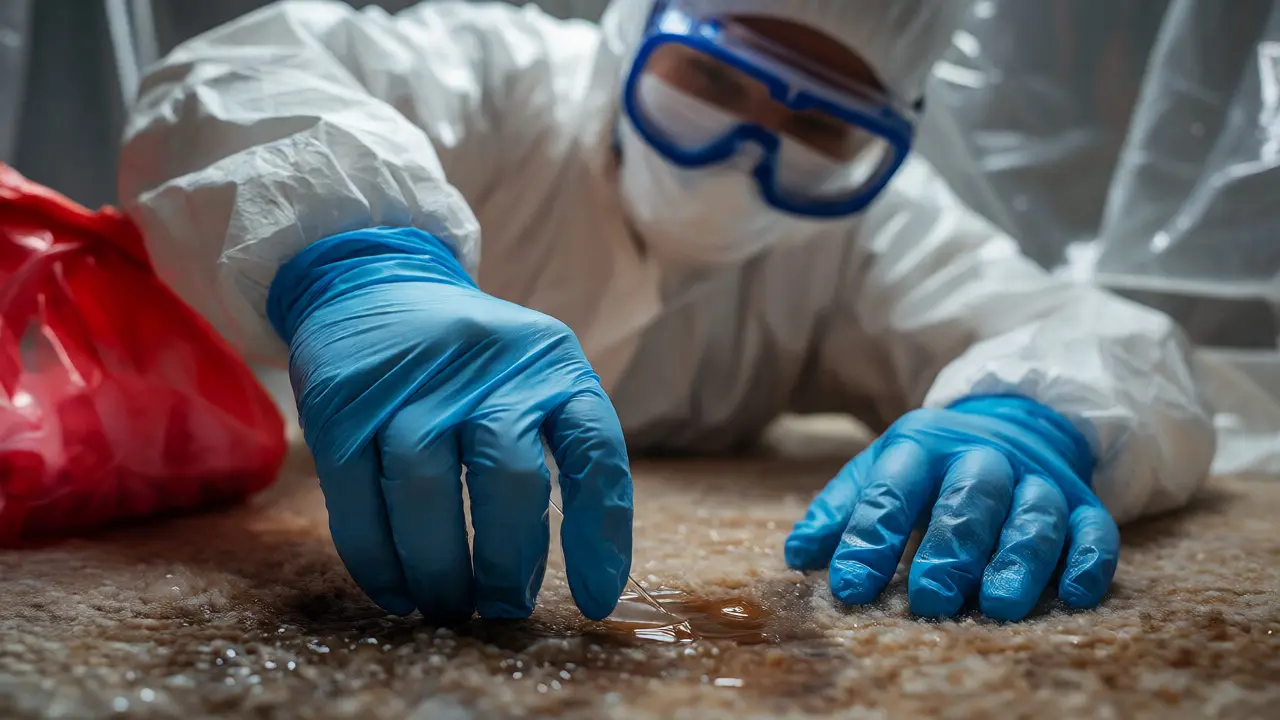
Standard household rubber gloves aren’t enough. They degrade quickly when exposed to strong chemicals like quaternary ammonium compounds or chlorine bleach. Professionals use nitrile gloves, which offer better chemical resistance and puncture protection. Double-gloving is recommended for heavy-duty jobs. Change the outer pair immediately if they tear or become heavily soiled.
Eye protection is equally critical. Splashes happen. A drop of contaminated fluid in the eye can be dangerous. Use sealed safety goggles, not just glasses. For airborne particles, especially in cases of mold or dried blood dust, a simple surgical mask won’t cut it. You need an N95 respirator at minimum, or a half-face respirator with P100 filters for serious contamination. This prevents you from inhaling aerosolized pathogens created during the scrubbing process.
| Item | Minimum Standard | Professional Standard | Why It Matters |
|---|---|---|---|
| Gloves | Nitrile | Double Nitrile + Cut Resistant | Prevents skin absorption and needle sticks. |
| Eyes | Safety Glasses | Sealed Goggles | Blocks splashes and airborne particulates. |
| Respiratory | Surgical Mask | N95 or Half-Face Respirator | Filtration of microscopic spores and droplets. |
| Body | Coveralls | Tyvek Suit (Level C) | Prevents contamination of clothing and skin. |
| Feet | Closed-toe Shoes | Rubber Boots + Shoe Covers | Stops tracking contaminants outside the zone. |
Step-by-Step Decontamination Procedure
Once you are suited up, the process follows a strict logical order. You don’t start cleaning randomly. You work from the least contaminated areas to the most, and usually from top to bottom, to prevent re-contaminating cleaned surfaces.
1. Assessment and Containment
First, secure the area. Close doors and windows to prevent airflow from spreading contaminants to other parts of the building. If using HVAC systems, turn them off. Tape plastic sheeting over doorways if necessary. This creates a "hot zone." Inside this zone, remove any non-porous items that can be easily disinfected later, such as electronics or hard furniture. Leave porous materials like mattresses or heavy drapes if they are heavily saturated-they often need professional removal.
2. Gross Removal
This step is about removing the bulk of the biological matter. Do not rub. Rubbing pushes fluids deeper into fibers. Instead, use absorbent materials like paper towels or specialized absorbent powder to lift the substance. Place all waste directly into red biohazard bags. These bags must be labeled with the biohazard symbol. Never mix regular trash with biohazard waste unless local regulations explicitly allow it for small quantities after disinfection. When sealing the bag, twist the neck tightly and tape it shut. Double-bag if the outer layer gets dirty.
3. Disinfection
Now comes the chemistry. Household bleach is effective but tricky. The CDC recommends a dilution of 1 part bleach to 10 parts water for general disinfection. However, bleach corrodes metals and fades fabrics. Many professionals prefer quaternary ammonium compounds (quats) or accelerated hydrogen peroxide. These products kill a broad spectrum of bacteria, viruses, and fungi without the harsh fumes of chlorine. Apply the disinfectant generously. Let it sit. This "dwell time" is crucial. Most disinfectants need 5 to 10 minutes of wet contact time to actually kill pathogens. Wiping it away immediately defeats the purpose. Scrub gently with a stiff-bristled brush for textured surfaces like grout or concrete.
4. Rinsing and Drying
After the dwell time, wipe the surface with clean water or a neutralizer if required by the product instructions. Then, dry the area thoroughly. Moisture is the enemy. It invites mold growth and allows remaining bacteria to multiply. Use fans and dehumidifiers if necessary. Air drying alone is often too slow for large spills.
Handling Porous vs. Non-Porous Materials
The type of surface dictates the difficulty of the cleanup. Non-porous materials-glass, tile, stainless steel, vinyl flooring-are forgiving. You can wipe them down repeatedly until they test clean. Porous materials-carpet, drywall, wood, fabric-are nightmares. They act like sponges, absorbing fluids deep into their structure.
If blood soaks into hardwood, you might need to sand and seal the floor. If it hits drywall, you likely need to cut out the affected section. Drywall is essentially compressed gypsum and paper; once stained and saturated, it rarely cleans well. Cutting out a 2x2 foot square around the stain and replacing it is often cheaper and more hygienic than trying to steam-clean it. Carpet padding almost always needs replacement if soaked through, as the backing traps odors and bacteria against the subfloor.
Disposal and Legal Compliance
You can’t just throw biohazard waste in the curb pickup bin. Regulations vary by state and municipality, but generally, regulated medical waste requires specific disposal methods. In many places, you must use a licensed medical waste hauler. They will provide containers and certify that the waste was incinerated or autoclaved (sterilized with steam pressure).
For homeowners, some jurisdictions allow double-bagged and bleached small amounts of blood to go in regular trash. Always check your local health department guidelines. Failing to dispose of waste correctly can result in fines and environmental hazards. Keep receipts and manifests from disposal services as proof of compliance, especially if this relates to a legal claim or insurance payout.
When to Call a Professional
DIY is great for small accidents. But there are clear lines where you should stop. If the spill covers more than 10 square feet, call a pro. If the source is unknown (e.g., finding a deceased person), call a pro. If the site involves sewage backup, call a pro. Sewage contains fecal matter and parasites like Giardia, which require different treatment protocols than blood.
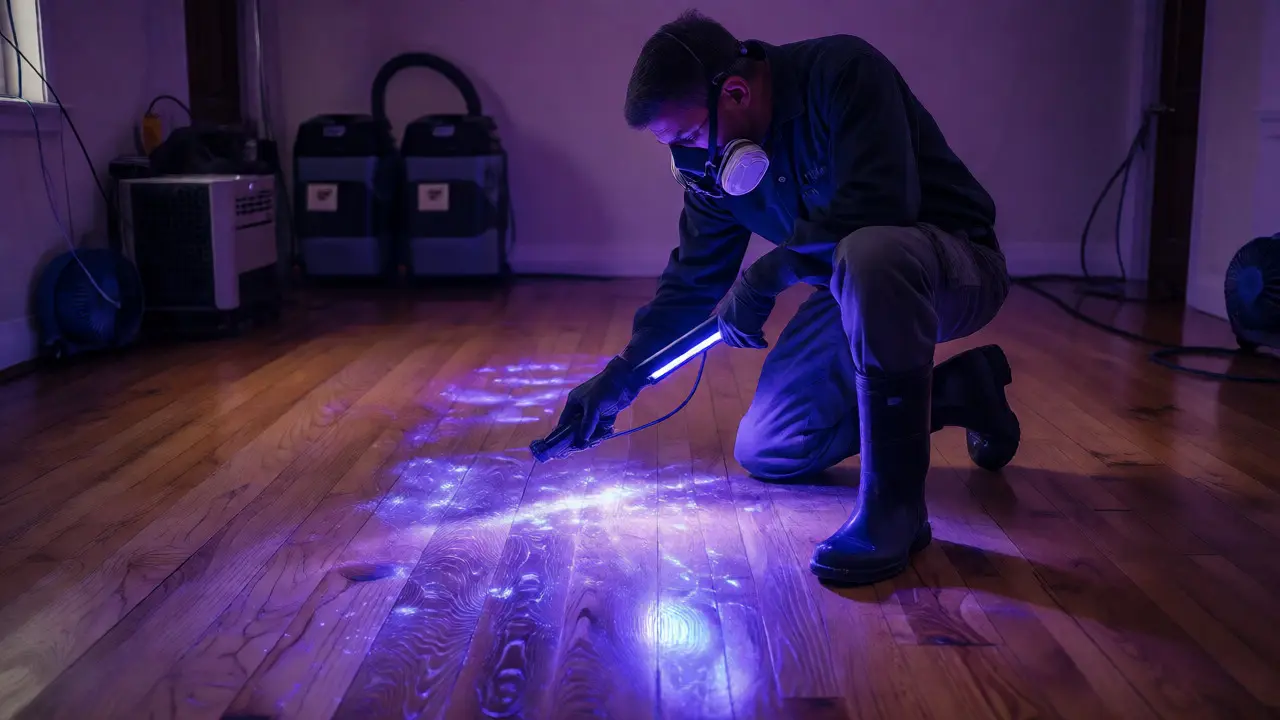
Professionals use tools you probably don’t own, like UV lights to detect hidden organic residue and moisture meters to ensure subfloors are dry. They also carry liability insurance. If you miss a spot and someone gets sick later, you want to know who is responsible.
FAQ: Common Questions About Biohazard Cleanup
Can I use vinegar instead of bleach for biohazard cleanup?
Vinegar is a mild acid and has some antimicrobial properties, but it is not registered as a hospital-grade disinfectant. It does not reliably kill tough pathogens like Hepatitis B or bacterial spores. For biohazards, stick to EPA-registered disinfectants, diluted bleach, or hydrogen peroxide-based solutions.
How long does biohazard cleanup take?
A small blood spill might take an hour. A full-room crime scene cleanup can take 4 to 8 hours. Unattended deaths with decomposition may require days of work, including odor remediation and structural repairs. Time depends on the extent of saturation and the types of materials involved.
Does bleach damage carpets?
Yes, bleach can discolor and weaken carpet fibers. It is best used on non-porous surfaces. For carpets, use oxygen-based cleaners or enzymatic cleaners specifically designed for biological stains. Always test a small, hidden area first.
What is the smell of decomposition, and can I remove it myself?
The smell is caused by gases like putrescine and cadaverine released during tissue breakdown. Surface cleaning rarely removes this odor because the gases penetrate walls and insulation. Professional odor removal often involves hydroxyl generators or ozone treatments to break down the molecules at a molecular level.
Do I need to report a biohazard incident to authorities?
If the biohazard resulted from a crime or unattended death, yes, police involvement is usually mandatory. For workplace incidents, OSHA reporting rules apply depending on the severity and whether employees were exposed. For private homes, reporting is typically only required if waste disposal violates local environmental codes.
Final Thoughts on Safety and Recovery
Cleaning a biohazard site is physically demanding and emotionally taxing. Take breaks. Hydrate. Remember that the goal isn’t just visual cleanliness-it’s microbiological safety. If you follow the protocol, wear the right gear, and dispose of waste correctly, you protect yourself and future occupants of the space. When in doubt, err on the side of caution and hire a certified specialist. It’s better to pay for expertise than to gamble with your health.