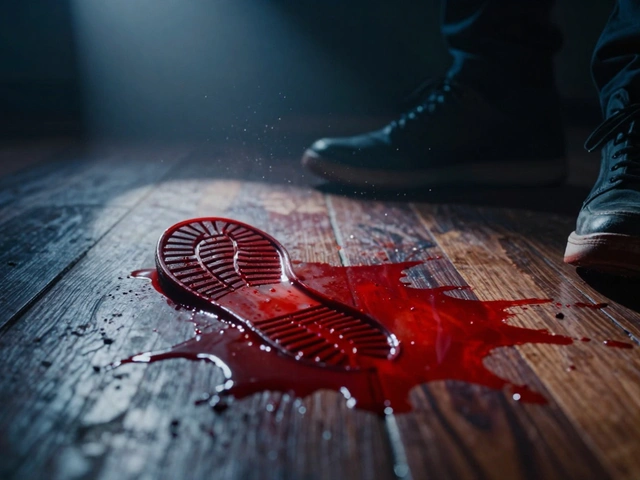
Imagine a suspect wipes their hands on a doorknob, leaving behind a nearly invisible residue of sweat and oils. To the naked eye, it’s gone. But in a darkened evidence room, under ultraviolet light, that ghostly white ridge pattern emerges like a phantom. This is Cyanoacrylate Fuming, also known as superglue fuming, a cornerstone technique in modern forensic fingerprint analysis used to visualize latent prints on non-porous surfaces. It doesn’t just find prints; it enhances them, turning faint traces into high-contrast images ready for comparison against national databases.
This method has been the go-to standard for police labs since the 1970s because it works fast, costs little, and handles almost any hard surface. Whether you’re a crime scene technician or a student of criminal justice, understanding how this chemical reaction works is essential. We’ll break down the chemistry, the equipment, the step-by-step process, and the common pitfalls that can ruin an otherwise perfect print.
The Chemistry Behind the Magic
At its core, cyanoacrylate fuming is a polymerization reaction. The active ingredient is Cyanoacrylate, specifically ethyl cyanoacrylate, which is the main component in instant adhesives like Krazy Glue or Super Glue. When this vapor comes into contact with the moisture and amino acids found in human sweat (the eccrine glands), it rapidly forms a solid polymer chain.
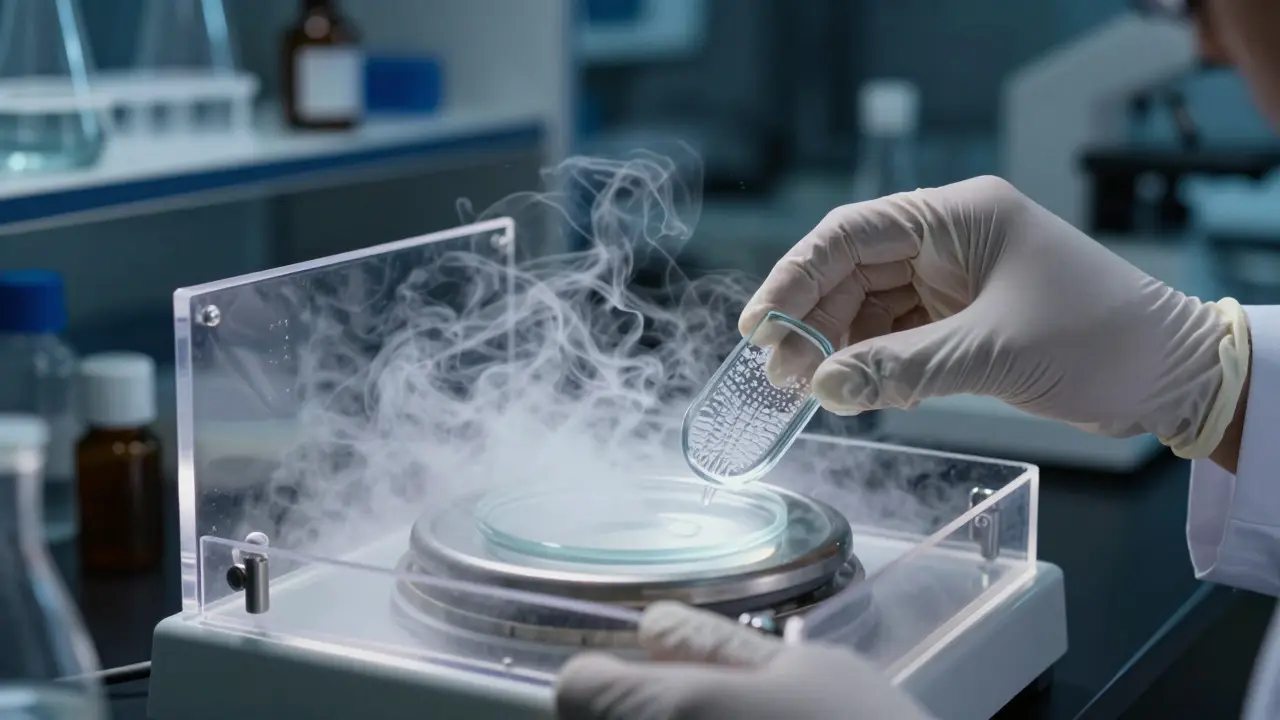
This polymer deposits directly onto the ridges of the fingerprint, creating a thin, white film that outlines the friction skin patterns. Unlike powder dusting, which sits on top of the print, fuming actually bonds with the residue itself. This makes the resulting image more durable and less likely to smudge during lifting. The reaction is exothermic, meaning it releases a small amount of heat, but at the low concentrations used in fuming chambers, this isn’t enough to damage most evidence items.
One key advantage here is selectivity. While it reacts with sweat, it doesn’t react significantly with dry blood or old stains unless they contain moisture. This allows investigators to prioritize fresh prints on glass, plastic, or metal without worrying about destroying other types of biological evidence immediately. However, timing matters. If a print is too old and has dried out completely, the yield drops significantly because there isn’t enough moisture left to trigger the polymerization.
Equipment You Need for Effective Fuming
You don’t need a million-dollar lab to start, but you do need specific tools to ensure safety and consistency. The heart of the setup is the Fuming Chamber. These range from simple acrylic boxes with a heating plate to sophisticated automated systems with humidity controls.
- Fuming Chamber: Must be sealed to prevent vapor escape. Acrylic is preferred over glass because it’s lighter and shatter-resistant.
- Heat Source: A hot plate or ceramic heater to evaporate the liquid cyanoacrylate. Temperature control is critical; too hot and you get excessive smoke, too cold and no vapor.
- Vapor Generator: Some setups use a dedicated generator that mixes air with cyanoacrylate vapor for a more even distribution than just relying on evaporation from a dish.
- PPE: Nitrile gloves, safety goggles, and a respirator with organic vapor cartridges. Cyanoacrylate fumes can irritate eyes and lungs if inhaled in large quantities.
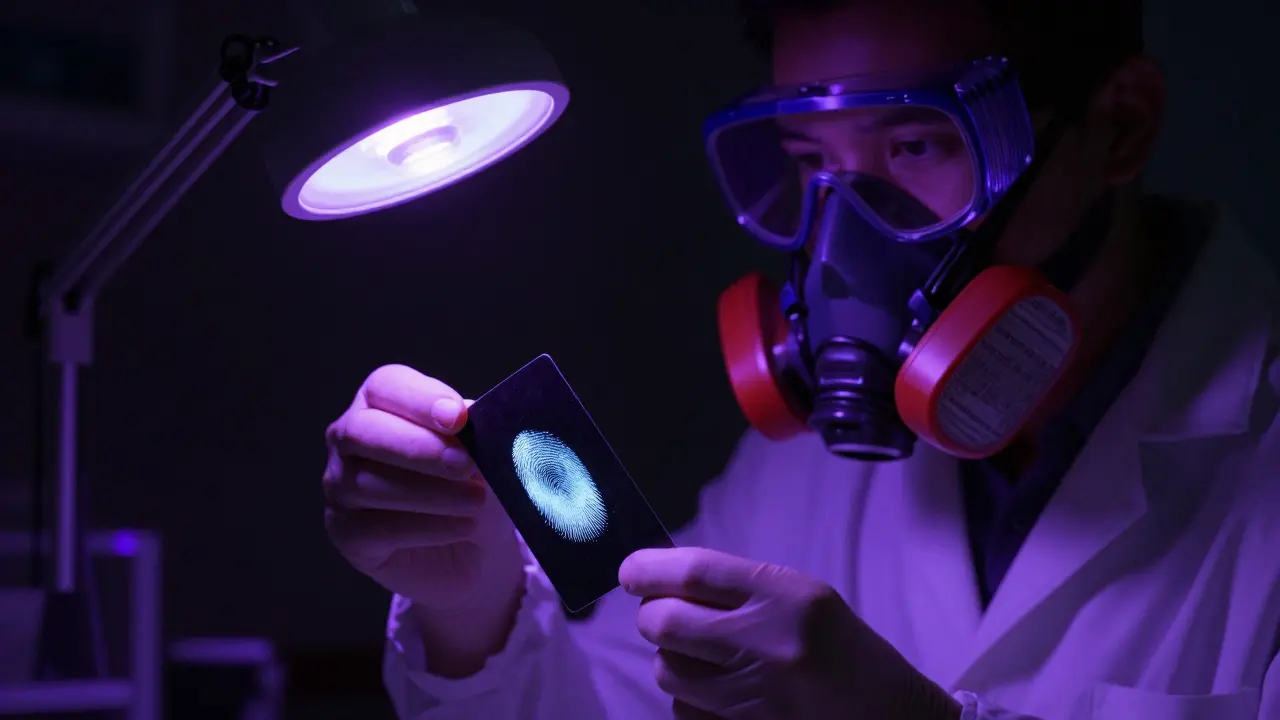
- UV Light Source: Since the polymer is white, it’s visible under normal light, but UV light (specifically 365nm or 450nm wavelengths) makes it fluoresce bright blue-white, enhancing contrast dramatically.
Don’t skip the ventilation. Even though the concentration is low, working in a poorly ventilated area can lead to eye irritation. Many labs use a fume hood or an external exhaust fan to pull air out of the chamber after the fuming cycle is complete.
Step-by-Step Process for Developing Prints
Consistency is king in forensics. Here is the standard workflow used by most crime labs to ensure reliable results:
- Prepare the Item: Clean the evidence item gently. Dust or dirt can interfere with the polymer deposition. Use a soft brush or compressed air, not wet wipes, as moisture changes the reaction dynamics.
- Set Up the Chamber: Place the item inside the fuming chamber. Ensure it’s stable and won’t fall over. If using a hot plate, set the temperature between 80°C and 100°C (176°F - 212°F). Higher temperatures increase vapor production but risk damaging heat-sensitive items like electronics.
- Add Cyanoacrylate: Pour approximately 5-10ml of liquid cyanoacrylate into a heat-resistant dish placed on the hot plate. Do not add too much; excess liquid leads to condensation issues and wasted reagent.
- Start Fuming: Close the chamber lid. Let the vapor fill the space. The process usually takes 15 to 30 minutes. You’ll see a dense white fog forming. Wait until the fog starts to dissipate slightly, indicating the initial burst of vapor has settled.
- Inspect Under UV: Open the chamber carefully to avoid disturbing the developing prints. Move the item under UV light. Look for the characteristic blue-white fluorescence along the ridge lines.
- Lift the Print: Once satisfied with the development, lift the print using clear tape. Press firmly but smoothly to avoid tearing the polymer layer. Back the tape with a card for storage.
Pro tip: If the print looks faint, you can sometimes enhance it further by treating it with a fluorescent dye like Rhodamine 6G after fuming. This adds another layer of contrast without needing to re-fume the entire item.
Common Pitfalls and How to Avoid Them
Even experienced technicians make mistakes. Here are the most common issues and how to fix them:
| Issue | Cause | Solution |
|---|---|---|
| No visible print | Print was too old/dry or insufficient vapor time | Extend fuming time to 45 mins; try alternative methods like ninhydrin if porous |
| Excessive background noise | Too much cyanoacrylate added or high temperature | Reduce liquid volume; lower heat source temp; clean chamber thoroughly |
| Smudged lifts | Tape applied too quickly or uneven pressure | Wait for polymer to fully cure (5 mins); apply tape slowly and evenly |
| Item damage | Heat sensitive materials exposed to high temps | Use lower temperature settings; separate heat source from item with a spacer |
Another subtle issue is "ghosting." This happens when the polymer deposits on areas where the print isn’t, creating a blurry outline. This often occurs if the item wasn’t cleaned properly before fuming. Always double-check your cleaning protocol.
Comparing Cyanoacrylate Fuming to Other Methods
While fuming is great, it’s not the only tool in the box. Knowing when to switch methods saves time and improves success rates.
| Method | Best For | Time Required | Cost per Print | Durability |
|---|---|---|---|---|
| Cyanoacrylate Fuming | Non-porous surfaces (glass, plastic, metal) | 15-30 mins | Low ($0.50 - $1.00) | High (if lifted properly) |
| Aluminum Powder | Dark/non-porous surfaces | 5-10 mins | Medium ($2.00 - $5.00) | Moderate |
| Ninhydrin | Porous surfaces (paper, cardboard) | 24-72 hours | Low ($0.25 - $0.50) | Very High (permanent stain) |
| Iodine Vapor | Fresh prints on various surfaces | 5-15 mins | Medium ($1.00 - $3.00) | Low (fades quickly) |
Notice how fuming wins on speed and cost for non-porous items. But if you’re dealing with a paper envelope, ninhydrin is your best bet. Iodine is useful for immediate visualization but requires quick documentation because the color fades within hours. Understanding these trade-offs helps you choose the right tool for the job.
Quality Control and Documentation
In court, the admissibility of a fingerprint depends heavily on proper procedure. Document every step. Record the temperature, duration, and volume of cyanoacrylate used. Take photos of the item before and after fuming. If the print is weak, note that clearly in your report.
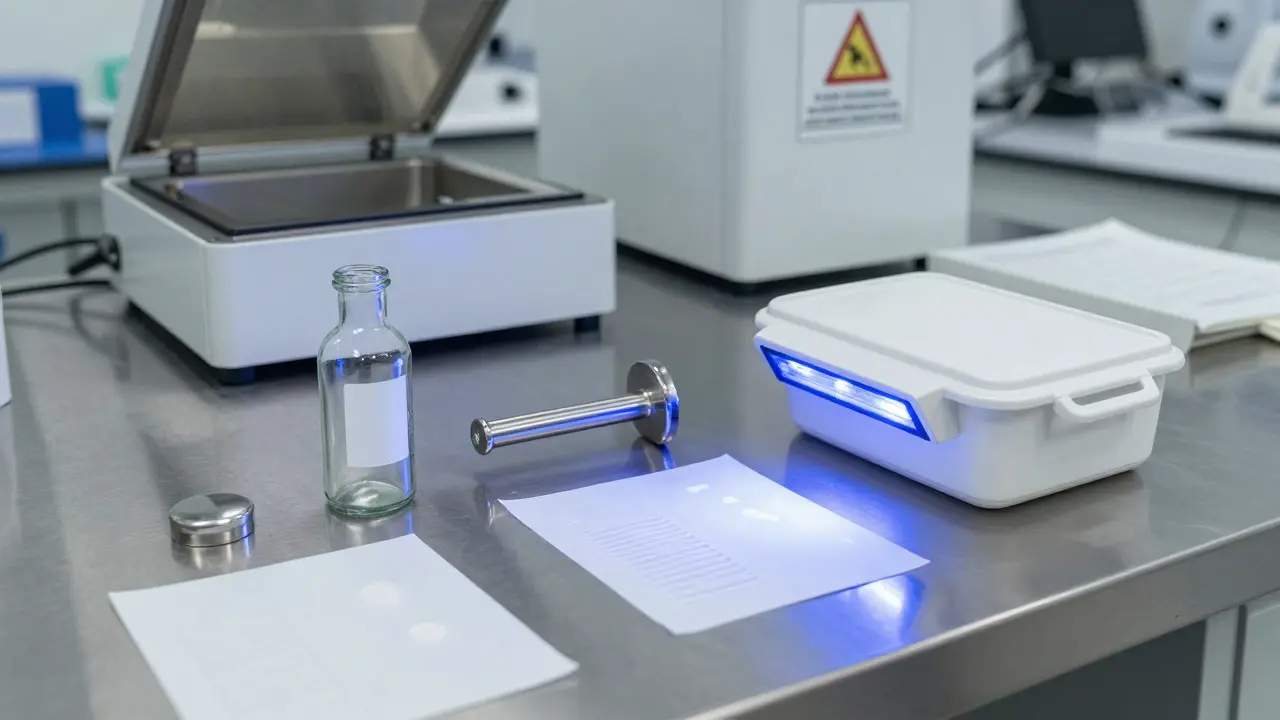
Keep calibration logs for your UV light intensity. Over time, bulbs dim, and if your light isn’t strong enough, you might miss faint prints. Regular maintenance ensures consistent results across different cases. Also, store your lifted prints in acid-free envelopes to prevent degradation over time.
Frequently Asked Questions
How long does cyanoacrylate fuming take?
Typically, 15 to 30 minutes is sufficient for most items. Complex shapes or larger objects may require up to 45 minutes to ensure all surfaces are exposed to the vapor. Always inspect under UV light to confirm development before removing the item.
Can cyanoacrylate fuming be used on porous surfaces like paper?
It is not recommended. Porous surfaces absorb the moisture needed for the reaction, leading to poor yields. Ninhydrin or DFO (1,2-Indanedione) are far superior for paper and cardboard. Fuming is strictly for non-porous materials like glass, metal, and hard plastics.
Is cyanoacrylate fuming safe for electronic devices?
Generally yes, but caution is advised. The heat from the fuming chamber can damage sensitive components if the temperature exceeds 80°C. Keep the item away from direct heat sources and monitor the temperature closely. Most smartphones and laptops can withstand short exposures at moderate temperatures.
What happens if I leave the item in the fuming chamber too long?
Over-fuming can lead to excessive polymer buildup, making the print look thick and potentially obscuring fine detail. It can also cause condensation issues inside the chamber. If this happens, let the item cool and dry before attempting to lift the print. In severe cases, the print may be unusable, requiring re-processing or alternative methods.
Do I need to wear a mask when fuming?
Yes. While the concentration is low, cyanoacrylate vapors can irritate the eyes, nose, and throat. Wear nitrile gloves, safety goggles, and a respirator with organic vapor cartridges. Work in a well-ventilated area or use a fume hood to minimize exposure.