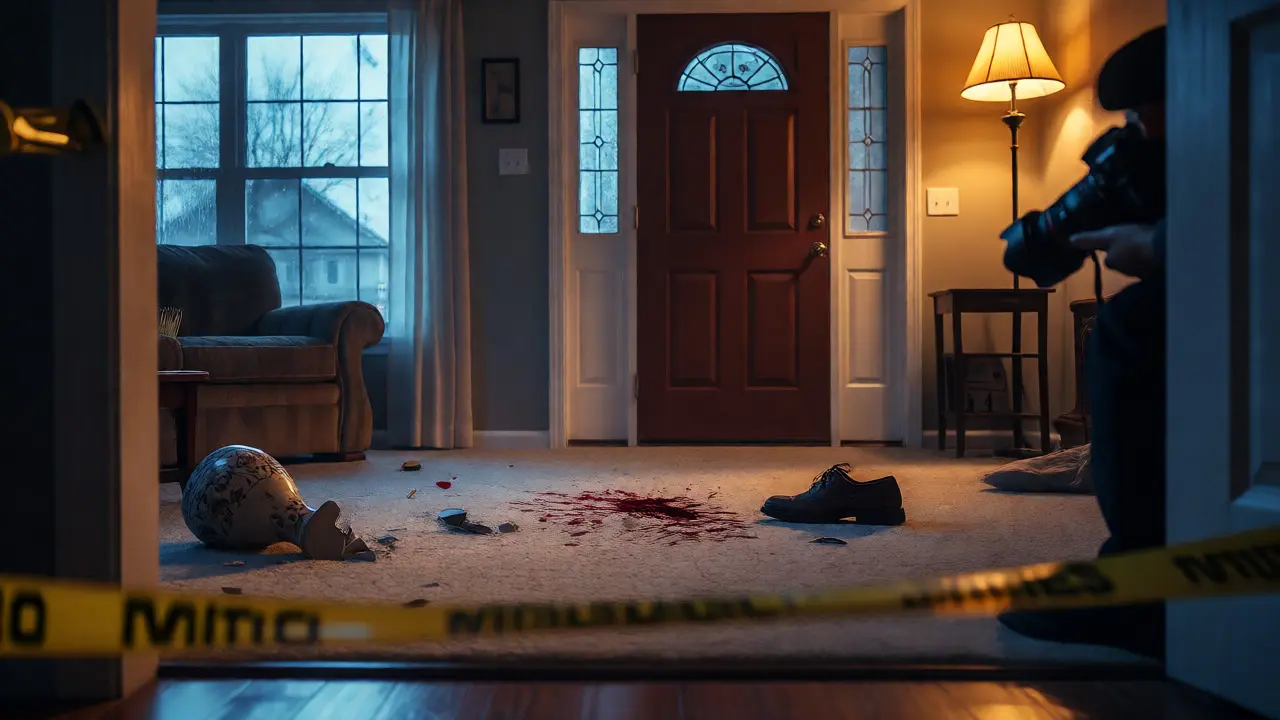
You walk into a living room. There’s blood on the carpet, a shattered vase near the window, and a single shoe by the door. In ten minutes, first responders will move things. The family might start cleaning up. The rain might wash away footprints outside. Your camera is the only thing that freezes time.
Crime scene photography isn't just about taking pretty pictures. It's the systematic visual documentation of physical evidence in its original context. If you miss a detail now, it’s gone forever. Juries don’t get second chances to see what the scene looked like before anyone touched it. This guide breaks down exactly how to capture scenes that hold up in court, from the wide-angle establishing shots to the macro details that prove guilt or innocence.
Why Your Camera Is More Important Than Your Flashlight
Most investigators focus on collecting evidence. But if your photos are blurry, overexposed, or missing scale, that evidence loses value. Think of your photographs as the primary witness. They testify when people can’t remember details. They explain spatial relationships that words struggle to describe.
When you document a scene, you’re building a narrative. You need to show three things: where things were, what they looked like, and how they related to each other. Miss one element, and the story falls apart. For instance, a bloody knife found under a table means nothing if you didn’t photograph the table’s position relative to the victim’s body.
Modern digital cameras offer immediate feedback, but that convenience breeds complacency. You still need discipline. Check your histogram. Verify your white balance. Make sure your lens is clean. These small steps prevent hours of rework later-and sometimes, there is no "later." The scene is gone once the tape comes down.
The Three-Tier Approach to Scene Imaging
Professional photographers use a structured approach. Do not wander around snapping random shots. Follow this hierarchy to ensure comprehensive coverage.
1. Overall (Wide) Views
Start with the big picture. Stand at the entrance and shoot toward the center of the room. Then move to opposite corners. These shots establish location and context. They answer the question: "Where did this happen?" Include landmarks like street signs or house numbers in exterior shots. Inside, capture the entire room layout. Show furniture placement. Show entry and exit points. If the scene spans multiple rooms, photograph each transition area separately.
Use a wide-angle lens (16-35mm equivalent) for these shots. Keep your horizon level. Distorted horizons confuse jurors. Take overlapping images so you can stitch them together later if needed. Always include a reference object if possible-a standard doorway width helps viewers judge scale.
2. Mid-Range (Medium) Views
Move closer. Focus on specific areas of interest. If there’s a struggle near the sofa, frame the sofa and the immediate surrounding floor. Show the relationship between objects. Photograph the path of travel. Capture clusters of evidence rather than isolated items. This tier answers: "What happened here?"
Use a normal lens (35-70mm). Avoid extreme angles that distort perspective. Shoot from eye level unless the evidence is on the floor, then drop to knee height. Consistency matters. If you shoot one blood spatter pattern from above, shoot all similar patterns from above. Mixed perspectives create confusion.
3. Close-Up (Detail) Views
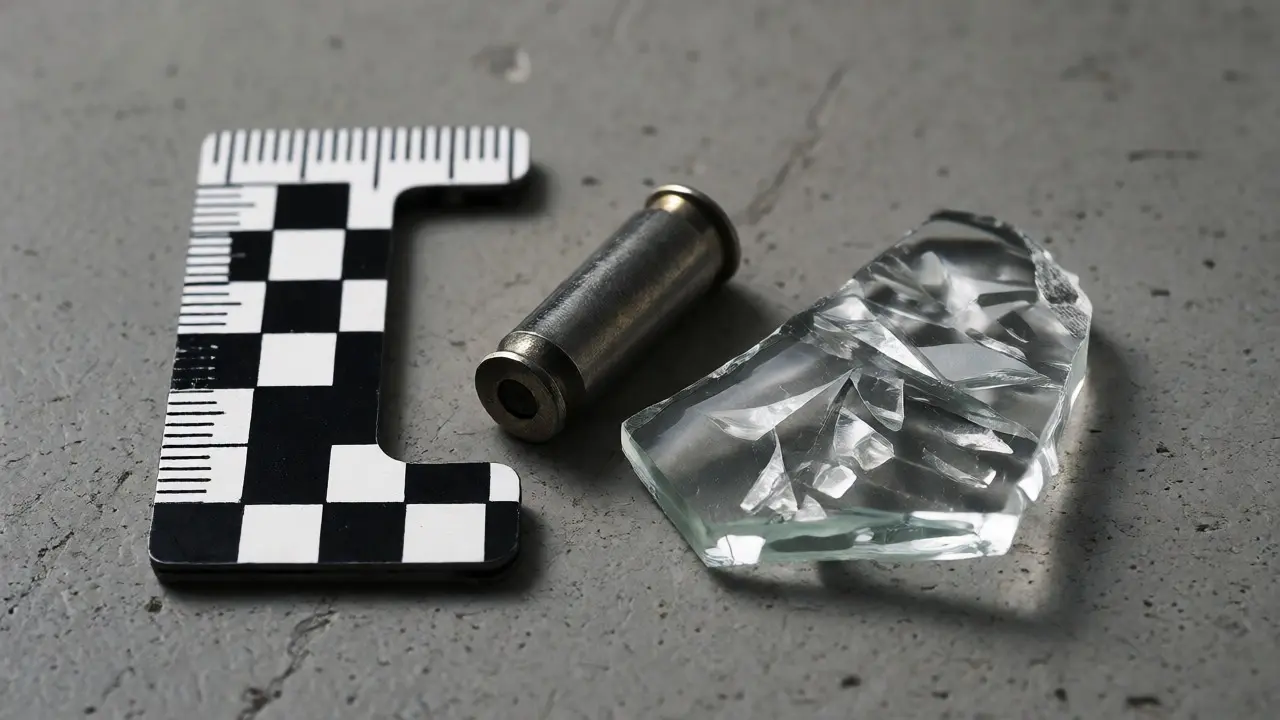
Get tight. Fill the frame with individual pieces of evidence. This is where scale markers become non-negotiable. Place an L-shaped ruler next to every item. Ensure the ruler is in focus and clearly visible. These shots answer: "What does this specific piece look like?"
Use a macro lens or your camera’s macro mode. Watch for shadows cast by the ruler; adjust lighting to minimize glare. Photograph both sides of objects if relevant. For trace evidence like fibers or hair, consider using raking light to reveal texture. Remember: without scale, size is subjective. A bullet casing looks different depending on whether you know it’s 9mm or .45 ACP.
Essential Gear That Actually Works
You don’t need a $5,000 setup, but you do need reliability. Here’s what belongs in your kit:
- A DSLR or Mirrorless Camera: Manual controls are essential. Auto-mode fails in low light or high contrast. Learn aperture priority and shutter priority modes.
- Lenses: A versatile zoom lens (24-70mm) covers most needs. Add a macro lens for close-ups. A wide-angle lens handles tight interiors.
- External Flash: Built-in flashes cause harsh shadows and red-eye. Use an external speedlight with a diffuser. Bounce flash off ceilings or walls for softer light. In large scenes, consider remote strobes.
- Tripod: Essential for long exposures in dark rooms. It also forces you to slow down and compose carefully.
- Scale Markers: Carry multiple types-linear rulers, L-scales, and color charts. Never rely on coins or fingers; they’re inconsistent.
- Cleaning Supplies: Lens cloths and air blowers. Dust spots ruin high-resolution images.
Backup batteries and memory cards are critical. Nothing kills momentum like running out of power mid-scene. Format cards daily to avoid mixing cases.
Lighting Challenges and How to Solve Them
Lighting makes or breaks forensic images. Scenes are often poorly lit-dim basements, bright sunlit patios, or mixed artificial sources. Your job is to correct this without altering reality.
Mixed Color Temperatures: Incandescent bulbs (warm/yellow) clash with daylight (cool/blue). Set your white balance manually using a gray card. Do not rely on auto-white-balance; it shifts between frames, making comparison difficult.
Low Light: Increase ISO moderately (800-1600) to maintain shutter speed. Higher ISO adds noise, which obscures detail. If possible, add supplemental light. LED panels are portable and consistent. Avoid tungsten lamps-they heat up and change color temp quickly.
Glare and Reflections: Wet surfaces reflect light aggressively. Move your angle slightly to eliminate specular highlights. Use a polarizing filter if available, though it reduces light intake by 1-2 stops.
| Scenario | Problem | Solution |
|---|---|---|
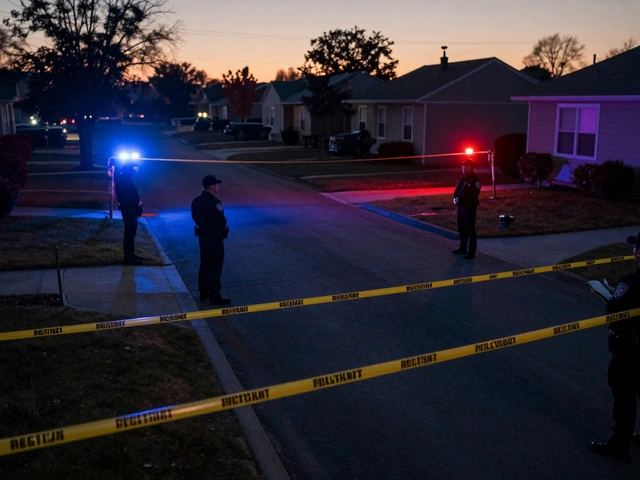
| Night Exterior | Darkness, motion blur | Tripod + Long Exposure (2-4 sec) + Remote Shutter |
| Bathroom (Tile) | Harsh reflections | Bounce Flash + Polarizer Filter |
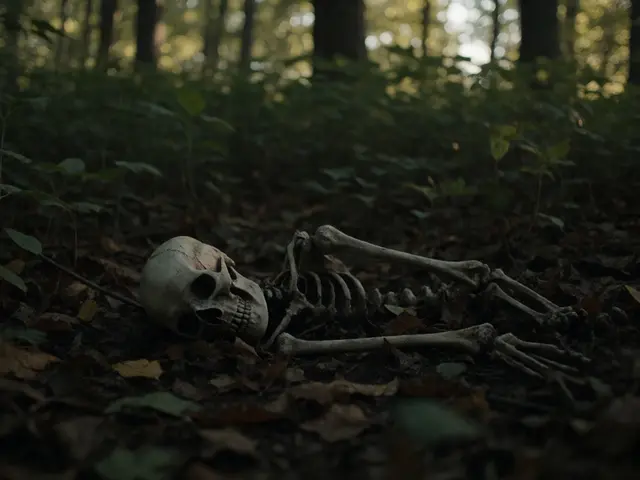
| Forest Floor | Dappled sunlight | Diffused External Flash to fill shadows |
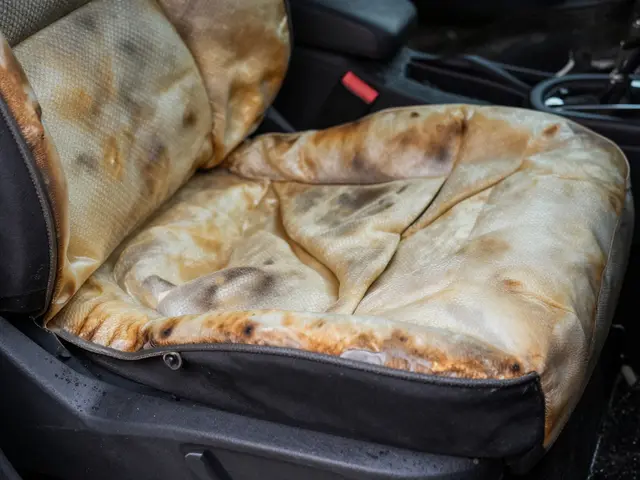
| Car Interior | Window glare | Polarizer + Angle adjustment |
Documentation Protocol: Chain of Custody Starts Here
Your photos are evidence. Treat them with the same rigor as a DNA swab. Maintain a strict chain of custody for digital files.
1. Immediate Backup: Copy images to two separate drives immediately after shooting. One stays with you; one goes to the evidence locker.
2. Metadata Integrity: Do not edit EXIF data. Date, time, and GPS coordinates must remain intact. If you crop or adjust exposure later, save as a new file. Never overwrite the original JPEG/RAW.
3. Logbook Entry: Record every shot in a field notebook. Note the subject, direction, lighting conditions, and any anomalies. Example: "Shot #42: Blood pool, north wall, 2ft from baseboard. Flash used."
4. File Naming Convention: Use CaseNumber_ItemDescription_Date. Example: 2023-104_Kitchen_Floor_20231009.jpg. Avoid generic names like IMG_001.jpg.
If you take video walkthroughs, narrate clearly. State the date, time, and your name. Walk slowly. Pan smoothly. Pause at key evidence points. Video complements stills but doesn’t replace them. Stills allow precise measurement and analysis; video shows flow.
Common Mistakes That Ruin Cases
I’ve seen good investigations fail because of bad photos. Here’s what to avoid:
- Missing Scale: The classic error. Without a ruler, a footprint could be a child’s sneaker or a man’s boot. Ambiguity benefits the defense.
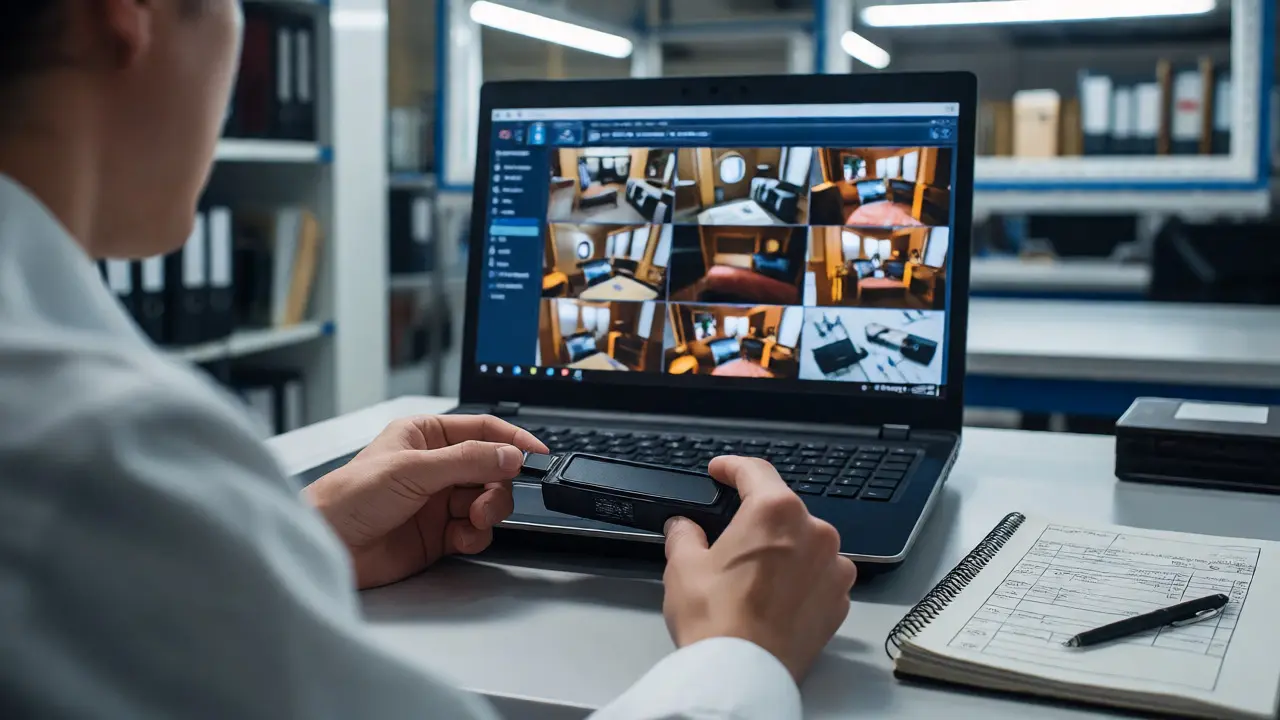
- Out-of-Focus Subjects: Digital zoom hides soft focus on small screens, but juries view projections. Check sharpness at 100% magnification on your laptop before leaving the scene.
- Ignoring Background Clutter: A messy background distracts from the evidence. Clean up minor debris if safe, or use depth of field (wide aperture) to blur distractions.
- Inconsistent Lighting: Comparing a shadowed photo to a brightly lit one makes differences look significant when they’re just lighting artifacts. Standardize your setup.
- Forgetting the 'Before' Shot: Once evidence is lifted, you can’t reshoot it in place. Always photograph items before moving or touching them.
Specialized Techniques for Difficult Evidence
Some evidence requires specific approaches.
Bloodstain Pattern Analysis: Photograph patterns from perpendicular angles to avoid distortion. Use alternate light sources (ALS) if available to enhance visibility. Rake light reveals texture and directionality.
Fingerprints: Lift prints first, then photograph latent prints on surfaces using oblique lighting. Black-on-white or white-on-black backgrounds improve contrast. Include a fingerprint classification card in the frame.
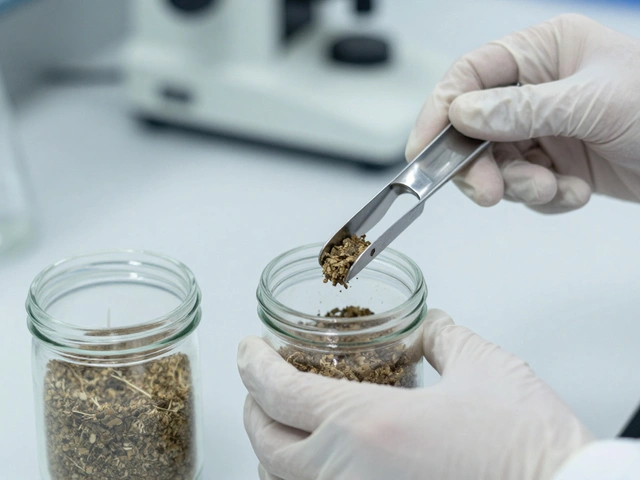
Trace Evidence: Fibers, glass fragments, and soil require macro lenses. Use tweezers to position items gently. Photograph against contrasting backgrounds. Label each item individually before placing it on the backdrop.
Shoe Impressions: Photograph impressions in situ before casting. Include a scale marker parallel to the impression length. If the surface is textured, use side-lighting to highlight depth.
Post-Processing: Enhancement vs. Manipulation
You can enhance images, but you cannot alter facts. Adjust brightness, contrast, and color balance to match what you saw. Crop to remove irrelevant borders. Rotate to align vertical lines.
Do not clone out objects. Do not change colors arbitrarily. If you sharpen an image, note it in your log. Courts prefer unedited originals. If you provide enhanced versions, keep the raw files accessible. Transparency builds credibility.
Software like Adobe Lightroom or free alternatives like Darktable work well. Batch-process images from the same scene to ensure consistency. Export high-resolution TIFFs for printing and JPEGs for reports.
Legal Admissibility: What Judges Look For
To admit photos as evidence, you must prove they are accurate representations. Be prepared to testify:
- Who took the photo?
- When was it taken?
- What equipment was used?
- Was the scene altered before or after the photo?
- Does the photo fairly depict the scene?
Your testimony should be confident but humble. If you made a mistake, admit it. Explain why it doesn’t invalidate the evidence. Preparation prevents surprises. Review your photos before trial. Know which shot corresponds to which exhibit number.
Do I really need a professional camera, or is my smartphone enough?
For initial response or rapid assessment, a modern smartphone is acceptable. However, for formal investigation and court presentation, a dedicated camera with manual controls, interchangeable lenses, and larger sensors is superior. Smartphones struggle in low light and lack true optical zoom, leading to cropped, pixelated details.
How many photos should I take of a single piece of evidence?
Follow the rule of three minimums: one overall view showing location, one mid-range view showing context, and one close-up with scale. For complex items, take additional angles (top, side, back) to ensure full documentation. Over-documentation is safer than under-documentation.
Can I edit my crime scene photos before submitting them?
Yes, but only for enhancement, not manipulation. You can adjust exposure, contrast, and color balance to reflect what was visible to the naked eye. You cannot remove objects, change colors artificially, or composite elements. Always retain the original unedited file.
What is the best way to handle scale markers?
Place the scale marker in the same plane as the evidence. Ensure it is in focus and legible. Use high-contrast markers (black on white or vice versa). Never place the marker on top of the evidence unless necessary; put it beside it. Include the marker in every close-up shot.
How do I photograph evidence in low-light conditions without a tripod?
Increase your ISO setting to allow faster shutter speeds. Use an external flash with a diffuser to illuminate the subject evenly. Brace yourself against a wall or surface to stabilize the camera. If possible, use image stabilization (IS) or vibration reduction (VR) features on your lens.
Should I photograph the ceiling and floor?
Yes. Ceilings may contain blood spatter, dust disturbances, or projectiles embedded in plaster. Floors often hold footprints, drag marks, or dropped items. Ignoring these planes misses critical contextual clues.