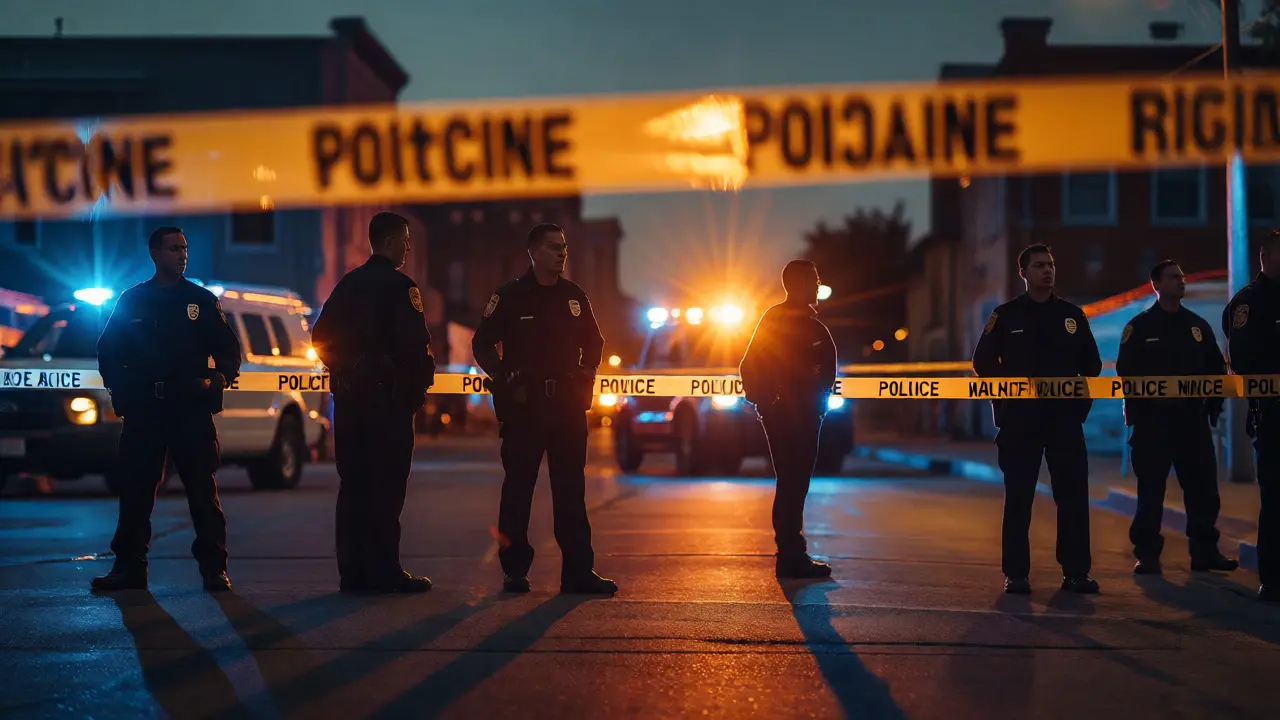
You’ve seen it in every police procedural on TV. The yellow tape goes up, the detectives walk in with serious faces, and somehow, a single hair or a smudge of dirt solves the case in forty-five minutes. Real life? It’s messier, slower, and way more rigorous. If you’re stepping into crime scene investigation for the first time, or just want to understand what actually happens behind that tape, you need to know that this isn’t about intuition-it’s about process.
The difference between a solved case and a cold one often comes down to how well the initial moments were handled. One contaminated sample, one missed footprint, or one broken seal on an evidence bag can unravel months of work. This guide breaks down the core fundamentals of processing a scene, from the moment the first officer arrives to the final packaging of evidence. No jargon without explanation, no fluff-just the steps that keep justice moving forward.
Securing the Perimeter and Initial Response
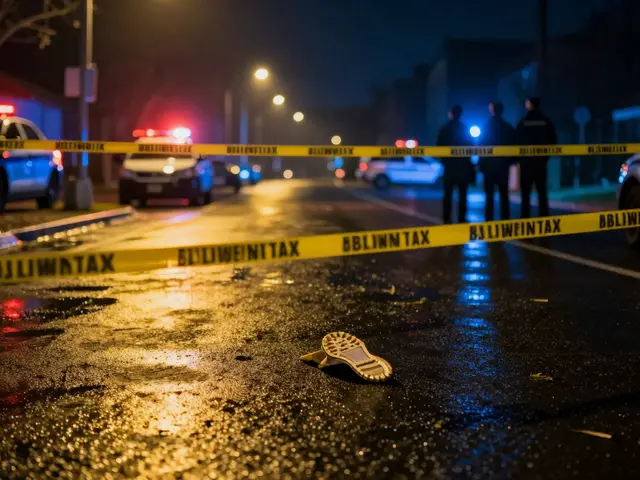
Everything starts with safety and preservation. Before anyone touches anything, the scene must be secured. This isn’t just about keeping curious neighbors out; it’s about preventing contamination. Imagine walking through your kitchen after someone spilled flour everywhere. Every step you take spreads that flour further. Now imagine that flour is blood spatter or gunpowder residue.
The first responding officer has three critical jobs: protect life, secure the scene, and note who left and who entered. They establish an inner perimeter (the immediate area of interest) and an outer perimeter (a buffer zone). Only authorized personnel cross the inner line. Why? Because modern forensics is sensitive enough to pick up DNA from a sneeze. If a detective walks in before the photographers are ready, they might crush a latent print or kick over a shell casing.
First Responder Protocol dictates that officers document any changes made to the scene during emergency aid. Did paramedics move the body to check for a pulse? Did firefighters break a window to ventilate smoke? These actions must be recorded immediately because they alter the original state of the evidence.
The Documentation Phase: Photos, Sketches, and Notes
Once the scene is safe, documentation begins. You cannot rely on memory. Human recall is faulty, especially under stress. Instead, investigators use a triad of methods: photography, sketching, and written notes. Each serves a different purpose, and missing one creates gaps in the record.
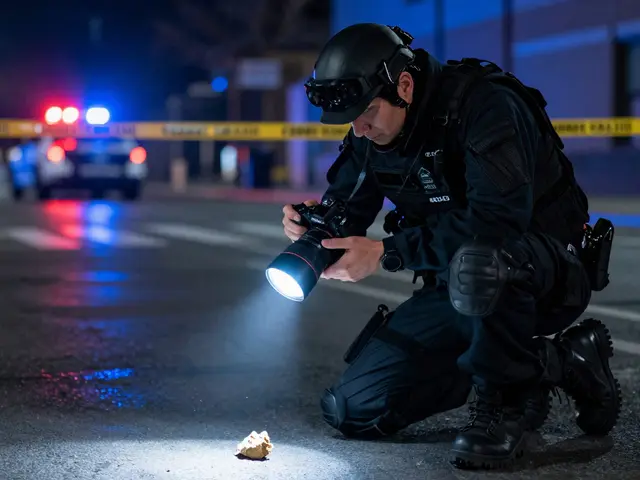
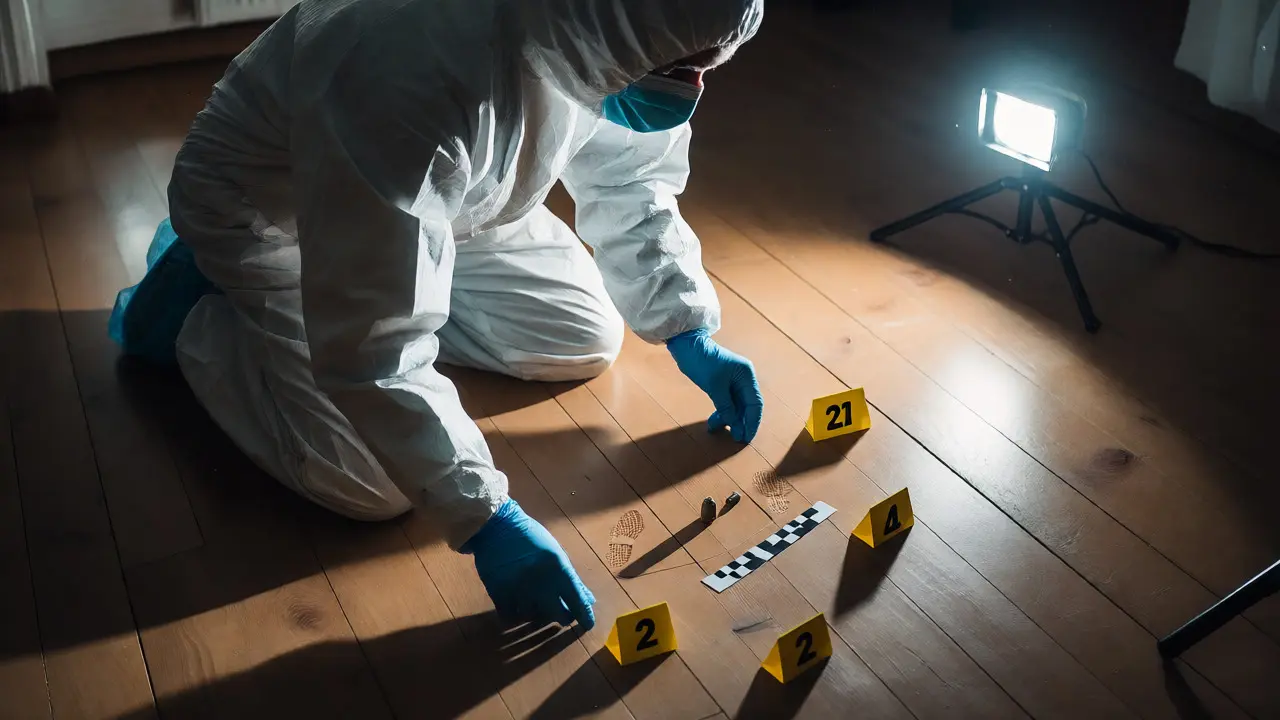
Photography captures the visual reality. Investigators start wide (overall shots), move to mid-range (showing relationships between objects), and end with close-ups (details like tool marks). Scale markers-little rulers placed next to evidence-are non-negotiable. Without them, a photo of a bullet hole doesn’t tell you if the bullet was fired from two feet away or twenty.
Sketches provide spatial context that photos miss. A diagram shows measurements from fixed points (like walls or doorframes) to key items. It helps reconstruct the geometry of the event. Was the victim facing the door? Where did the suspect stand relative to the weapon?
Written notes tie it all together. They describe smells, lighting conditions, temperature, and the exact location of items. "The knife was on the floor" is useless. "The knife was found 14 inches from the baseboard, 3 feet from the south wall, blade pointing north" is evidence.
Evidence Collection and Preservation
After documentation, the physical hunt begins. Investigators don’t just grab things; they follow a systematic search pattern. Common patterns include:
- Spiral: Starting at the center and working outward (or vice versa). Good for open areas.
- Grid: Two perpendicular sweeps. Highly thorough but time-consuming.
- Strip: Parallel lines across the area. Effective for large outdoor scenes.
- Zone: Dividing the area into sections (e.g., by room). Ideal for complex indoor layouts.
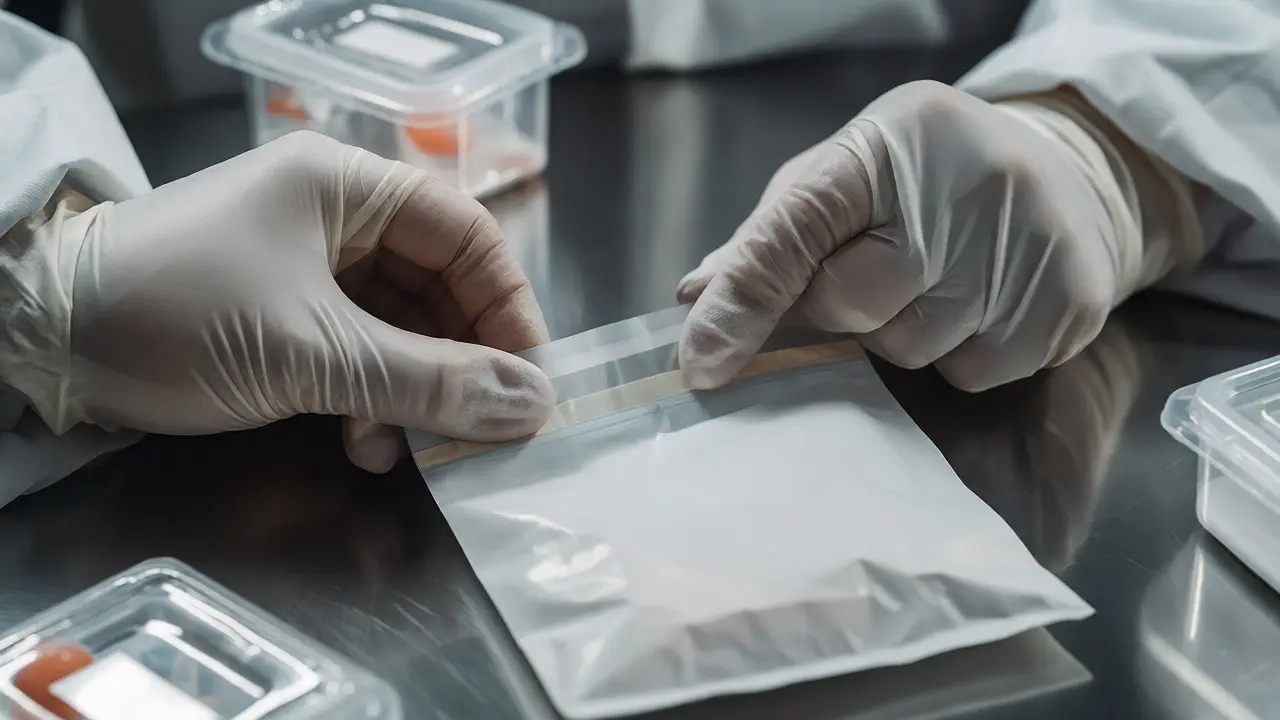
Handling evidence requires specific techniques to prevent degradation. Biological samples like blood or saliva can dry out or grow mold if packaged incorrectly. Wet items go in paper bags, not plastic, which traps moisture and promotes bacterial growth. Trace evidence, like fibers or glass shards, needs rigid containers to prevent crushing. Firearms are unloaded (if safe to do so) and wrapped to protect the barrel and trigger mechanism.
Latent Print Development involves using powders, chemicals, or lights to reveal fingerprints invisible to the naked eye. Investigators choose their method based on the surface type-porous surfaces like paper require chemical treatment, while smooth surfaces like glass respond well to powder.
Maintaining the Chain of Custody
If there’s one rule that matters more than any other, it’s the chain of custody. This is the documented trail of who had possession of the evidence, when, and why. Think of it as a receipt for every transfer. If you collect a blood swab at 10:00 AM, label it, and put it in a locker, you sign it out. If you hand it to a lab tech at 2:00 PM, both of you sign the log.
A break in the chain means the defense attorney can argue the evidence was tampered with or lost. In court, if the paperwork doesn’t match the timeline, the jury might disregard the result entirely, even if the science is perfect. Digital evidence faces similar scrutiny. Hard drives and phones must be imaged (copied) using write-blockers to ensure the original data remains untouched.
| Evidence Type | Primary Risk | Proper Packaging | Storage Condition |
|---|---|---|---|
| Blood/Serology | Degradation/Mold | Paper Bag/Breathable Container | Cool/Dry or Frozen |
| Firearms | Accidental Discharge/Loss of Marks | Cardboard Box/Padded Case | Room Temperature |
| Trace (Fibers/Hair) | Contamination/Loss | Pill Box/Rigid Envelope | Room Temperature |
| Digital Media | Data Alteration | Anti-static Bag/Faraday Cage | Static-Free Environment |
The Role of Specialized Units
Not every investigator does everything. Complex scenes bring in specialists. A Forensic Anthropologist, for instance, examines skeletal remains to determine age, sex, and trauma, often distinguishing between human and animal bones. If fire is involved, an arson investigator looks for accelerants and burn patterns that indicate intentional ignition rather than accidental electrical failure.
Bloodstain Pattern Analysis (BPA) experts interpret the shape and distribution of blood droplets to reconstruct the events of a violent incident. A high-velocity impact creates a fine mist, while a low-velocity drop looks like a teardrop. These interpretations help determine the position of the victim and attacker during the struggle.
Processing the Scene: Step-by-Step Workflow
To visualize how these pieces fit together, here is the standard workflow used by most agencies in the United States:
- Arrival and Assessment: Officer secures scene, calls for backup/specialists if needed.
- Documentation: Photographs taken before anything is moved. Sketches drawn. Notes recorded.
- Search: Systematic sweep for visible and latent evidence.
- Collection: Items tagged, logged, and packaged according to type.
- Chain of Custody Initiation: First entry in the logbook for each item.
- Release: Scene released back to owners or cleaned up.
- Laboratory Submission: Evidence transported to labs for analysis.
Skipping steps or doing them out of order causes problems. For example, collecting evidence before photographing it means you lose the context of where it was found. Collecting it before documenting the chain of custody means you risk losing track of who touched it.
Common Pitfalls and How to Avoid Them
Even experienced investigators make mistakes. Here are the big ones:
- Tunnel Vision: Focusing only on obvious evidence and ignoring subtle clues. Always broaden your search radius.
- Cross-Contamination: Using the same gloves or tools for multiple items without changing them. Change gloves between each major piece of evidence.
- Overlooking Negative Evidence: Noting what *isn’t* there is important. If a rug should have blood but doesn’t, that’s a clue.
- Ignoring Environmental Factors: Rain, wind, or heat can degrade evidence quickly. Prioritize fragile items in harsh weather.
How long does it take to process a crime scene?
It varies wildly. A simple burglary might take 2-4 hours. A homicide scene can take 12-24 hours or longer, especially if it’s outdoors or involves multiple rooms. Weather and the number of specialists required also impact the timeline.
Can evidence be collected after the scene is cleaned?
Sometimes, but it’s difficult. Once a scene is cleaned, trace evidence like hairs, fibers, and dust is usually gone. However, biological material trapped in carpet padding or grout might survive if not scrubbed aggressively. It’s always better to wait until investigators clear the scene before cleaning.
What is the difference between direct and circumstantial evidence?
Direct evidence proves a fact directly, like an eyewitness seeing the suspect shoot the victim or a video recording. Circumstantial evidence requires inference. For example, finding the suspect’s fingerprint on the murder weapon doesn’t prove they committed the crime-they could have touched it earlier-but it strongly suggests involvement.
Why is the chain of custody so strict?
Courts require proof that evidence hasn’t been altered, swapped, or contaminated. If the chain is broken, the defense can argue reasonable doubt regarding the integrity of the evidence. Strict logging ensures accountability at every handoff point.
Do investigators wear special suits?
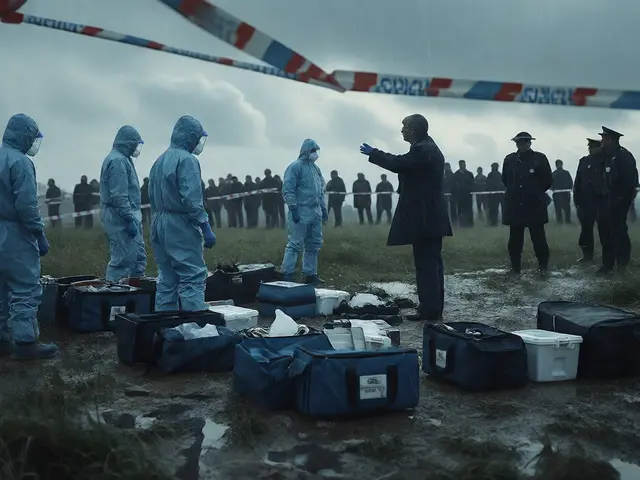
Yes. Tyvek suits, booties, gloves, and masks are standard. This protects the investigator from biohazards and prevents their own DNA, hair, or fibers from contaminating the scene. Changing gear between zones is common practice.