Winning a case isn't just about having the best evidence; it's about how you present it. In a high-stakes environment like a homicide trial, a single misplaced document or a confused witness can break the momentum of your entire argument. The difference between a conviction and an acquittal often comes down to the logistics of courtroom preparation-specifically how you organize your exhibits and the order in which your witnesses take the stand.
The Blueprint for Exhibit Organization
You can't afford to be fumbling through folders while the judge is staring at you. A professional exhibit strategy starts long before you step into the courtroom. The goal is total accessibility. Start by creating a master index that lists every piece of evidence, its source, the date, and a concise description. This isn't just for the court; it's your roadmap for the trial.
In most jurisdictions, there is a standard naming convention. Plaintiff exhibits are usually numbered (Exhibit 1, 2, 3), while Defense exhibits are lettered (Exhibit A, B, C). To avoid wasting time during the proceedings, apply "Exhibit" stickers to every item during the prep phase. If you wait for the court reporter to do it during the trial, you lose the jury's attention.
For those handling complex cases, color-coding is a lifesaver. Assign colors to different witnesses or specific themes-like forensics in blue and eyewitness accounts in yellow. This allows you to pull the right document in seconds, even under intense pressure.
| Component | Requirement | Purpose |
|---|---|---|
| Master Index | Source, Date, Description | Rapid identification and tracking |
| Labeling | Numerical (Plaintiff) / Alpha (Defense) | Standardized court compliance |
| Digital Files | Compatible formats (.pdf, .jpg) | Prevents technical glitches in court |
| Trial Binders | Witness tabs + mini-transcripts | Seamless transition between testimony |
The Non-Negotiable Process of Authentication
You can't just hand a piece of evidence to a judge and expect it to be admitted. You must first prove that the item is what you claim it is. This is the process of authentication. If you skip a step here, the opposing counsel will object, and your critical evidence could be tossed out.
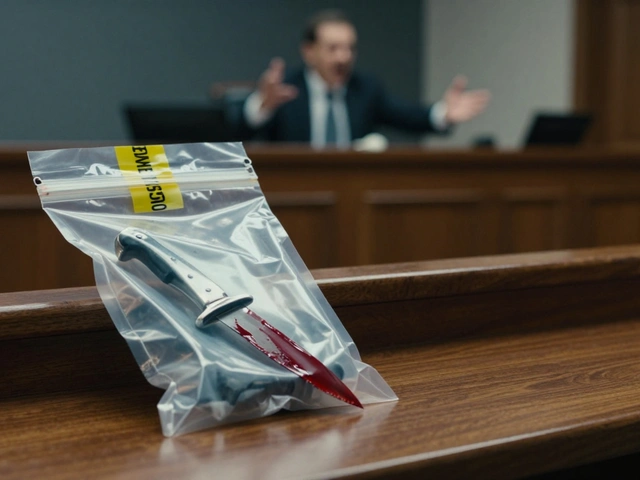
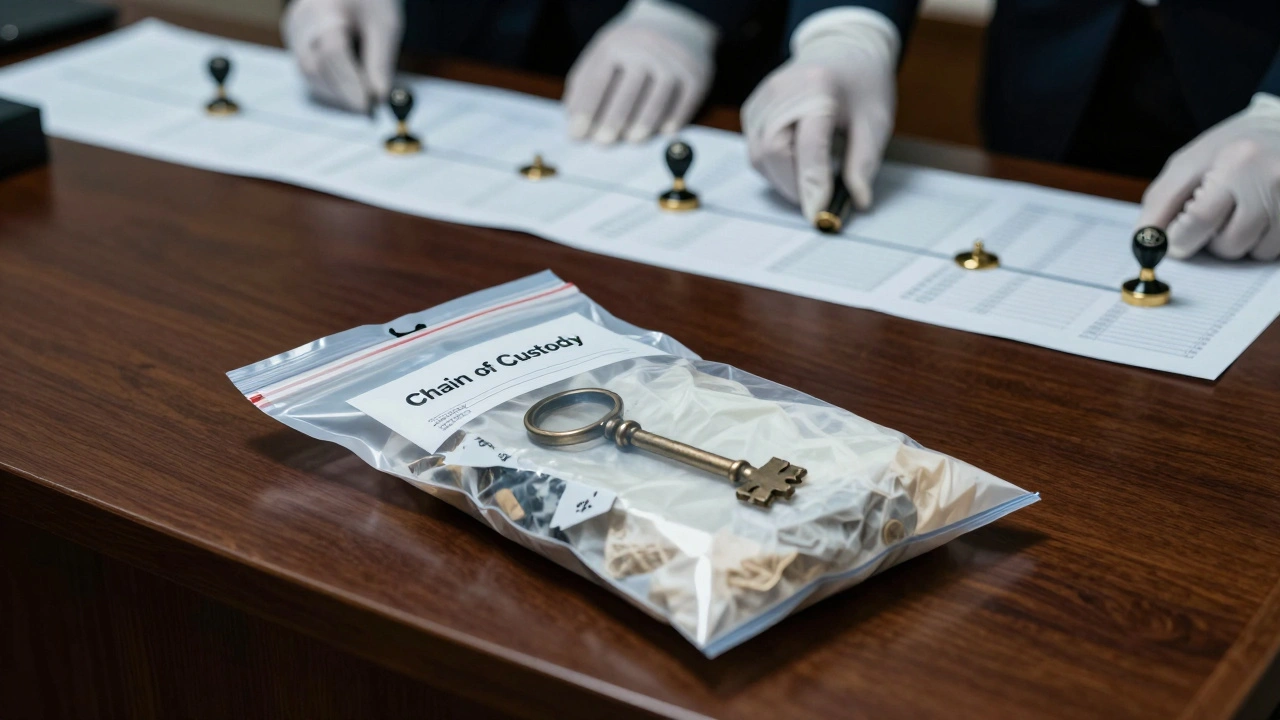
The most common way to authenticate is through Witness Testimony. You bring a person with direct knowledge of the item to the stand, and they confirm its authenticity. For physical evidence-like a weapon or a piece of clothing-you need a rock-solid Chain of Custody. This is a chronological paper trail showing exactly who handled the evidence from the crime scene to the courtroom.
Digital evidence is trickier. You can't just show a screenshot. You need metadata verification to prove the file hasn't been altered. Whether it's analyzing timestamps on a photo or using handwriting analysis on a note, the goal is to eliminate any doubt about the integrity of the evidence.
Step-by-Step: Introducing Evidence into the Record
Introducing an exhibit is a choreographed dance. If you miss a step, you look unprepared and risk a procedural error. Follow this specific sequence to ensure your evidence is admitted without a hitch:
- Mark the Exhibit: Ensure the item has its official exhibit number/letter.
- Request Approach: Ask the judge for permission to approach the witness.
- Show Opposing Counsel: This is the most frequently forgotten step. Give the other side a chance to see the item before you show it to the witness.
- Alert the Judge: Show the item to the judge or ask if they would like to see it.
- Lay the Foundation: Show the exhibit to the witness. Ask a series of prepared questions that establish how the witness knows the item and why it's authentic.
- Move to Admit: Formally request that the court admit the exhibit into evidence.
Strategic Witness Sequencing
The order of your witnesses is your storytelling mechanism. You aren't just calling people to testify; you are building a narrative. Your sequencing should coordinate perfectly with your exhibits so that the visual evidence reinforces the spoken word.
Start by using your opening statement to preview key exhibits. This primes the jury to look for specific details. Then, align your witnesses so their testimony naturally introduces the exhibits. For example, don't introduce a complex forensic report before you've called the detective who collected the sample. The detective provides the context; the report provides the technical proof.
When planning, create a separate "Trial-Specific Exhibit List." This is different from the discovery list. It should include the exact software you'll use to display the item (like an Elmo document camera) and a note on whether the exhibit needs to be blown up for the jury to see clearly. If you're using a Timeline Exhibit, ensure it's scaled consistently so the jury can visualize the gap between events.
Customizing Exhibits for the Jury
A document that makes sense to a lawyer might be gibberish to a juror. You have to translate complex data into visual stories. This is where demonstrative exhibits come in. Instead of just reading a medical report about a wound, use an anatomical model to show exactly where the injury occurred.
Consider your audience. If you're dealing with a jury with diverse educational backgrounds, avoid overly technical charts. Keep it simple. A linear progression timeline is often more effective than a complex spreadsheet. The goal is to reduce the cognitive load on the jury, making your argument the easiest one to follow.

Avoiding Common Technical Pitfalls
Technology can be your best friend or your worst nightmare. There is nothing more embarrassing than a "File Not Found" error in the middle of a cross-examination. Always test your digital files on the actual courtroom equipment before the trial begins. Do not assume that because it works on your laptop, it will work on the court's system.
Decide during prep-not during the trial-how you will display each item. Will you use a digital screen, an enlarged printout, or a physical model? If you're using PDFs, bookmark them and annotate them so you can jump to the relevant page instantly. This keeps the pace fast and the jury engaged.
What happens if I forget to show an exhibit to opposing counsel?
Opposing counsel will likely object immediately. The judge will usually stop the proceedings and require you to show the exhibit to the other side before continuing. While it's a minor mistake, doing it repeatedly makes you look disorganized and can irritate the judge.
How do I handle witnesses who forget what an exhibit is?
Use deposition mini-transcripts. These are shortened versions of the witness's previous testimony, stored in your trial binder. You can use these to refresh the witness's recollection on the stand, provided you follow the proper legal procedure for impeachment or refreshing memory.
Do I need to pre-mark all exhibits with stickers?
In many cases, yes. However, check your local state guidelines. Some courts prefer that you use stickers that can be filled in as the items are admitted, especially if the order of introduction changes during the trial. Pre-marking is generally faster, but flexibility is key.
What is the best way to present a complex timeline to a jury?
Use a linear progression timeline with consistent scaling. Avoid cluttering the visual with too many dates; instead, highlight critical milestones. Parallel timelines are also useful if you need to show two different sets of events happening simultaneously.
How does metadata help in authenticating digital evidence?
Metadata is the "data about the data." It includes things like the date a photo was taken, the GPS location, and the edit history. By verifying that the metadata is intact and hasn't been tampered with, you can prove the digital file is an authentic record of the event.
Next Steps for Trial Success
If you're currently in the discovery phase, start tagging "compelling" items immediately. Don't wait until the trial is two weeks away to decide what becomes an exhibit. Create a consistent naming protocol now so your entire legal team can find documents without asking you where they are.
Finally, rehearse the introduction of your most complex exhibits. Practice the transition from the question to the physical movement of the document and the final request to admit. When the process becomes muscle memory, you can focus on the jury's reactions rather than the paperwork.