Imagine standing in a courtroom and having a defense attorney tear apart your entire investigation because you can't prove who touched a hard drive for two hours on a Tuesday. In the world of digital forensics, the evidence itself is often less important than the story of how that evidence was handled. If you can't prove that a file hasn't changed by a single bit since it was seized, it's essentially useless in a legal proceeding.
Maintaining a chain of custody is the process of creating a chronological, written record of everyone who had access to a piece of evidence from the moment it was collected until it appears in court. For digital data, this is a massive challenge because files are intangible and incredibly easy to modify-sometimes accidentally-just by opening them. To solve this, investigators rely on a combination of strict physical logs and mathematical certainty.
The Core of Digital Integrity: Cryptographic Hashing
You can't just "look" at a file to see if it's the same. That's why we use cryptographic hashing. Think of a hash as a digital fingerprint. A hashing algorithm takes all the data in a file and turns it into a unique string of characters. If you change a single comma in a 500-page document, the resulting hash changes completely.
While older systems used MD5 or SHA-1, modern standards have shifted to SHA-256 due to its superior collision resistance. In a professional workflow, you hash the evidence at three critical points: immediately upon acquisition, after creating a forensic image, and every time the evidence changes hands. If the hash values match at every step, you have mathematical proof that the evidence is authentic.
Some advanced tools, like Binalyze AIR, go a step further by using RFC 3161. This isn't just about hashing; it's about digital timestamping. By submitting a hash to a Trusted Timestamp Authority, you can prove that a specific piece of evidence existed in that exact state at a specific second in time, removing any doubt about when the data was actually captured.
Creating Forensic Images Without Contaminating Data
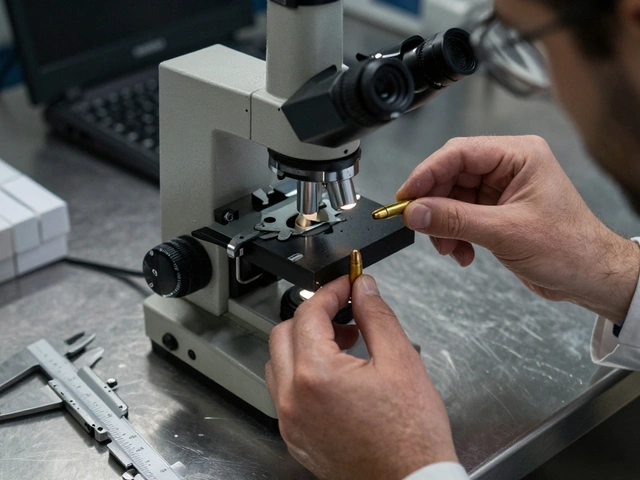
You should never, ever perform an investigation on the original device. The moment you boot up a suspect's computer, the operating system writes temporary files and updates logs, which alters the evidence. Instead, investigators create forensic images-bit-for-bit clones of the entire storage medium.
To do this safely, you must use write-blocking hardware. This is a physical device that sits between the suspect drive and the forensic workstation, allowing data to flow out of the drive but blocking any data from flowing in. Without a write-blocker, you're risking the integrity of the entire case.
| Algorithm | Hash Length | Security Level | Primary Use Case |
|---|---|---|---|
| MD5 | 128-bit | Low (Collision Risk) | Legacy systems / Quick integrity checks |
| SHA-1 | 160-bit | Medium-Low | Older forensic software |
| SHA-256 | 256-bit | High | Current industry standard for court evidence |

The Paper Trail: Documenting Every Touch
The math (hashes) proves the data hasn't changed, but the documentation proves who was responsible for it. A gap in your timeline is a gift to a defense attorney. Your documentation needs to be exhaustive, covering every single person who touched the evidence, the exact time they had it, and why they had it.
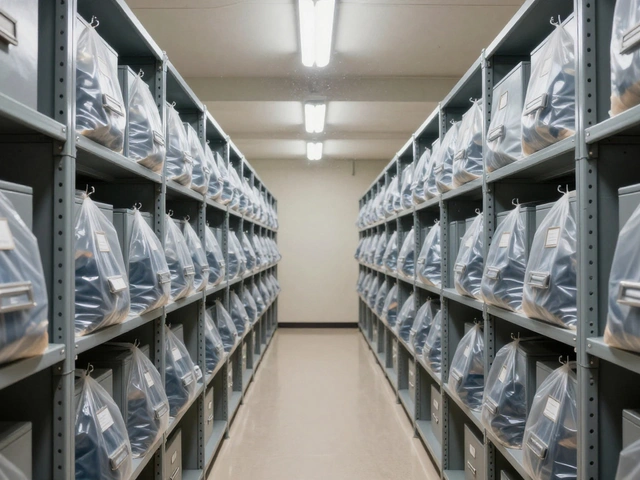
Every piece of physical evidence, like a laptop or a USB drive, should be in a tamper-evident bag with a unique ID number. Your logs must include:
- The exact location and time of seizure.
- The full name and signature of the collecting officer.
- Witness signatures to verify the seizure.
- A detailed log of every transfer (e.g., "Officer A handed drive to Analyst B at 14:00 on 2026-04-13").
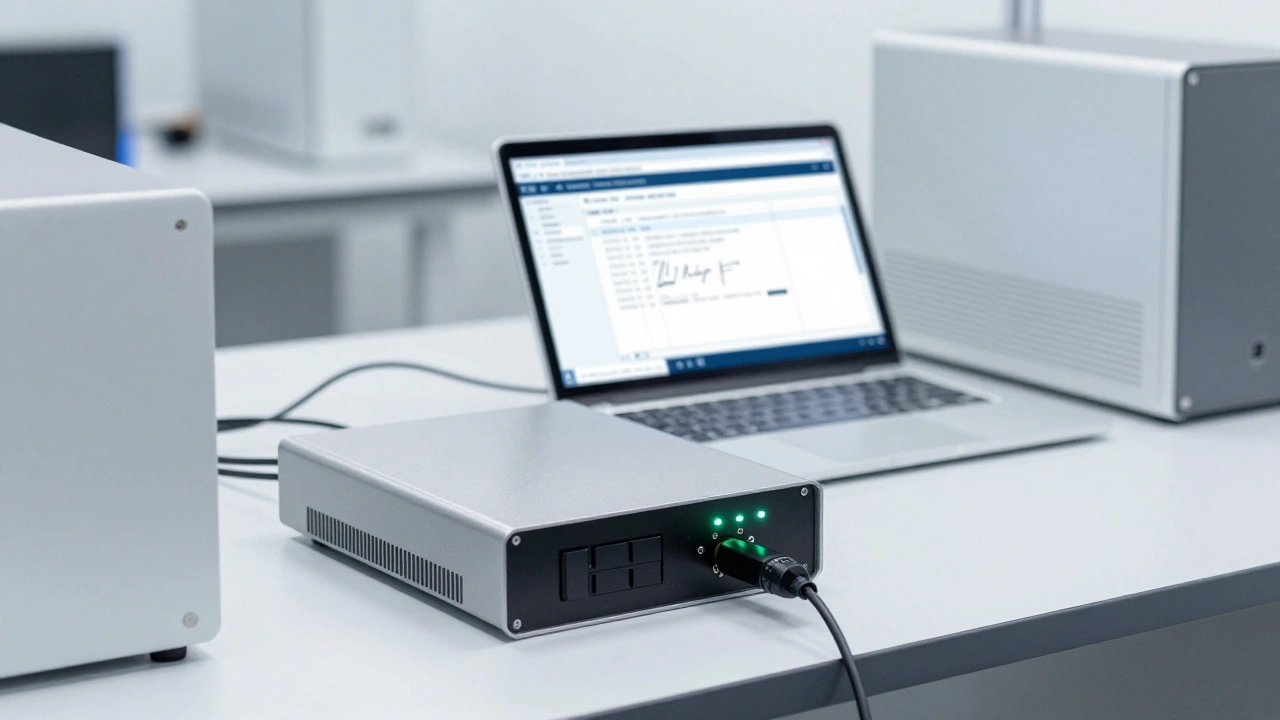
In modern labs, this is often handled by a LIMS (Laboratory Information Management System), such as HORIZON. These systems replace old paper logs with encrypted electronic signatures and unique container codes, making it much harder to lose track of evidence or forge a timestamp.
Step-by-Step Workflow for Evidence Handling
To ensure your evidence survives a legal challenge, follow this precise sequence:
- Acquisition: Use a write-blocker to capture a bit-for-bit image. Calculate the initial SHA-256 hash of the source drive.
- Verification: Calculate the hash of the resulting forensic image. If the source hash and image hash match, the copy is verified.
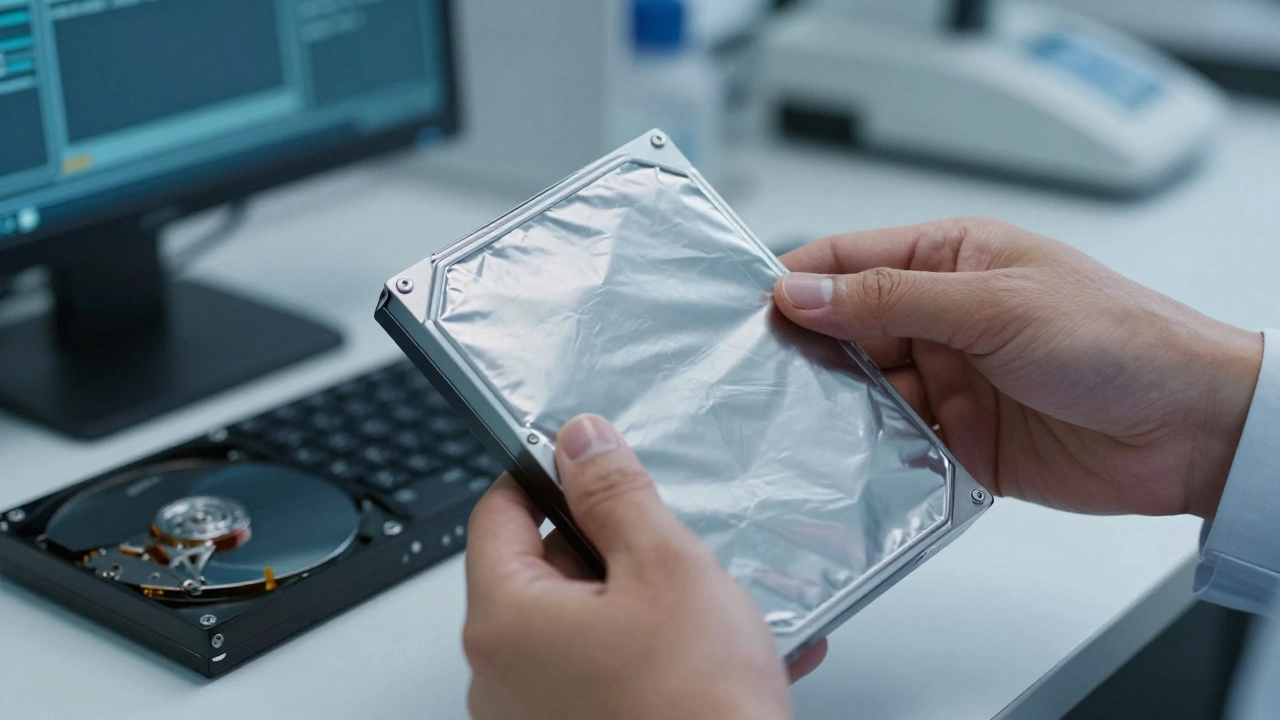
- Preservation: Store the original drive in a secure, access-controlled locker. Seal it in a tamper-evident bag.
- Analysis: Create a "working copy" of the image. All analysis, searching, and carving is done on this copy. If you suspect you've corrupted your working copy, you simply go back to the preserved image and make a new one.
- Reporting: Document every tool used (e.g., Autopsy, FTK, or Belkasoft X) and include screenshots of the process to prove how the evidence was recovered.
Common Pitfalls and How to Avoid Them
Many investigators fail not because they aren't technical, but because they get sloppy with the administrative side. One of the most common mistakes is analyzing the original evidence directly. Even if you think you're being careful, a single accidental click can change a file's "last accessed" metadata, which can be used to argue that the evidence was tampered with.
Another risk is the "documented gap." If there is a four-hour window where the evidence isn't logged as being in the locker or with an analyst, the court may question if the evidence was left unattended or accessed by someone unauthorized. If a gap occurs, don't try to hide it; document exactly what happened and why the gap exists. Transparency is always better than an apparent cover-up.
Finally, remember that tools can fail. If you're using software like Autopsy or FTK, always double-check your hashes using a different tool. Cross-validation is the gold standard of forensic science.
What happens if the hash value changes during an investigation?
If a hash changes, it means the data has been altered. In a legal context, this can lead to the evidence being declared inadmissible. If this happens to a working copy, you simply discard it and create a new copy from the original, verified forensic image. If it happens to the original evidence, you must document exactly how it occurred and attempt to explain the change through technical logs.
Is a bit-for-bit copy the same as a standard file backup?
No. A standard backup only copies the files the operating system can see. A forensic image (bit-for-bit copy) captures everything, including deleted files, unallocated space, slack space, and the Master File Table (MFT). This allows investigators to recover data that the user tried to erase.
Why is SHA-256 preferred over MD5?
MD5 is susceptible to "collisions," where two different sets of data produce the same hash. While rare, this vulnerability can be exploited to trick a court into thinking a modified file is original. SHA-256 has a much larger hash value and is currently considered computationally secure against such attacks.
Do I need a write-blocker for every type of evidence?
Generally, yes, for any physical storage media like HDDs, SSDs, or USB drives. For "live" acquisitions (like capturing RAM from a running computer), physical write-blockers aren't possible, so investigators use trusted software tools that minimize the footprint on the system and document every action taken.
How does RFC 3161 help with the chain of custody?
RFC 3161 provides a standard for trusted timestamping. Instead of relying on the computer's internal clock (which can be changed by a user), it uses an external authority to certify that a specific hash existed at a specific time. This proves the evidence was captured when the investigator claims it was.