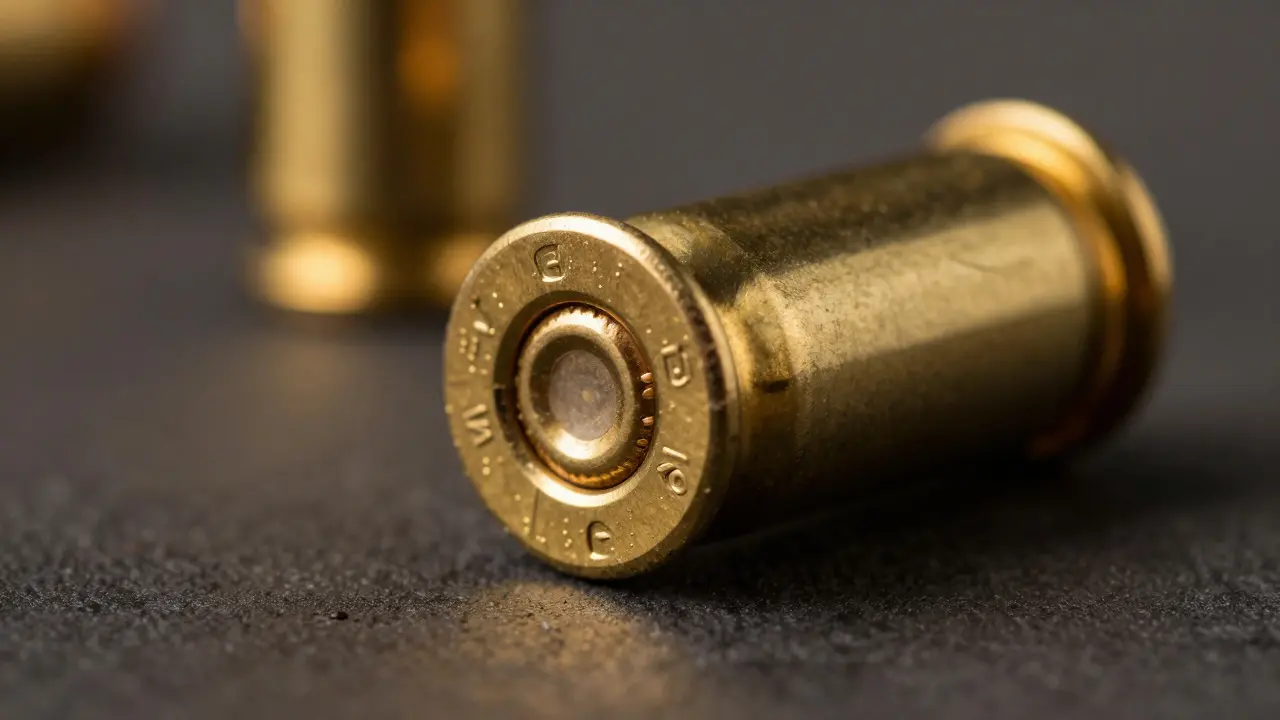
When a shell casing hits the floor after a shot is fired, most people see trash. To a forensic examiner, it’s a fingerprint. The cartridge case is the metal container that holds gunpowder and a bullet, which gets stamped with unique microscopic patterns by the firearm's internal components during discharge. These patterns are the key to linking a specific piece of evidence to a specific gun. While bullets get all the glory in crime scene investigations, the casing often tells a clearer story because it doesn’t travel through walls or bodies before landing. The two most critical marks on a casing are the firing pin impression is a small dent on the primer surface created when the firing pin strikes the primer to ignite the powder and the ejector mark is a linear scratch or gouge on the side of the casing left by the ejector as it pushes the spent round out of the chamber. Understanding how these form, what they look like, and how examiners verify them is essential for anyone working in firearms ballistics.
How Firing Pin Impressions Form
The firing process happens in milliseconds, but the physics behind the firing pin mark is straightforward. When you pull the trigger, the hammer releases the sear, allowing the firing pin to slam forward into the primer cup at the base of the cartridge. This impact isn't just about hitting a target; it’s about transferring energy. The primer contains a sensitive explosive compound that detonates upon impact, sending a flame into the cartridge case to ignite the gunpowder. However, not every firing pin hits the same way. Over time, wear and tear change the shape of the firing pin tip. A new gun might have a perfectly round firing pin, creating a circular impression. An older gun might have a worn, flattened, or even chipped tip, resulting in an oval, irregular, or multi-faceted mark. Examiners look for three main things here:
- Position: Is the mark centered? If the gun has a loose firing pin, the mark might be off-center or elongated.
- Shape: Does the geometry match the known firing pin tip from the suspect weapon?
- Depth and Texture: Are there unique scratches or wear patterns inside the impression that match the specific firing pin?
Understanding Ejector Marks
If the firing pin mark is a dot, the ejector mark is a line. After the bullet exits the barrel, the extractor grabs the rim of the casing and pulls it back. Then, the ejector-a small lever or spring-loaded finger-swings around to push the casing out of the ejection port. As this metal component slides across the curved side of the brass or steel casing, it leaves a distinctive mark. Ejector marks are generally more consistent than firing pin marks because the ejector follows a fixed path. However, they can still vary based on:
- Ejector Length and Shape: Different manufacturers design ejectors differently. Some are long and thin, others short and wide.
- Wear Patterns: Just like the firing pin, the ejector wears down. A polished, smooth ejector leaves a fainter mark than a rough, pitted one.
- Angle of Ejection: In semi-automatic pistols, the angle is determined by the slide’s movement. In revolvers, it depends on the cylinder rotation.
Comparing Evidence to Test Fire
The core of cartridge case examination is comparison. You don’t just look at the evidence casing in isolation. You need a reference. That reference comes from test-firing the suspect weapon using the same type of ammunition used in the crime. Here is how the workflow typically goes:
- Collection: Recover the evidence casing from the scene without touching the marked areas. Use tweezers or forceps.
- Preparation: Clean the casing gently. Avoid polishing the marked areas, as this destroys the microscopic details.
- Test Firing: Fire the suspect weapon into a water tank or sand box to recover clean test casings. Usually, 5-10 shots are enough to establish a pattern.
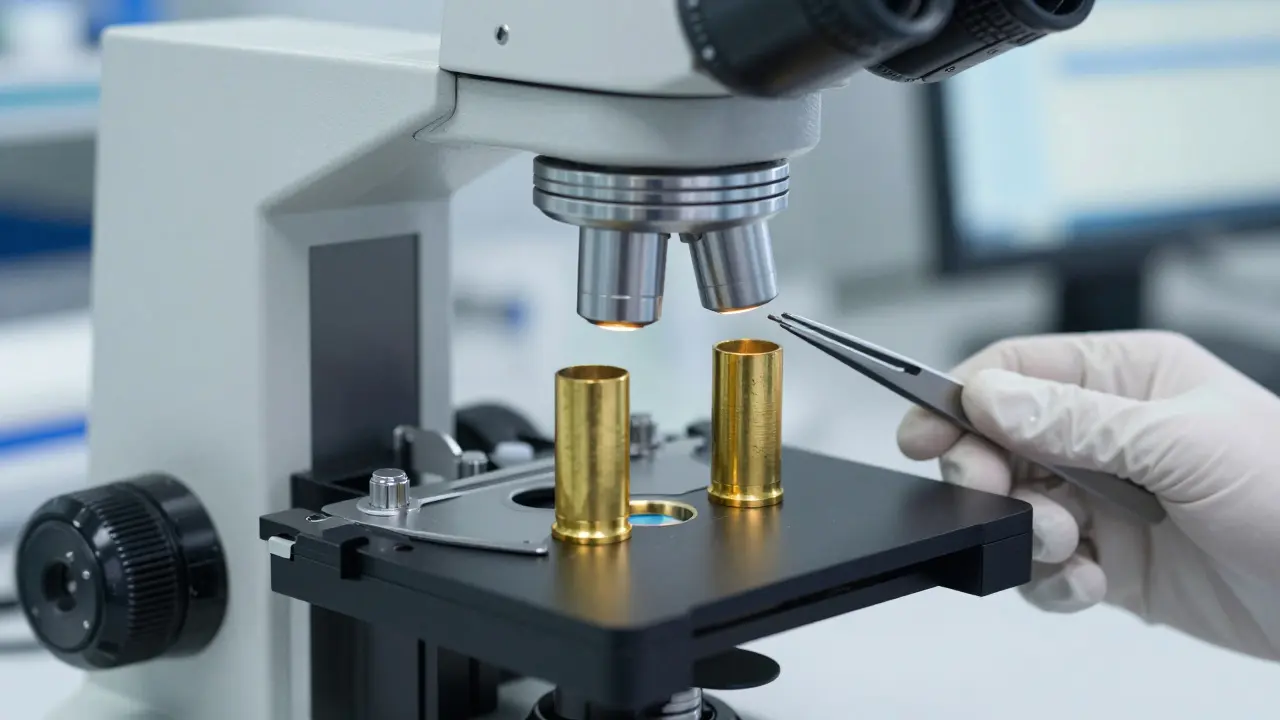
- Microscopic Comparison: Place the evidence casing and a test casing under a comparison microscope. Align the firing pin impressions first. If they match in shape, size, and unique striations, then move to the ejector marks.
Common Pitfalls and Challenges
Even experienced examiners run into issues. Here are the most common ones:
- Overheating: If a gun is fired too many times in quick succession, the heat can warp the metal, altering the firing pin and ejector shapes. This changes the marks significantly.
- Ammunition Variance: Different brands of ammunition have different primer compositions and case hardness. A hard brass case might show less detail than a soft copper-washed case. Always use the same ammo brand for testing as was likely used in the crime.
- Damaged Casing: If the casing was stepped on, crushed, or exposed to chemicals, the marks might be obscured. In these cases, partial matching becomes necessary, which lowers the confidence level.
- Transfer Marks: Sometimes, marks from one gun can transfer to another if they were stored together. This is rare but possible. Examiners must rule out secondary sources.
Tools of the Trade
You can’t do this work with the naked eye. The standard toolkit includes:
- Comparison Microscope: Allows side-by-side viewing of two objects at high magnification (up to 40x or higher).
- Light Source: Oblique lighting is crucial. Shine light from the side to highlight the depth of the grooves and ridges in the marks.
- Cleaning Supplies: Mild soap and water, or specialized solvents, to remove dirt without removing metal particles.
- Documentation Camera: High-resolution cameras attached to microscopes to capture images for court reports.
| Feature | Firing Pin Impression | Ejector Mark |
|---|---|---|
| Location | Center of primer | Side of casing body |
| Shape | Usually circular or oval | Linear or curved line |
| Variability | High (due to wear and alignment) | Moderate (fixed path, but wear varies) |
| Key Identifier | Unique wear pattern on pin tip | Micro-striations along the edge |
| Sensitivity to Ammo | Medium | Low |
Legal Admissibility and Standards
For a cartridge case match to hold up in court, it needs to meet certain standards. The Association of Firearm and Tool Mark Examiners (AFTE) sets guidelines for best practices. Key points include:
- Chain of Custody: Every person who handled the casing must be documented.
- Controlled Testing: Test firings must be done under controlled conditions to avoid contamination.
- Exclusionary Power: The examiner should be able to say why other guns of the same model did *not* make the mark. This strengthens the positive identification.
Practical Tips for Field Investigators
If you’re on the scene collecting casings, follow these rules to preserve the evidence:
- Don’t Touch the Marks: Hold the casing by the rim or the bottom. Your fingerprints can obscure the ejector marks.
- Bag Separately: Put each casing in its own paper bag. Plastic bags cause condensation, which can corrode the metal and wash away fine details.
- Note the Orientation: Write down which side of the casing faces up. This helps the lab technician locate the ejector mark quickly.
- Collect Nearby Debris: Sometimes, fragments of the ejector or firing pin break off. Look for small metal shavings near the casing.
Can two different guns produce identical firing pin marks?
While it is theoretically possible, it is extremely unlikely. Each firing pin develops unique wear patterns over time. New guns may have similar marks, but as they age, the differences become pronounced. Examiners look for multiple matching features, not just one, to confirm a match.
What happens if the ejector mark is missing?
If the ejector mark is missing or damaged, examiners rely more heavily on the firing pin impression and other marks like breech face impressions. They may also compare the overall dimensions of the casing to the chamber of the suspect gun. Identification is still possible, but it requires more corroborating evidence.
Does the type of ammunition affect the marks?
Yes. Softer metals like brass show more detail than harder metals like steel. Primer composition also affects the depth of the firing pin impression. For accurate comparison, test firings should use the same brand and type of ammunition as the evidence whenever possible.
How long does a cartridge case examination take?
A simple comparison might take a few hours. Complex cases involving multiple suspects or damaged evidence can take days or weeks. The time depends on the number of test firings needed and the clarity of the marks.
Are cartridge case marks admissible in court?
Yes, they are widely admissible. However, defense attorneys often challenge the methodology. Experts must demonstrate their training, experience, and adherence to AFTE standards. Recent trends favor providing statistical context alongside the visual match.