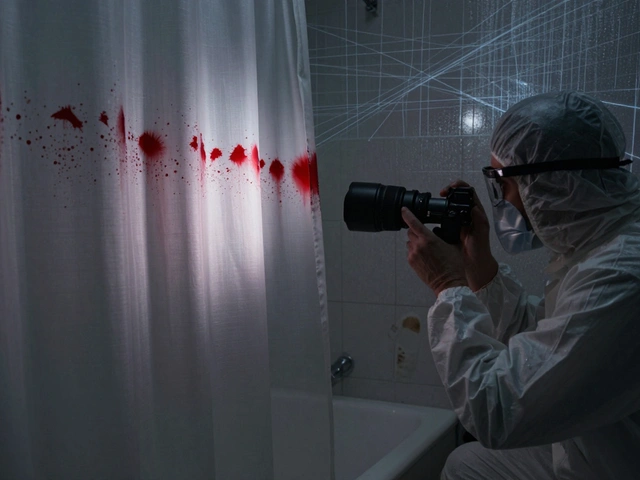
You’ve got the scene secured. The lights are up. But here’s the thing: if you mess up the biological swab collection, everything else is wasted. You can’t sequence a sample that’s degraded into mush because you rushed the drying step or reused a tip. It happens more often than you’d think, especially when crews are under pressure to clear a scene fast.
The difference between a usable DNA profile and a lab rejection often comes down to two boring-sounding things: using single-use materials and nailing the air-drying protocols. Sounds simple? Maybe. But in practice, moisture control and contamination prevention are where most errors hide. Let’s break down exactly how to handle this so your evidence holds up in court.
Why Single-Use Materials Are Non-Negotiable
Think about what you’re picking up. Biological material-blood, saliva, skin cells-is fragile. If you use a reusable swab holder or a non-sterile tip, you’re not just risking cross-contamination; you’re introducing foreign DNA. That’s bad news for low-template samples, which are already hard enough to amplify.
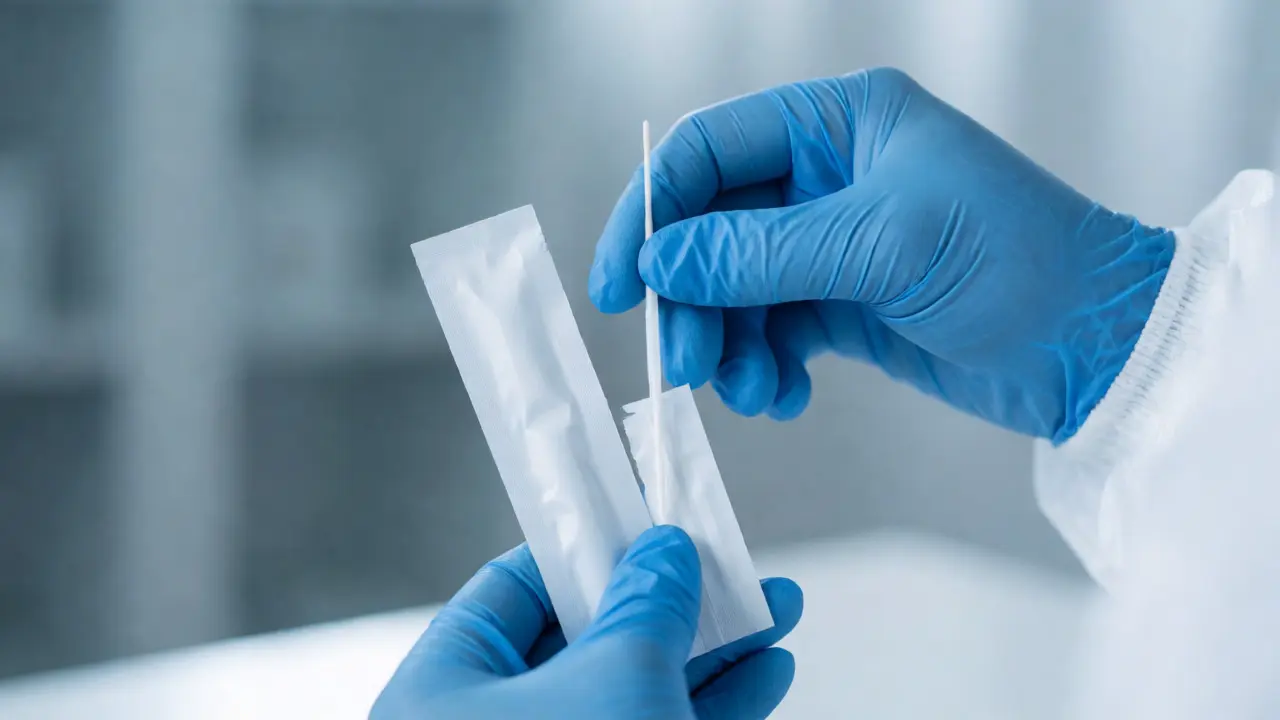
Single-use swabs are designed with one job in mind: isolation. They come pre-packaged in sterile tubes with buffer solutions or dry tips. Once opened, they go in, get the sample, and go out. No rinsing, no reusing, no "it looks clean enough."
Here’s why this matters practically:
- Cross-Contamination Risk: Even microscopic residue from a previous sample can overwhelm a current one. A single hair follicle from another person on a shared tool can ruin a case.
- Buffer Integrity: Many modern swabs (like those used for touch DNA) rely on specific chemical buffers to stabilize nucleic acids. Reusing these degrades the buffer’s effectiveness.
- Chain of Custody Clarity: When every item is new and sealed, there’s zero ambiguity about where it came from. This simplifies documentation and reduces defense challenges.
If you’re still keeping a box of "clean" swabs in your kit for reuse, toss them. The cost of a few extra sterile kits is nothing compared to the cost of a dismissed piece of evidence.
The Critical Role of Air-Drying Protocols
Now, let’s talk moisture. Water is the enemy of preserved biological evidence. Wet samples breed bacteria and mold, which eat away at DNA before you even get to the lab. That’s why air-drying protocols are critical. You aren’t just letting things sit around; you’re actively removing water to halt degradation.
But how do you know when it’s dry enough? And how long should you wait?
There’s no universal timer because humidity, temperature, and substrate type all play a role. However, there are rules of thumb that work in the field:
- Visual Inspection: The stain should change color (e.g., blood turns dark brown/black) and lose its sheen. If it looks wet or shiny, it’s not ready.
- Touch Test (With Caution): Gently touch an adjacent area of the same substrate with a clean gloved finger. If it feels tacky or damp, keep waiting. Never touch the actual stain itself unless necessary.
- Timeframe: In typical indoor conditions (70°F, 40% humidity), small stains might dry in 15-30 minutes. Larger volumes or porous surfaces like carpet can take hours.
A common mistake? Packaging too soon. If you seal a damp swab in a plastic tube, you create a micro-greenhouse. Bacteria thrive in that moist, warm environment, and by the time it reaches the lab, the DNA may be fragmented beyond recognition. Always err on the side of longer drying times.
Step-by-Step: Executing the Collection
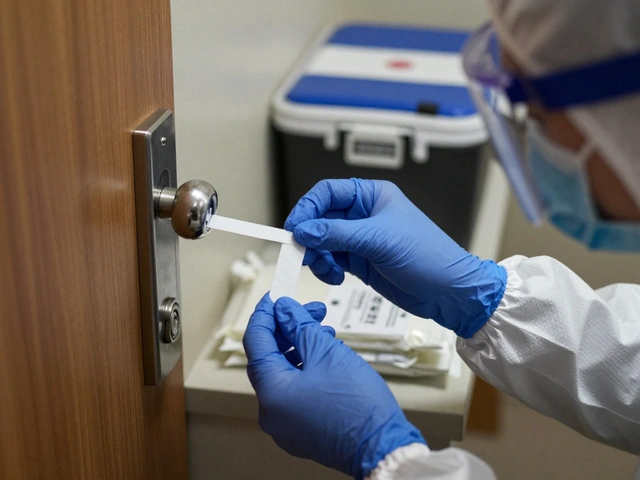
Let’s walk through a standard workflow. Imagine you’re collecting a touch DNA sample from a door handle. Here’s how to do it right.
Preparation: Don your gloves. Change them immediately after touching anything non-evidentiary. Open your single-use swab kit. Check the expiration date-yes, swabs expire. The buffer degrades over time.
Moistening: Most swabs need slight moistening to pick up cells effectively. Use the provided sterile distilled water or saline. Do not use tap water; minerals and chlorine can interfere with PCR analysis. Moisten the tip, then blot it against the inside wall of the tube to remove excess liquid. You want damp, not dripping.
Swabbing Technique: Apply firm but gentle pressure. Rotate the swab as you move across the surface. For a door handle, swab the entire contact area in parallel strokes, overlapping slightly. Flip the swab and repeat if needed. Remember, you’re trying to lift cells off the surface, not scrub paint off.
Drying: Place the swab back in its open tube or lay it flat on a clean, inert surface (like aluminum foil) if instructed by your agency’s protocol. Allow it to air-dry completely. Do not blow on it. Do not place it near a heater. Patience pays.
Packaging: Once fully dry, cap the tube. Seal it in a paper envelope or breathable container. Plastic bags trap moisture; paper allows residual humidity to escape.
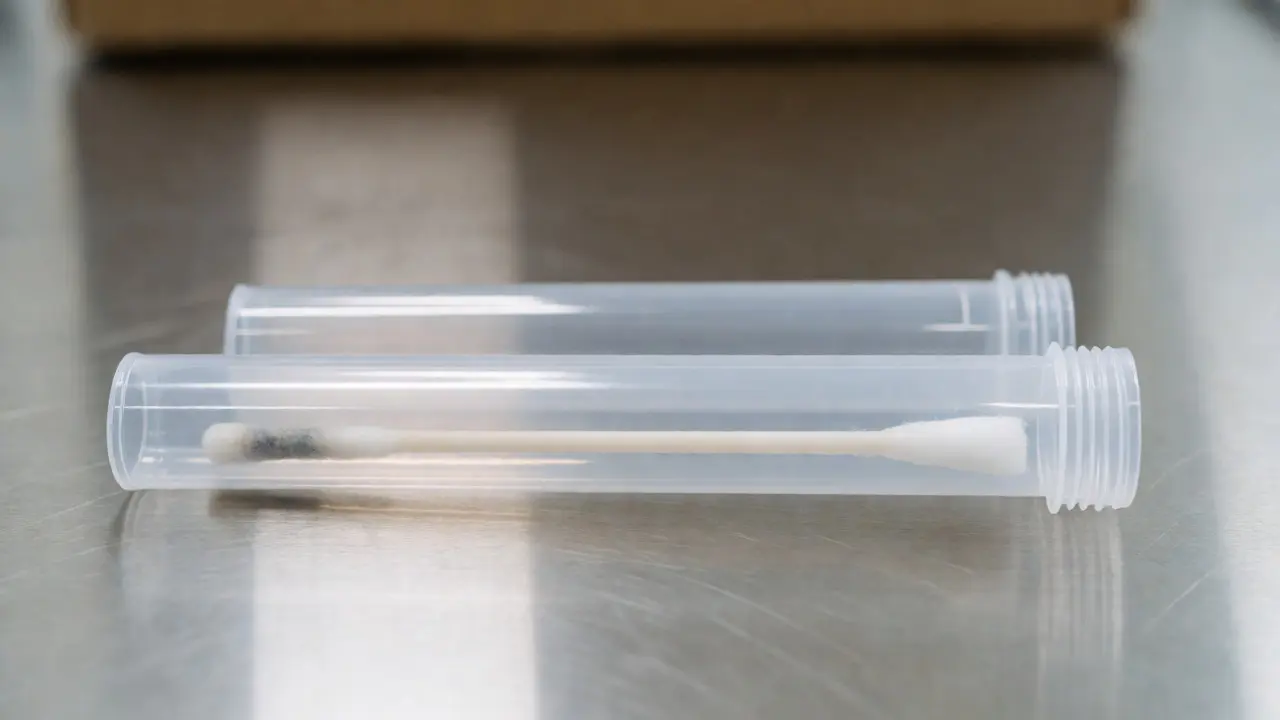
Comparing Substrates and Their Drying Needs
Not all surfaces behave the same way. Porous materials absorb liquids, making drying slower and sometimes incomplete. Non-porous surfaces allow for easier recovery but require careful moisture control during swabbing.
| Substrate Type | Examples | Drying Challenge | Recommended Action |
|---|---|---|---|
| Non-Porous | Glass, Metal, Plastic | Rapid evaporation; risk of over-drying brittle samples | Monitor closely; usually dries in 10-20 mins |
| Semi-Porous | Wood, Unsealed Concrete | Absorbs moisture unevenly; hidden dampness | Extend drying time; check underside/backside |
| Porous | Fabric, Carpet, Paper | High retention; deep moisture pockets | May require 1-2+ hours; consider cutting section instead |
For porous items like clothing, sometimes swabbing isn’t the best option. Cutting out the stained area and packaging it directly in paper is often superior. Why? Because you preserve the context of the stain and avoid losing material trapped deep in the fibers.
Troubleshooting Common Pitfalls
Even experienced collectors make mistakes. Here are the big ones and how to fix them.
Mistake #1: Using Tap Water. We mentioned this, but it bears repeating. Tap water contains ions and organic matter that inhibit PCR enzymes. If you’re out in the field and run out of sterile water, skip the swab or use a dry swab technique if appropriate for the substrate. Don’t improvise with bottled drinking water unless it’s specifically labeled sterile.
Mistake #2: Ignoring Humidity. In Portland, we deal with damp weather year-round. High ambient humidity slows drying significantly. If it’s raining outside or the room is steamy, double your expected drying time. Use fans to circulate air, but ensure they’re clean and don’t blow dust onto the sample.
Mistake #3: Mixing Up Kits. Keep your single-use swabs separate from general supplies. Contaminated boxes happen. If you drop a swab wrapper on the floor, assume it’s compromised. Discard it. Better to lose five dollars’ worth of supplies than a million-dollar case.
Mistake #4: Over-Swobbing. Scrubbing too hard can damage the substrate or embed contaminants deeper. Gentle, consistent pressure works better. Think of it like wiping a smudge off glasses, not sanding wood.
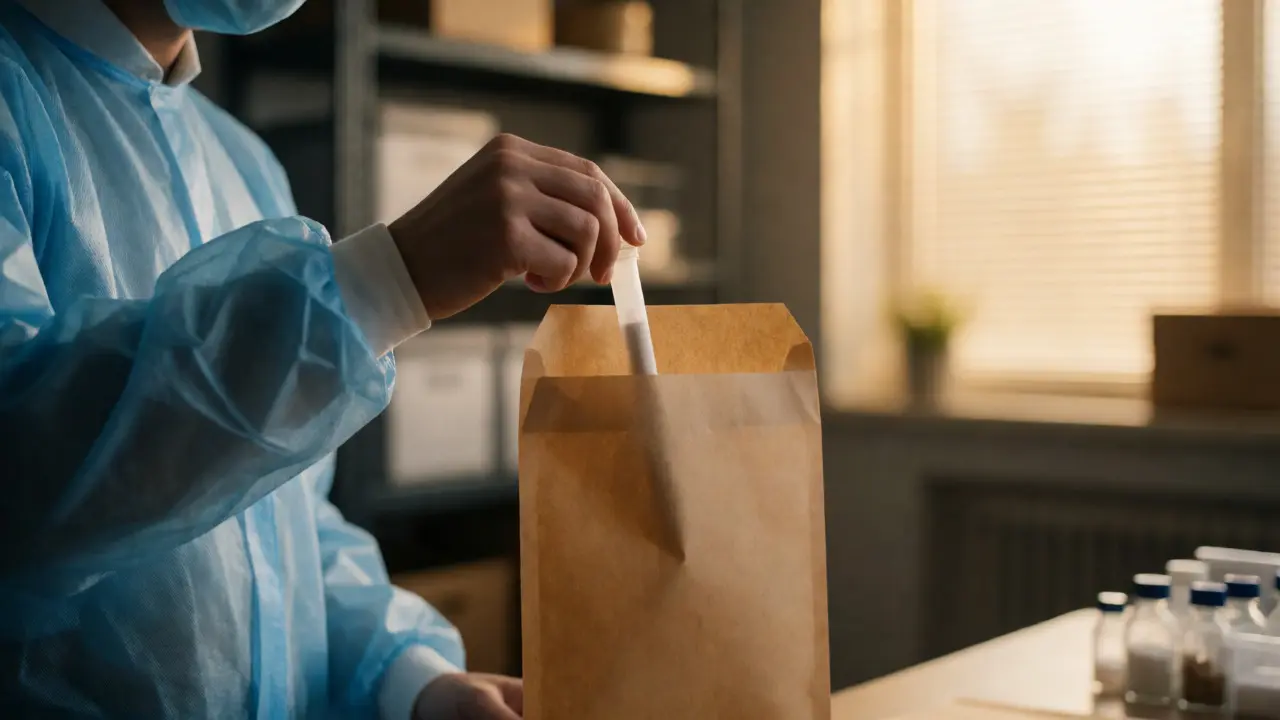
Documentation and Chain of Custody
Your notes are part of the evidence. Document the drying process. Write down the start time, end time, and environmental conditions (temperature, humidity if available). Note any deviations from standard protocol. Did you have to extend drying due to rain? Write it down.
Label each tube clearly. Include case number, item number, location collected, collector initials, and date/time. Use permanent markers that won’t bleed through labels. Attach the label to the tube body, not just the lid, in case lids get separated.
When sealing envelopes, sign across the flap. This prevents unauthorized opening without breaking the signature. If you use tamper-evident tape, photograph the sealed package before shipping.
Best Practices for Long-Term Storage
Once dried and packaged, storage conditions matter. Biological evidence prefers cool, dark, and dry environments. Refrigeration (not freezing) is ideal for short-term holding if labs aren’t immediately accessible. Freezing can cause ice crystals to rupture cell membranes, though this is less critical for swabs than whole tissues.
Avoid attics and basements. Attics get hot; basements get damp. Both accelerate degradation. If you must store overnight, keep samples in a locked, climate-controlled vehicle trunk or office cabinet.
How long does it take for a biological swab to air-dry?
It depends on the volume of sample and environmental conditions. Small touch DNA samples typically dry in 15-30 minutes under normal indoor conditions (70°F, 40% humidity). Larger bloodstains or porous substrates may take 1-2 hours or longer. Always verify dryness visually and tactically before packaging.
Can I reuse a swab tube if I only used half the swab?
No. Single-use means the entire unit-swab and tube-is disposable. Reusing introduces contamination risks and compromises the sterility of the remaining buffer. Always discard the entire assembly after one use.
What happens if I package a swab while it's still damp?
Packaging damp swabs traps moisture, creating an environment conducive to bacterial and fungal growth. These organisms consume DNA, leading to degradation and potential amplification failure during testing. It can also cause mold spots that obscure visual examination.
Is sterile water always required for moistening swabs?
Yes, sterile distilled water or saline is preferred. Tap water contains minerals, chlorine, and microbes that can inhibit PCR reactions or introduce contaminants. If sterile water is unavailable, dry swabbing techniques may be an alternative depending on the substrate.
Should I use paper or plastic bags for storing dried swabs?
Paper envelopes or breathable containers are recommended. They allow residual moisture to escape. Plastic bags trap humidity, which can lead to mold growth even if the swab appeared dry when packed.