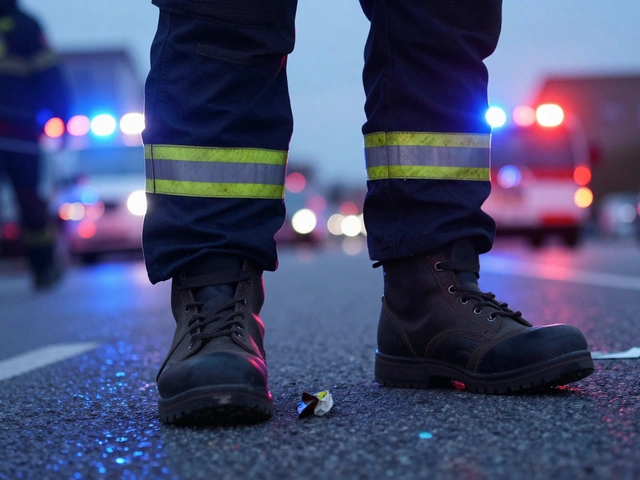
Walking into a property with a biohazard spill isn't just messy; it's a health risk. Whether it's an unattended death in a rental unit or a medical waste leak in a clinic, the situation demands more than a mop and bucket. Biohazard Remediation is the specialized process of cleaning, disinfecting, and restoring areas contaminated with biological materials to safe, habitable conditions. It involves strict adherence to safety protocols that protect both the workers and the future occupants. If you're facing this scenario, knowing what professional services actually do-and why they differ from standard janitorial work-saves you money and prevents legal headaches.
What Defines Biohazard Remediation?
Biohazard Remediation goes beyond surface cleaning. It targets invisible threats like bloodborne pathogens, fungi, and bacteria. The core goal is decontamination. This means removing organic matter, applying hospital-grade disinfectants, and verifying that no hazardous residue remains. Unlike general cleaning, which focuses on aesthetics, remediation focuses on hygiene and safety compliance. The industry relies heavily on standards set by the Occupational Safety and Health Administration (OSHA), specifically regarding Bloodborne Pathogens. These rules dictate how workers must handle exposure risks, ensuring that the cleanup doesn't create new hazards for the team.
The scope varies widely. A small spill might require localized treatment, while a long-term neglect case could involve structural damage and mold growth. Professionals assess the site first, categorizing the level of contamination before starting any physical work. This assessment determines the equipment needed, the duration of the project, and the final cost. Without this step, crews often underestimate the job, leading to incomplete cleans and potential re-contamination.
Types of Biohazards Requiring Professional Attention
Not all spills are created equal. Understanding the source helps you anticipate the complexity of the cleanup. Here are the most common scenarios we see in residential and commercial settings:
- Unattended Deaths: These are among the most challenging cases. Decomposition releases fluids and odors that penetrate drywall, carpet, and subflooring. The longer the body remains, the deeper the contamination spreads. Odor removal often requires ozone treatment or thermal fogging after the physical debris is removed.
- Trauma Scenes: Accidents involving blood splatter can contaminate large surfaces quickly. High-velocity impacts can spread microscopic droplets far beyond the visible stain. Proper containment is critical here to prevent cross-contamination to other rooms.
- Medical Waste Leaks: Hospitals, clinics, and home healthcare settings may experience leaks from sharps containers or IV bags. These require specific handling to ensure no needles or infectious fluids remain behind.
- Mold Infestations: While sometimes categorized separately, severe mold often coexists with water damage that creates biohazardous conditions. Remediation here involves removing porous materials that have absorbed moisture and spores.
- Criminal Scene Cleanup: After forensic teams finish their work, the scene needs to be made safe for residents or investigators. This includes removing evidence bags, tape, and any biological material left behind during the investigation.
The Step-by-Step Remediation Process
Professional crews follow a logical sequence to ensure nothing is missed. Skipping steps is a common cause of failed cleanups. Here’s how a standard remediation project unfolds:
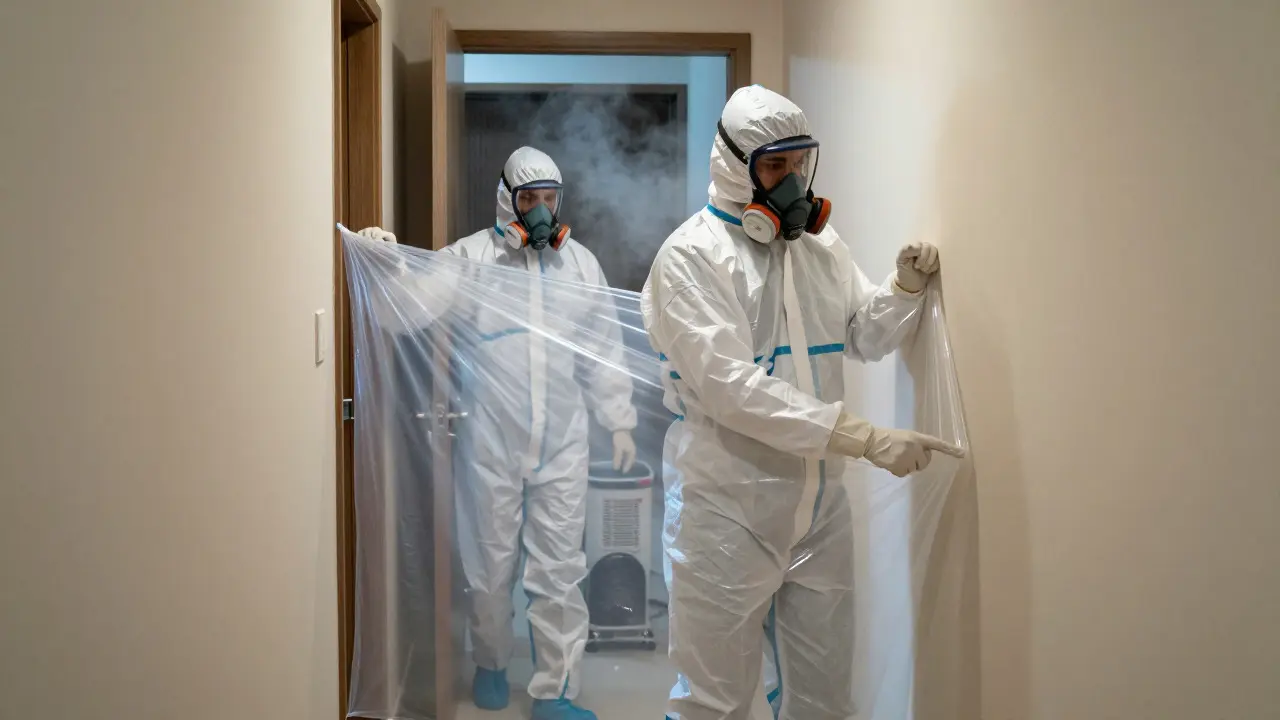
- Site Assessment and Containment: Technicians arrive with personal protective equipment (PPE). They seal off the affected area using plastic sheeting and negative air pressure machines to keep contaminants from spreading to clean zones. This step is non-negotiable for indoor projects.
- Debris Removal: Visible organic matter is carefully packed into sealed, labeled biohazard bags. Porous materials like carpets, upholstery, and drywall that cannot be disinfected are cut out and disposed of as regulated waste.
- Disinfection: Once the bulk material is gone, surfaces are scrubbed and sprayed with EPA-registered disinfectants. These chemicals kill viruses, bacteria, and fungi. Application methods vary based on the surface type, ranging from manual wiping to electrostatic spraying for hard-to-reach areas.
- Air Quality Treatment: Odors and airborne particles are addressed using ozone generators or hydroxyl machines. This step ensures the space smells neutral and that no volatile organic compounds (VOCs) linger.
- Final Inspection and Certification: Before closing the site, a third-party inspector or the lead technician verifies that all surfaces meet safety standards. In many cases, a clearance certificate is issued, confirming the area is safe for occupancy.
Why DIY Cleanup Often Fails
You might think you can handle a small spill yourself. For minor incidents, that’s possible. But when dealing with significant contamination, DIY approaches carry hidden costs. First, there’s the lack of proper PPE. Standard gloves and masks don’t offer the same protection as N95 respirators or chemical-resistant suits. Second, improper disposal can lead to fines. Biohazard waste must go through licensed haulers who incinerate or treat it according to local regulations. Throwing it in the regular trash can result in penalties from environmental agencies.
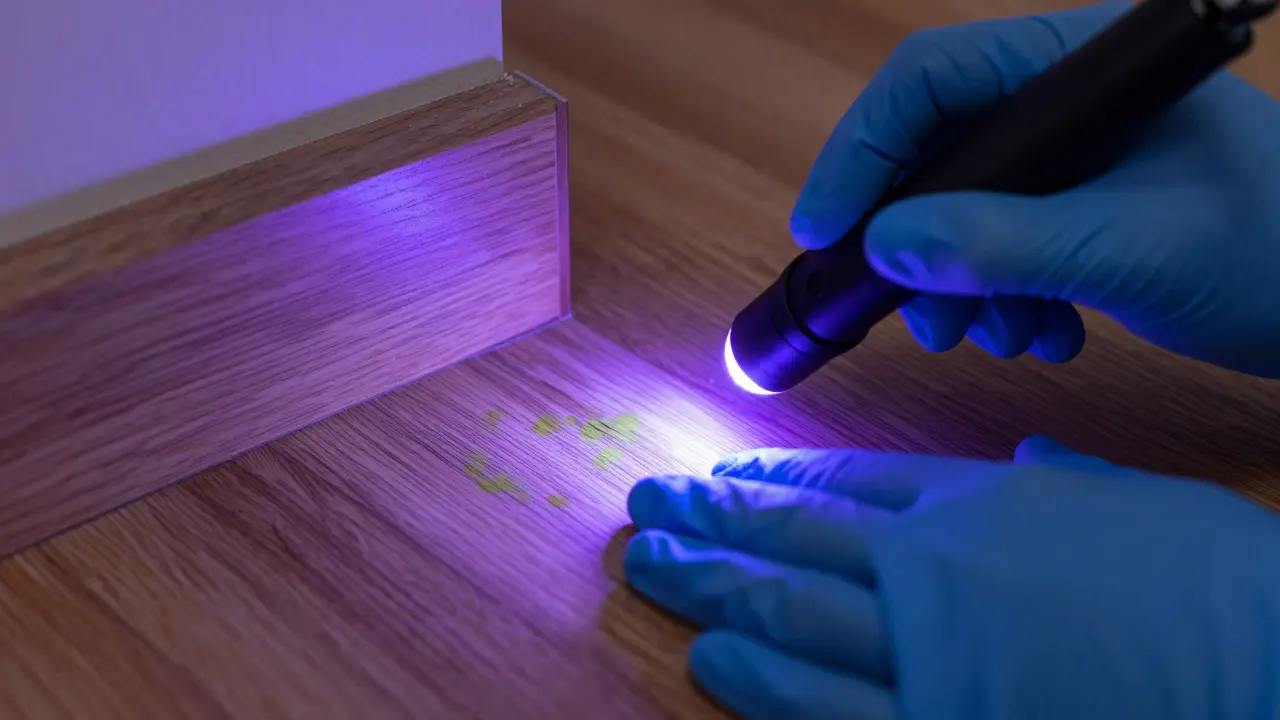
Then there’s the issue of thoroughness. Homeowners often miss hidden spots where fluids have seeped. Baseboards, under cabinets, and inside HVAC ducts are common hiding places. If these areas aren’t treated, the problem returns within weeks. Professional crews use UV lights and moisture meters to detect hidden contamination, ensuring a complete fix.
| Factor | DIY Approach | Professional Service |
|---|---|---|
| PPE Quality | Basic gloves/masks | N95/Full suit, eye protection |
| Disposal Method | Regular trash (risk of fines) | Licensed biohazard hauling |
| Detection Tools | Visual inspection only | UV lights, moisture meters, air monitors |
| Warranty/Certification | None | Clearance certificate provided |
| Cost Structure | Low upfront, high risk | Higher upfront, guaranteed result |
Choosing the Right Provider
Not all cleanup companies are created equal. When hiring a service, look for specific credentials. The Institute of Inspection, Cleaning and Restoration Certification (IICRC) sets industry standards for restoration professionals. Check if the company holds current certifications in biohazard remediation. Also, verify their insurance coverage. You want liability insurance and workers' comp to protect your property from accidental damage during the job.
Experience matters too. Ask how many similar cases they’ve handled recently. A company that specializes in trauma scenes will know exactly what to expect, whereas a general handyman might struggle with the logistics. Finally, request a detailed written estimate. Vague quotes are a red flag. The estimate should break down labor, materials, disposal fees, and equipment rental. Transparency at this stage builds trust and prevents surprise charges later.
Regulatory Compliance and Safety Standards
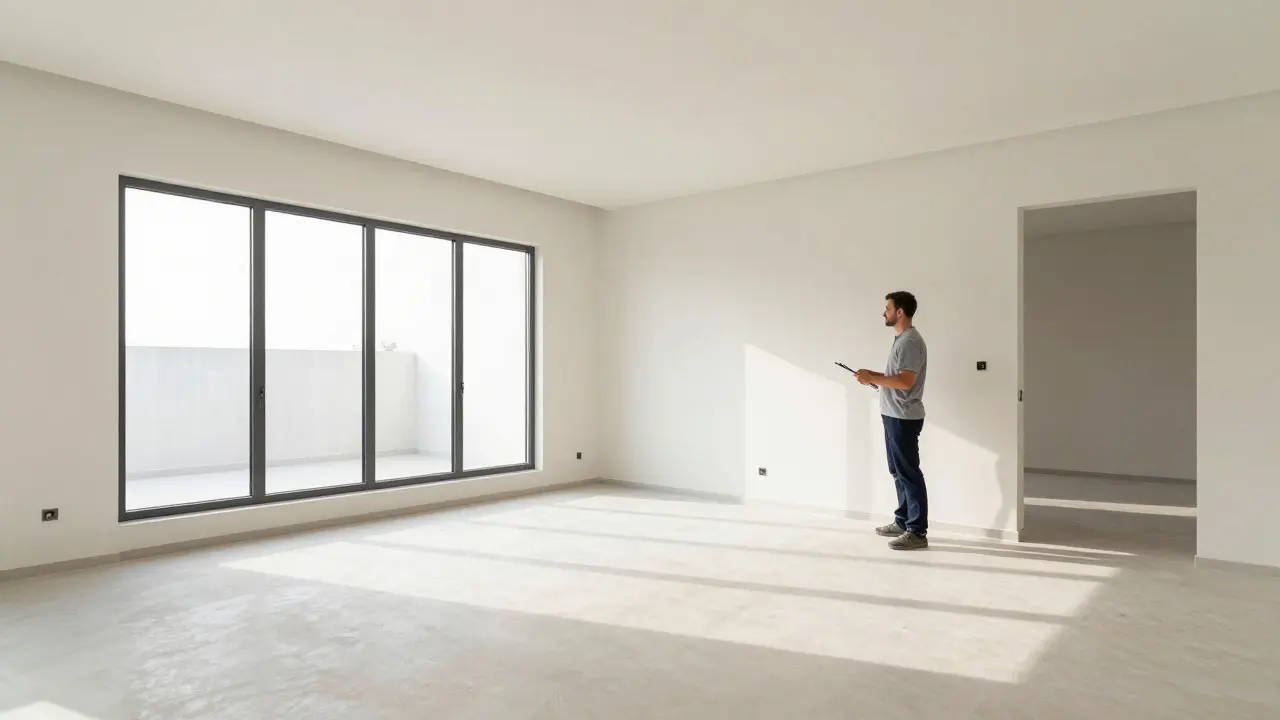
Compliance isn't just about being safe; it's about avoiding legal trouble. Local health departments often inspect properties after major cleanups. If records show improper waste handling, you could face citations. Professional providers maintain documentation for every step, from the initial assessment to the final waste manifest. These records prove that the job was done correctly, protecting you from future disputes with tenants, buyers, or insurers.
Additionally, OSHA guidelines require that employees working in contaminated areas receive training on hazard recognition and emergency procedures. Reputable firms invest in this training annually. When interviewing a provider, ask about their staff training frequency. A well-trained team works faster and safer, reducing the overall time the property is out of commission.
Frequently Asked Questions
How long does a typical biohazard cleanup take?
It depends on the scale. A small spill might take 4-6 hours. An unattended death case can take 3-7 days, depending on decomposition level and the extent of demolition required. Complex cases involving mold or structural damage may take several weeks.
Do I need to vacate the property during cleanup?
Usually, yes. Since the work involves strong chemicals, noise from demolition, and potential airborne contaminants, it’s safest for occupants to stay elsewhere until the final inspection is passed. Temporary housing assistance is sometimes available through insurance policies.
Is biohazard cleanup covered by insurance?
Coverage varies. Homeowner’s insurance often covers sudden events like accidents but may exclude long-term neglect. Renters’ insurance might cover personal belongings but not the structure. Always check your policy details and speak with your adjuster before hiring a vendor.
What is the difference between remediation and restoration?
Remediation is the cleaning and disinfection phase. Restoration is the rebuilding phase, such as installing new drywall, painting, or flooring. Many companies offer both services, but they are distinct stages of the project.
How much does professional biohazard cleanup cost?
Costs range widely. Minor spills start around $500-$1,000. Moderate cases fall between $2,000-$5,000. Major incidents, like unattended deaths, can exceed $10,000 due to demolition, disposal, and reconstruction needs. Get multiple quotes for accurate pricing.