Imagine you just collected a hair from a crime scene. It’s tiny, fragile, and potentially the key to solving the case. But if you toss it into a plastic bag that isn’t breathable, or drop it on a dirty table, that evidence might be gone before it even reaches the lab. This is where packaging trace evidence becomes critical. It’s not just about putting things in boxes; it’s about preserving integrity from the moment of collection to final analysis.
Most errors in forensic science don’t happen under the microscope. They happen in the field, during transport, or while sitting in a storage cabinet. The goal here is simple: keep the sample exactly as it was found, without adding anything new or losing any part of it. Let’s look at how to do that effectively, avoiding the common pitfalls that can ruin a case.
Understanding the Risks: Why Packaging Matters
Trace evidence is microscopic physical material such as fibers, hairs, soil, glass, or paint chips that links suspects to scenes or victims. Because these items are so small, they are highly susceptible to environmental changes. You have two main enemies: loss and contamination.
- Loss: This happens when particles fall out of a container, get stuck to tape, or are blown away by air currents. A single fiber lost means a potential link broken.
- Contamination: This occurs when foreign material mixes with the sample. Think of your own skin cells, dust from a non-sterile room, or chemicals from the wrong type of bag.
The risk isn’t theoretical. In many wrongful convictions, experts later pointed to poor packaging practices as a root cause. If the defense attorney can prove that the evidence wasn’t handled correctly, the entire case can collapse. So, precision in packaging is a legal requirement, not just a best practice.
Choosing the Right Container for the Job
Not all containers are created equal. Using the wrong one is like trying to store wine in a juice box-it works for a minute, but then everything goes wrong. Here is how to match the evidence type to the right packaging:
| Evidence Type | Best Container | Avoid | Reason |
|---|---|---|---|
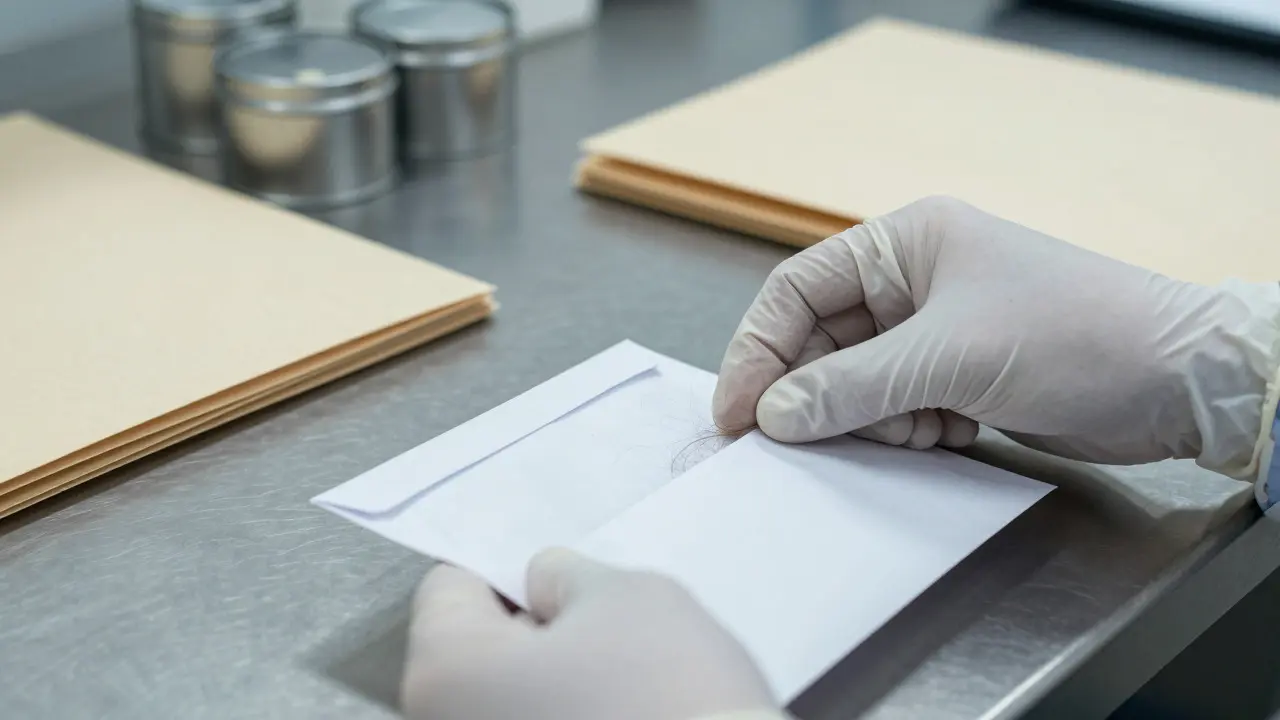
| Hairs & Fibers | Paper envelopes or manila folders | Plastic bags | Moisture builds up in plastic, causing mold which destroys DNA. |
| Blood Stains (wet) | Clean cloth or gauze, dried, then paper | Sealed plastic immediately | Must dry first to prevent bacterial growth. |
| Glass Fragments | Rigid metal cans or hard plastic vials | Paper bags | Sharp edges tear paper, leading to loss of fragments. |
| Fingerprints (lifted) | Acid-free paper sleeves in rigid boxes | Loose in pockets | Lifts are delicate and can crumble or smudge easily. |
| Soil/Sand | Wide-mouth glass jars or sealed plastic vials | Open containers | Prevents mixing with other debris during transport. |
A pro tip: always use clean hands or gloves. Your fingerprints contain oils and DNA that can contaminate the very evidence you’re trying to analyze. If you handle a glass shard with bare hands, you’ve added your biological profile to the suspect’s potential profile.
The Chain of Custody: More Than Just Paperwork
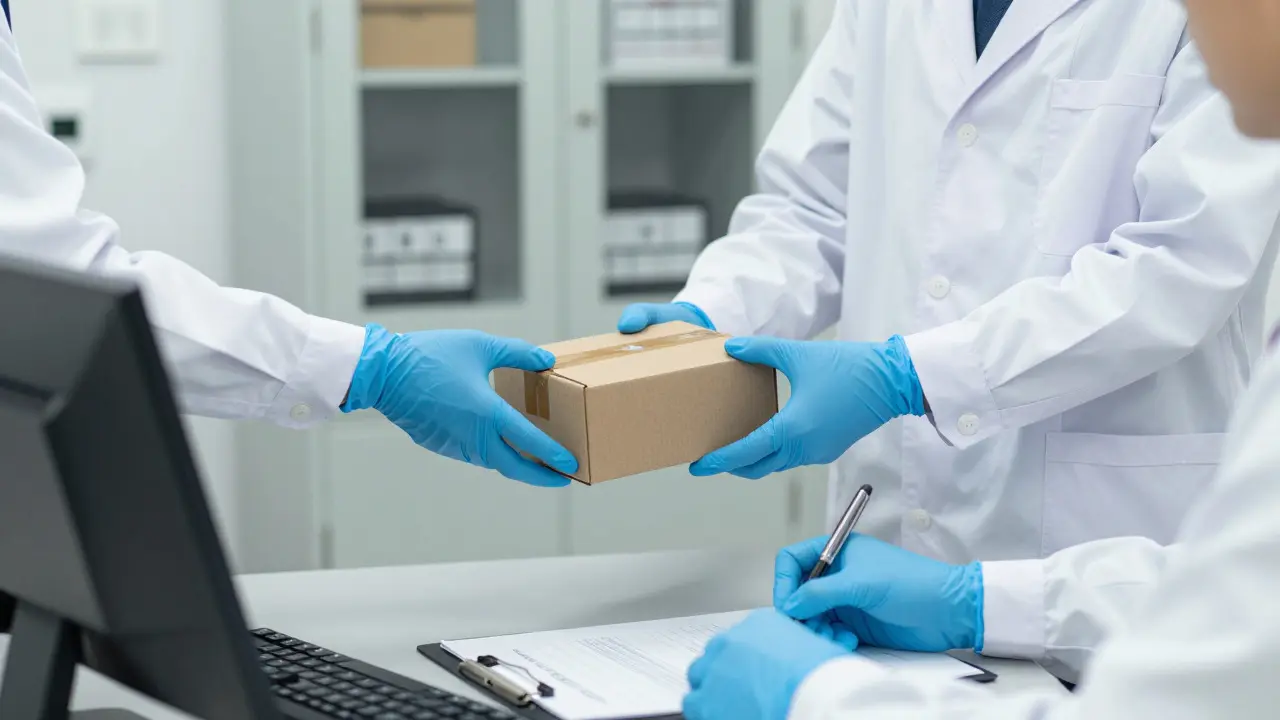
Packaging is only half the battle. The other half is documentation. The Chain of Custody is the chronological record of who had possession of evidence, when, and why. If there is a gap in this record, the evidence’s admissibility is at risk.
- Label Immediately: Write the date, time, location, collector’s name, and case number directly on the package. Use permanent ink. Pencil fades; ballpoint rolls off.
- Sign and Date Every Transfer: When you hand the evidence to a tech, a detective, or a courier, both parties must sign the log. No exceptions.
- Seal the Package: Use tamper-evident tape. Place your signature across the seal. This proves the package hasn’t been opened since you closed it.
Why does this matter? Imagine a defense lawyer asks, "Who had this bag between Tuesday and Thursday?" If the answer is "we don't know," the judge might exclude the evidence. Proper chain of custody turns a potential weak point into a solid legal foundation.
Transporting Evidence Safely
Moving evidence from the scene to the lab is where accidents happen. Cars bump, desks get knocked, and temperatures fluctuate. Here’s how to protect your samples during transit:
- Use Rigid Outer Boxes: Never send loose envelopes in a mailbag. Place them inside a sturdy cardboard box with padding. If the box breaks, the inner envelope might survive.
- Control Temperature: For biological evidence like blood or semen, keep it cool but not frozen. Room temperature is usually fine for short trips, but refrigeration (4°C) is better for long-term storage.
- Protect from Light: Some dyes and fluorescent markers fade in sunlight. Keep packages in dark boxes until they reach the lab.
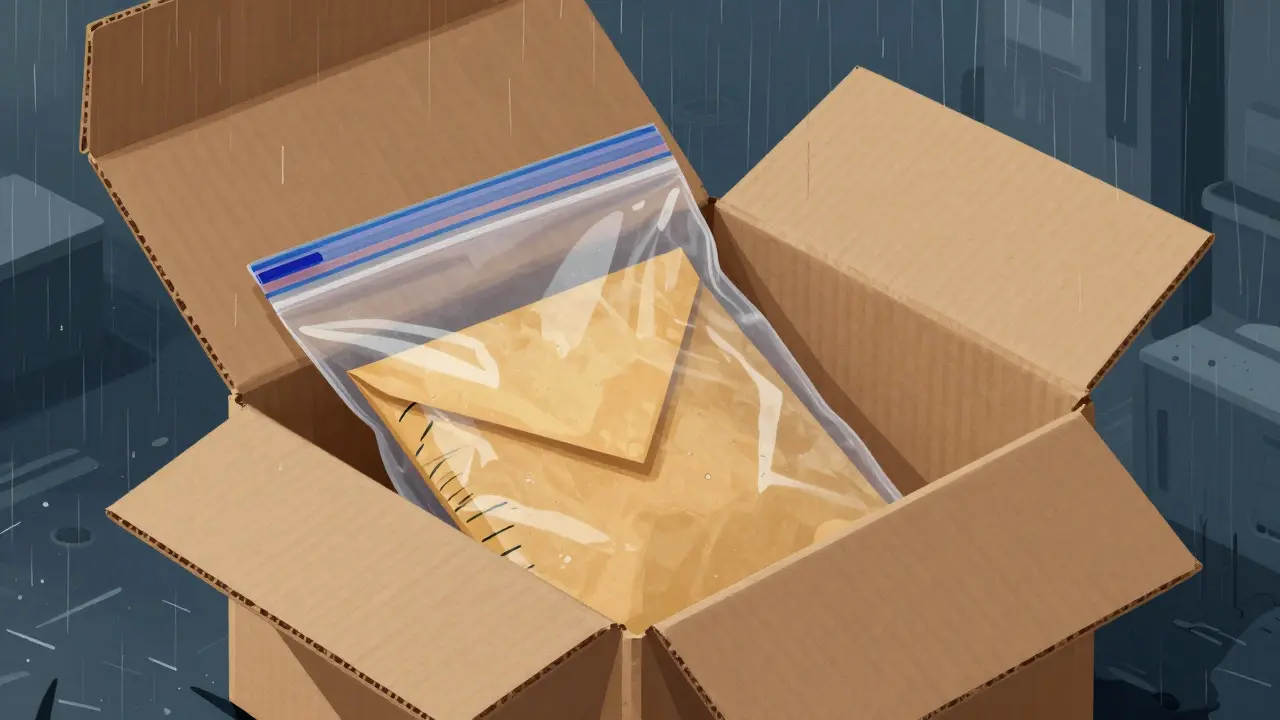
In Portland, rain is a constant factor. If you’re collecting outdoor evidence, make sure your outer packaging is waterproof. A soggy paper envelope turns into pulp, releasing fibers into the environment. Use a plastic zip-lock bag as an outer shield for the paper envelope, but remember: the inner layer must remain paper for biological samples.
Common Mistakes to Avoid
Even experienced investigators slip up. Here are the top three errors that lead to rejected evidence:
- Over-packing: Stuffing too much into one container causes cross-contamination. If you collect soil from two different locations, put them in separate bags. Mixing them makes it impossible to tell which sample came from where.
- Ignoring Background Samples: Always collect control samples from areas near the evidence. If you find blue fibers on a victim’s shirt, also collect blue fibers from the nearby carpet. This helps distinguish what belongs to the scene versus what was transferred.
- Delaying Packaging: Don’t let wet evidence sit in your pocket for hours. Bacteria start breaking down DNA within minutes of exposure to air and heat. Package it as soon as it’s secured.
These mistakes seem minor, but in court, they become major arguments. Prevention is far cheaper than explaining away a flawed procedure.
Storage and Long-Term Preservation
Once evidence is in the lab, the job isn’t done. Storage conditions determine whether the evidence remains viable for years. Most forensic labs follow strict protocols:
- Dry Environment: Relative humidity should stay below 50%. High humidity promotes mold and insect activity.
- Stable Temperature: Fluctuations cause condensation inside packages. Aim for a consistent 18-22°C (65-72°F).
- Secure Access: Only authorized personnel should open evidence cabinets. Log every access, just like you did in the field.
If you’re working in a smaller agency without a dedicated climate-controlled room, invest in dehumidifiers and monitor the environment regularly. A $50 hygrometer can save a case worth millions.
Final Thoughts on Best Practices
Effective packaging trace evidence is about discipline. It requires slowing down, thinking ahead, and respecting the fragility of microscopic clues. By choosing the right containers, maintaining a rigorous chain of custody, and protecting samples during transport, you ensure that the science speaks clearly in court.
Remember, the goal isn’t just to find the evidence; it’s to preserve its truth. When you handle it with care, you give the jury confidence that what they see is real, untouched, and reliable.
Can I use plastic bags for hair evidence?
Generally, no. Plastic traps moisture, which leads to mold growth. Mold releases enzymes that break down DNA, making analysis difficult or impossible. Use paper envelopes instead to allow airflow.
What should I do if evidence gets wet in the field?
If possible, move it to a dry area and let it air-dry completely before packaging in paper. If it’s heavily soaked, wrap it in clean gauze to absorb excess water, then place it in a paper bag. Note the condition on the chain of custody form.
How long should evidence be stored?
Indefinitely, ideally. Many jurisdictions require keeping evidence until the case is fully closed, including appeals. Proper storage ensures it remains analyzable even years later.
Do I need to wear gloves for all trace evidence?
Yes. Nitrile or latex gloves prevent transferring your DNA and oils to the sample. Change gloves if you touch other surfaces or people to avoid cross-contamination.
What is the difference between primary and secondary packaging?
Primary packaging holds the evidence directly (e.g., a paper envelope). Secondary packaging protects the primary container during transport (e.g., a rigid cardboard box). Both are essential for safety and integrity.