You walk into a burned-out living room. The ceiling is gone. The carpet is ash. The drywall is black and bubbling. Where did this fire actually start? It looks like everything is on fire, or at least, everywhere has been scorched. But here’s the truth that separates amateur guesses from professional fire origin determination: fires don’t start everywhere at once. They start in one specific spot. Finding that spot is the entire game.
If you’re an investigator, a student, or just someone curious about how we figure out if a house fire was an accident or arson, you need to understand the logic behind finding the starting point. It’s not magic. It’s physics, chemistry, and a lot of careful observation. This guide breaks down exactly how experts determine the point of origin and why getting it wrong can cost a case.
The Golden Rule: Origin Determines Spread
Before you look for clues, you have to understand the behavior of fire. Fire spreads upward and outward from its source. Heat rises. Flames lick up walls. Gases expand and push against obstacles. Because of this predictable movement, the damage isn’t random. It tells a story.
Think of it like pouring water on a tilted floor. The water flows downhill. Fire "flows" uphill and outward. If you see deep charring on the bottom of a wall but light scorching near the ceiling, the fire likely started low and grew up. If you see a V-shaped pattern, the base of the V points to where the fire began. These are your first visual cues. Ignoring them leads to false conclusions.
This principle is codified in standards like NFPA 921, the standard guide for fire and explosion investigations. It emphasizes that identifying the area of origin must precede determining the cause. You can’t say what started the fire until you know where it started. Mixing these two steps is the most common mistake rookie investigators make.
Reading Burn Patterns Like a Map
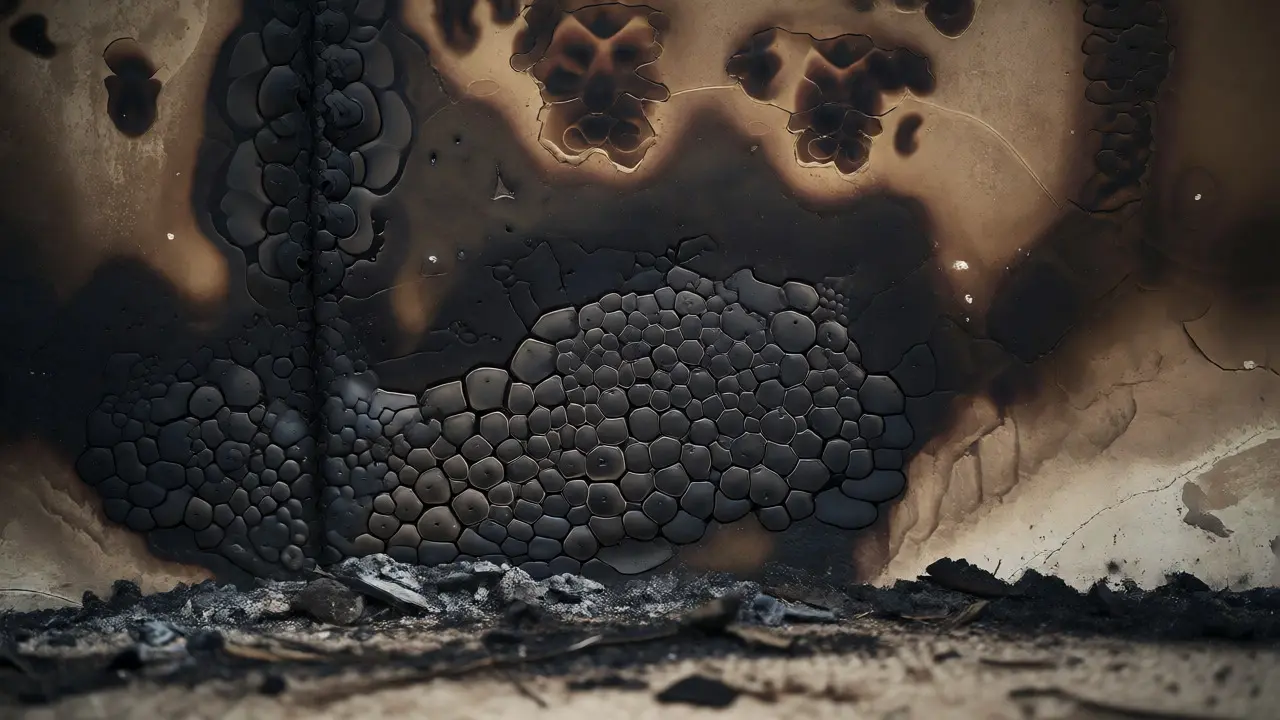
Burn patterns are physical records of heat flow. They aren’t perfect, but they are reliable when interpreted correctly. Let’s look at the three most common indicators you’ll encounter in the field.
- V-Patterns: These are triangular marks on vertical surfaces. The wide part of the V is at the top; the narrow point is at the bottom. The vertex (the sharp point) indicates the lowest point of fuel involvement. However, beware of multiple Vs. A large fire can create secondary V-patterns as flames jump between objects. Always look for the deepest, most consistent char line.
- Clean Lines: When smoke and soot deposit on surfaces, they often leave a horizontal line indicating the level of the smoke layer. Below this line, the surface might be cleaner because hot gases passed over quickly without depositing heavy soot. Above the line, it’s dirty. The height of this line can help estimate the ventilation profile and how long the fire burned before breaking through windows or roofs.
- Spalling: This refers to concrete or masonry flaking off due to intense heat. Spalling usually occurs directly above the hottest part of the fire. If you find a chunk of concrete missing from a garage floor, the fire was likely burning intensely right there. But remember, spalling can also happen from rapid cooling (like firefighters spraying water), so context matters.
These patterns are your map. But maps can be misleading if the terrain changes. Ventilation changes everything.
The Ventilation Effect: Why Windows Lie
Fires need oxygen. As a fire grows, it consumes oxygen in the room. Eventually, it seeks more air. This causes pressure differentials. Hot gases escape through upper openings (windows, doors), drawing in fresh air through lower openings. This cycle accelerates combustion.
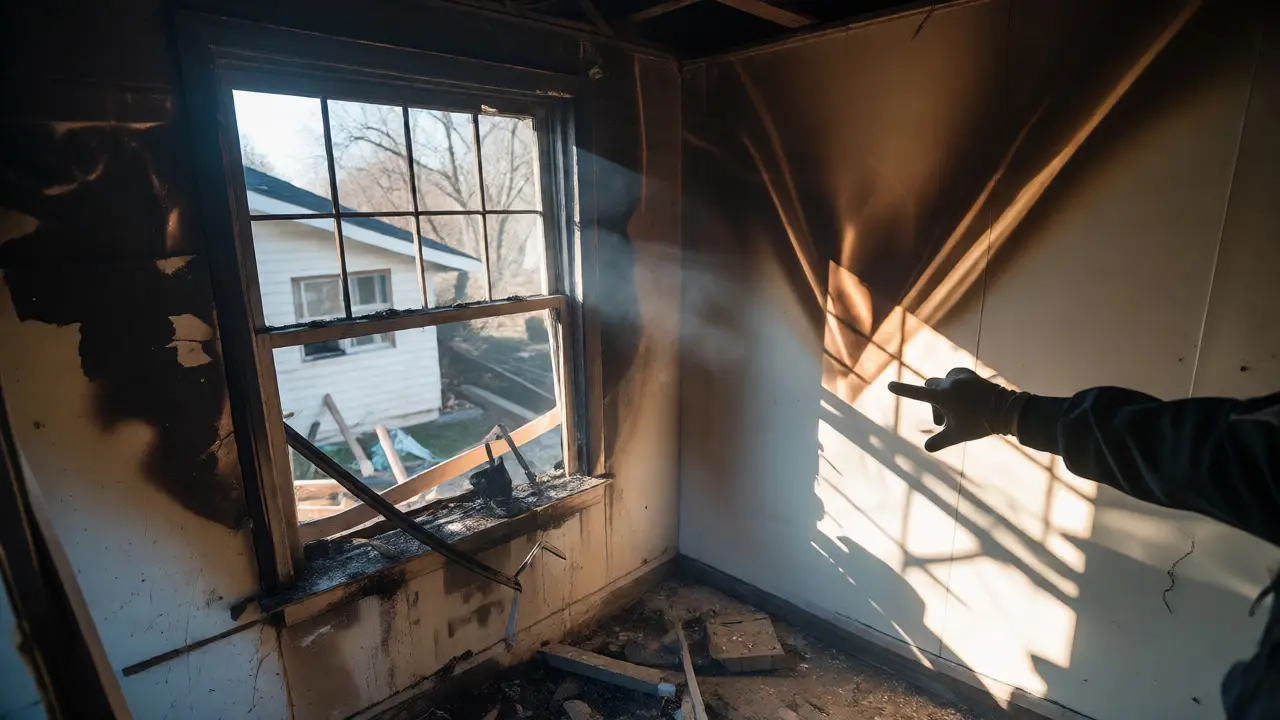
Here’s the trap: A window blowing out early in a fire creates a massive vent. The fire will rush toward that opening, creating intense charring around the window frame. An inexperienced investigator might think the fire started at the window because the damage is severe there. In reality, the window acted as a chimney. The fire may have started across the room, spread along the floor, and then roared toward the open window.
| Indicator | What It Usually Means | Pitfall to Watch For |
|---|---|---|
| Deep Charring | Longer exposure to high heat | Can occur near vents due to flame jetting |
| Lowest Burn Point | Proximity to ignition source | Can be obscured by collapse or debris |
| Smoke Staining | Path of smoke travel | Can reverse if ventilation changes rapidly |
| Concrete Spalling | High temperature zone | May result from thermal shock, not fire duration |
To avoid being fooled by ventilation, always reconstruct the timeline. Did the windows break before or after the fire reached the other side of the room? Witness statements and fire department radio logs can help answer this.
Physical Evidence: Fuel Packages and Ignition Sources
Once you’ve narrowed down the general area using burn patterns, you need to dig deeper. Literally. Fires consume their fuel. The fuel package is the material that burned first. Identifying remnants of this package is critical.
In a residential fire, look for:
- Carpet Padding: Often the first thing to ignite. Look for melted plastic backing or complete consumption of padding in a localized spot.
- Electrical Appliances: Was there a space heater? A faulty outlet? Check for arcing marks on wires. Arcing leaves distinct pitting on copper conductors. If you find a toaster with internal wiring fused together, that’s a strong candidate for the ignition source.
- Liquid Accelerants: If you suspect arson, look for puddles or stains on porous materials like wood or concrete. Accelerants soak in. Even after a fire, chemical tests can detect residues like gasoline or kerosene. Note: Natural materials can produce similar results, so lab analysis is mandatory.
Don’t ignore the small stuff. A single matchbook found in a pile of ash, located precisely at the point of deepest burn, can be the smoking gun. Conversely, finding a cigarette butt far from the main burn area might just mean someone smoked there earlier, not that it caused the fire.
The Elimination Method: Ruling Out Causes
Determining origin isn’t just about finding the start; it’s about proving nothing else could have started there. This is where the scientific method kicks in. You list every possible ignition source in the suspected origin area and eliminate them one by one.
For example, if the origin is a bedroom closet, ask:
- Was there an electrical cord plugged in? Inspect it for short circuits.
- Were there candles nearby? Look for wax residue or melted holders.
- Was there smoking activity? Check for ash trays or burns on bedding.
- Could a pet have knocked something over?
- Is there evidence of external heat sources, like sunlight focusing through glass?
If you can’t physically rule out a cause, you haven’t finished your job. Arson investigators often use this method to build a case for intentional fire setting. If all accidental causes are eliminated, and there’s evidence of multiple origins or unusual burn patterns, suspicion rises.
Common Pitfalls That Ruin Cases
Even experienced pros get tripped up. Here are the big ones:
- Assuming the Largest Damage is the Origin: Remember the ventilation effect. The biggest hole in the roof doesn’t mean the fire started there. It means the heat escaped there.
- Ignoring Collapse: When ceilings fall, they crush evidence underneath. Debris layers can hide the true floor level. You might need to excavate carefully to find the original subfloor condition.
- Tunneling: Sometimes, a fire burns through a hallway leaving a tunnel-like path. This happens when the fire follows a clear path of least resistance, often fueled by curtains or rugs. Don’t mistake the tunnel exit for the origin.
Patience is key. Rushing to judgment leads to errors. Take photos. Sketch the scene. Measure distances. Document everything before moving anything.
Tools of the Trade
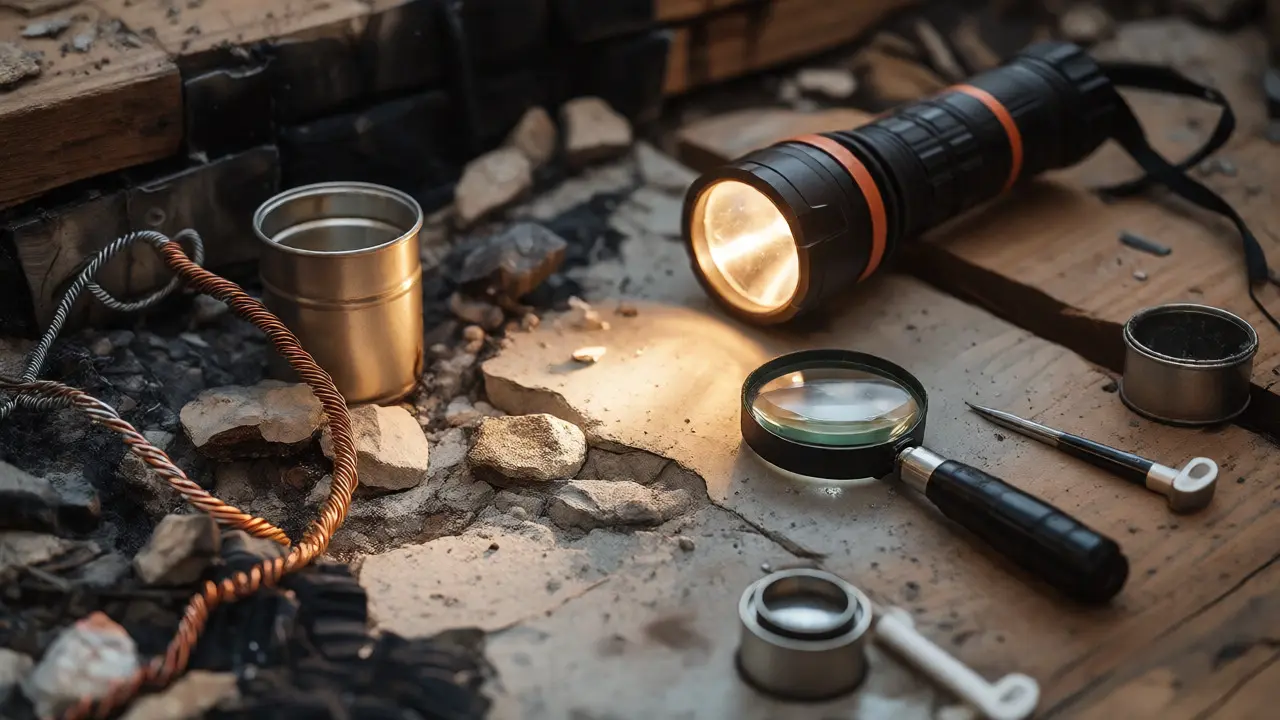
You don’t need high-tech gear to start, but having the right tools helps. Standard kits include:
- Flashlight: High-intensity LEDs reveal subtle texture changes in charred wood.
- Magnifying Glass: For inspecting wire strands for arc beads.
- Camera: Wide-angle lenses for overall scenes; macro lenses for detail shots.
- Scales and Markers: To indicate directionality and scale in photos.
- Sampling Tools: Shovels, trowels, and metal cans for collecting liquid samples.
Technology is advancing too. Thermal imaging cameras used during firefighting can show hotspots that hint at origin, though post-fire inspection remains the gold standard for confirmation.
Conclusion: The Story in the Ashes
Finding the origin of a fire is detective work. It requires understanding how fire behaves, reading the physical evidence left behind, and eliminating alternatives. It’s not about guessing where it looks worst. It’s about following the physics.
Whether you’re dealing with a kitchen grease fire or a complex multi-story blaze, the principles remain the same. Start broad, narrow down with patterns, verify with physical evidence, and test your hypotheses. Do this systematically, and you’ll turn chaos into clarity.
What is the difference between fire origin and fire cause?
Fire origin refers to the specific location where the fire began. Fire cause refers to the mechanism that ignited the fuel (e.g., electrical short, lightning, human action). You must determine the origin before you can accurately identify the cause.
Can burn patterns be faked in arson cases?
Yes, arsonists sometimes try to fake burn patterns by pouring accelerant in specific shapes. However, trained investigators look for inconsistencies, such as pour trails that don't align with natural flow or burn depths that contradict ventilation patterns. Lab analysis of residues also helps distinguish between natural combustion and added accelerants.
How does ventilation affect fire origin determination?
Ventilation supplies oxygen to the fire, causing it to grow rapidly toward openings like broken windows or doors. This can create intense charring near the opening, which might mislead investigators into thinking the fire started there. Understanding the sequence of ventilation events is crucial to avoiding this error.
What is 'spalling' and why does it matter?
Spalling is the flaking or popping of concrete or masonry due to extreme heat. It typically occurs in areas exposed to high temperatures for extended periods. While it can indicate the hottest part of the fire, it can also result from rapid cooling (thermal shock) when firefighters apply water, so it must be interpreted with caution.
Do I need special training to determine fire origin?
While basic observations can be made by anyone, accurate determination requires specialized knowledge of fire dynamics and building construction. Certifications like CFII (Certified Fire and Explosion Investigator) provide the necessary framework to interpret evidence scientifically and legally defensibly.