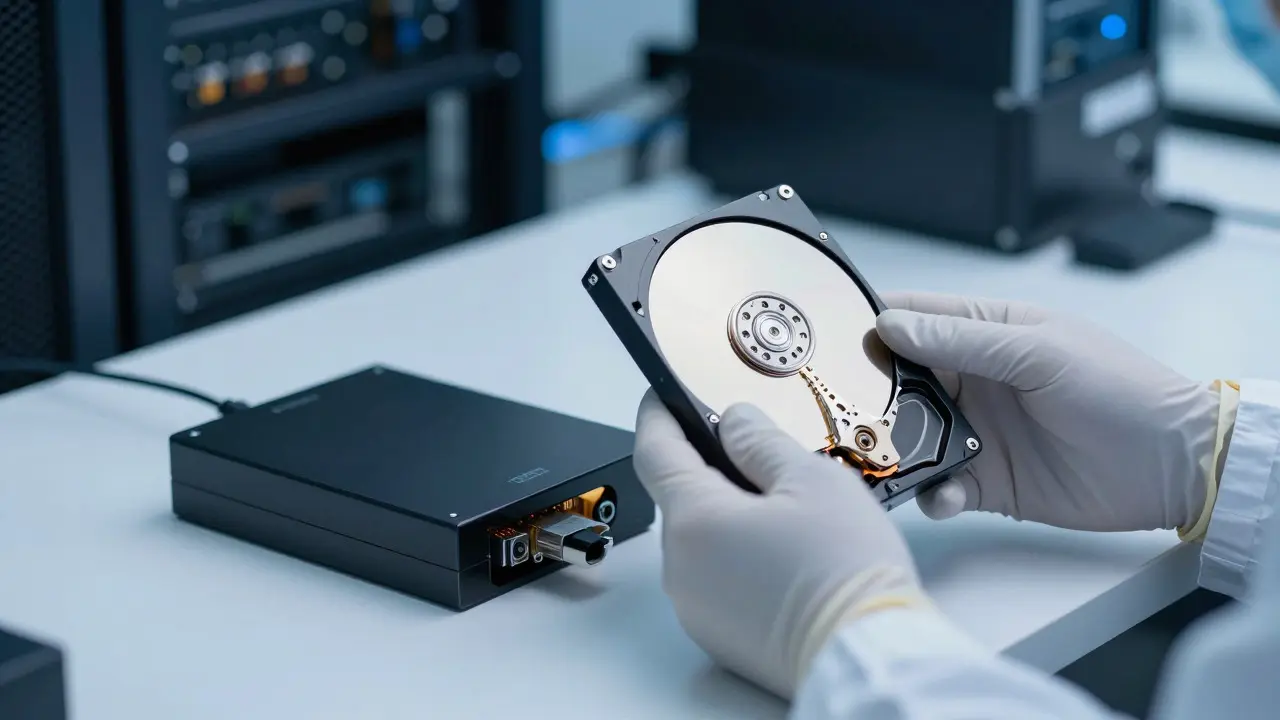
Imagine you are a detective holding the only hard drive from a laptop used by a suspect. If you plug it into your office PC to look for files, you risk changing the last-accessed timestamps or accidentally deleting hidden data. That is why forensic imaging is the process of creating an exact, bit-for-bit duplicate of a digital storage device to preserve evidence without altering the original. It is the first and most critical step in any digital investigation. Without it, your findings might be thrown out of court because the chain of custody was compromised.
Why Bit-for-Bit Matters More Than File Copying
Standard file copying (like dragging a folder to a USB stick) only grabs visible files. It ignores deleted data, unallocated space, and system metadata. Forensic imaging captures every single sector on the drive, including bad sectors if possible. This ensures that if a suspect claims they "deleted" evidence before you arrived, you can still recover those files from the image. The goal is not just to save files; it is to save the entire state of the disk at the moment of seizure.
The Essential Tools: Write Blockers and Imaging Software
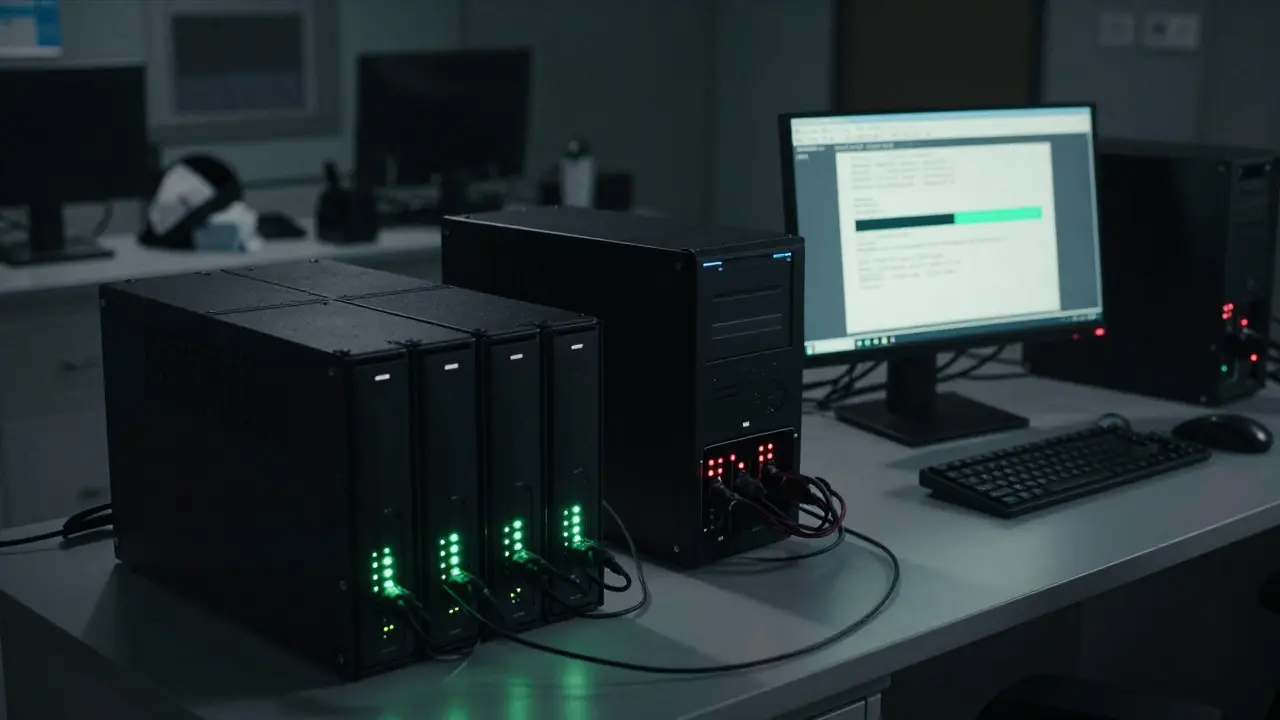
To create a valid forensic image, you need two main components: hardware and software. The hardware piece is the write blocker, which is a hardware device that prevents any data from being written back to the source drive during the read process. Think of it as a one-way street for data. You can read from the drive, but nothing can go back in. This eliminates the risk of accidental modification. Common brands include Tableau, Kaye & Associates, and Open Source solutions like DFRWS-compatible adapters.
On the software side, you use specialized tools to capture the raw data. Popular industry standards include:
- EnCase, known for its robust legal admissibility features and detailed reporting.
- FTK Imager, widely used for its speed and free basic version for acquisition.
- X-Ways Forensics, favored for its ability to handle complex partition structures and corrupted drives.
Choosing the Right Image Format
| Format | Extension | Compression | Best For | Key Feature |
|---|---|---|---|---|
| EWF | .E01 | Yes (Optional) | Courtroom Admissibility | Built-in hash verification and metadata logging |
| Raw DD | .img / .dd | No | Speed and Compatibility | Universal support across all analysis tools |
| AFI | .afi | Yes | Large Drives | High compression ratio with strong integrity checks |
Most investigators prefer EWF (Expert Witness Format) because it includes a built-in log of the acquisition process and supports hashing directly within the file structure. However, Raw DD images are faster to create and work with almost any tool, making them great for quick triage. The choice often depends on your lab's standard operating procedures and the specific requirements of the case.

Step-by-Step: How to Create a Forensic Image
- Document the Source Drive: Note the make, model, serial number, and capacity. Take photos of the physical drive and its connection points.
- Connect via Write Blocker: Attach the source drive to the write blocker, then connect the blocker to the imaging workstation. Never plug the source drive directly into a computer.
- Select Image Type: Choose EWF, Raw, or AFI based on your needs. Set the destination folder on a separate, high-capacity storage device.
- Start Acquisition: Begin the imaging process. Monitor the progress bar and ensure no errors occur during reading.
- Verify Hash Values: Once complete, calculate the MD5 or SHA-1 hash of both the source drive and the image file. They must match exactly.
- Label and Store: Label the image file with case number, date, and examiner name. Store the original drive in anti-static packaging and keep the image on encrypted media.
Handling Bad Sectors and Corrupted Drives
Not every drive is healthy. If a drive has bad sectors, the imaging software will pause and retry reading those areas. This can take hours. Some advanced tools allow you to skip unreadable sectors after multiple retries, flagging them in the final report. This is crucial because a failed read doesn't mean the data is gone forever; it might just be inaccessible at that moment. Always document how many bad sectors were encountered and how they were handled.
Chain of Custody and Legal Admissibility
A perfect image is useless if the chain of custody is broken. Every person who touches the evidence must sign a log. When you create the image, record the time, location, and method used. Courts often challenge digital evidence based on whether the original was altered. By using a write blocker and verifying hash values, you build a bulletproof defense against these challenges. The hash value acts as a digital fingerprint; if even one bit changes, the hash becomes completely different.
Common Mistakes to Avoid
- Forgetting the Write Blocker: Plugging the drive directly into a PC can trigger background processes that modify the drive.
- Using the Same Storage Device: Never store the image on the same drive as the source or other case files. Use dedicated, clean storage.
- Skip Verification: Always verify the hash. Assuming the image is good because the software said "Complete" is risky.
- Poor Documentation: Vague notes lead to cross-examination nightmares. Be specific about times, tools, and settings.
What is the difference between a forensic image and a backup?
A backup copies only active files and folders, often skipping deleted data and system metadata. A forensic image copies every byte on the drive, including deleted files, empty space, and boot records, preserving the exact state of the device for legal analysis.
Do I need a write blocker for SSDs?
Yes, absolutely. Solid State Drives (SSDs) have controllers that manage wear leveling and garbage collection, which can change data locations even when idle. A write blocker prevents the host system from sending commands that might trigger these processes, ensuring the data remains static during acquisition.
Which hash algorithm is best for forensic imaging?
SHA-256 is currently the recommended standard due to its stronger collision resistance compared to MD5 or SHA-1. While MD5 is faster, SHA-256 provides better security assurance for long-term evidence preservation and is widely accepted in modern courtrooms.
How long does it take to image a 1TB hard drive?
It typically takes between 4 to 8 hours depending on the interface speed (SATA vs. USB), the health of the drive, and the compression settings. A healthy SATA III drive imaged to a fast NVMe SSD might finish in under 4 hours, while a drive with many bad sectors could take over 12 hours.
Can I analyze the image without mounting it?
Yes, and you should. Most forensic software allows you to open the image file directly for analysis without mounting it as a virtual drive. This prevents any potential interaction with the operating system that could alter timestamps or create new artifacts in the environment where you are working.