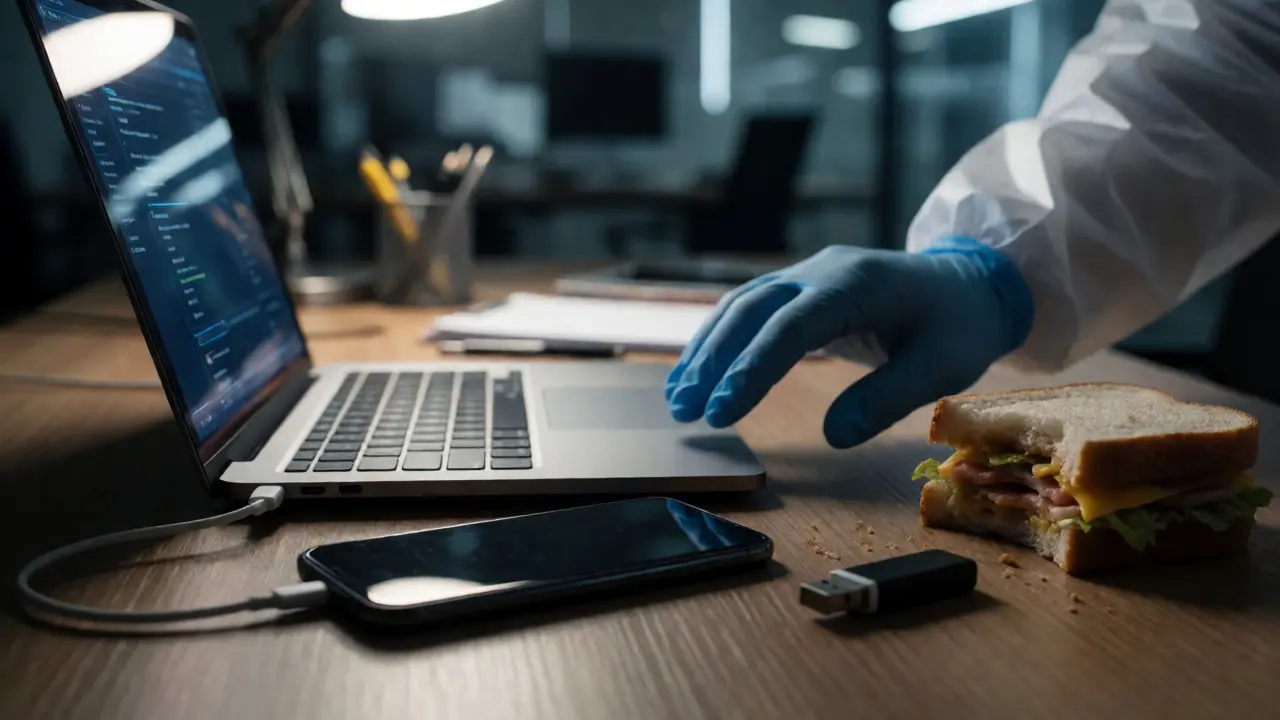
You walk into a room. There’s a laptop open on the desk, a smartphone charging nearby, and a USB drive sitting next to a half-eaten sandwich. To the untrained eye, it’s just clutter. To a digital forensics investigator, this is a crime scene where every byte matters. The problem isn’t finding the data; it’s proving that the data hasn’t been touched, altered, or corrupted since you found it. If you mess up the acquisition phase, the entire case collapses before you even run your first search query.
This guide breaks down exactly how to handle digital evidence from seizure to report. We’re skipping the academic fluff. You need to know what tools to use, why the order of operations matters, and how to avoid the rookie mistakes that get evidence thrown out of court. Whether you are investigating corporate fraud, cyberstalking, or a complex financial embezzlement scheme, the core principles remain the same: preserve, acquire, analyze, and present.
The Golden Rule: Preservation Before Acquisition
Most people think digital forensics starts with copying files. It doesn’t. It starts with stopping the clock. When a device is powered on, its memory (RAM) is volatile. If you pull the plug too fast, you lose running processes, encryption keys, and network connections. If you leave it alone, background tasks might overwrite deleted files. This is where chain of custody begins. Every person who touches the device must be documented, along with the time and reason for the contact.
For mobile devices, the challenge is even harder. Modern smartphones encrypt data by default. If the phone locks itself while you are trying to image it, you might lose access forever unless you have the passcode. Always check if the device is unlocked. If it is, isolate it from networks immediately using a Faraday bag or airplane mode to prevent remote wipes. Remote wipe commands can travel through cellular data or Wi-Fi, erasing evidence in seconds.
- Volatile Data: Capture RAM contents first using tools like Magnet RAM Capture or FTK Imager.
- Non-Volatile Data: Once volatile data is secured, proceed to disk imaging.
- Documentation: Photograph the setup, including cable connections and screen status, before disconnecting anything.
Acquisition: Creating a Bit-Stream Image
You never work on the original evidence. That’s rule number one. Instead, you create a bit-stream image, which is an exact sector-by-sector copy of the storage media. This includes not just the active files, but also slack space, unallocated clusters, and file system metadata. Why? Because deleted files often linger in these areas until they are overwritten.
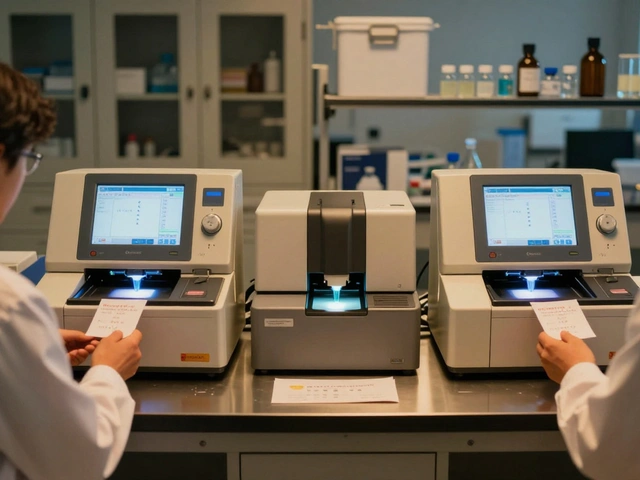
To ensure integrity, you must write-protect the source drive. For older IDE drives, you’d use a hardware write-blocker. Today, most investigations involve SATA, NVMe, or eMMC chips. Tools like Tableau Forensic Bridges allow you to connect drives without allowing any write commands to pass through. After imaging, you calculate a cryptographic hash-typically SHA-256-of both the original drive and the image. If the hashes match, you’ve proven your copy is identical.
| Method | Best Use Case | Pros | Cons |
|---|---|---|---|
| Bit-Stream Image | Criminal cases, deep analysis | Captures deleted files, slack space, and metadata | Large file size, slower process |
| Logical Image | Corporate HR investigations | Faster, smaller files, easy to review | Misses deleted files and hidden artifacts |
| Physical Backup | Disaster recovery only | Simple to create | Not admissible as forensic evidence due to lack of hashing |
Analysis: Finding the Needle in the Haystack
Now you have a massive file-often hundreds of gigabytes-that looks like gibberish. Your job is to make sense of it. Start with keyword searching. But be careful: simple keyword searches miss variations. If you search for "invoice," you’ll miss "Invoices" or "INV_001." Use regular expressions (regex) to catch patterns. For example, searching for email addresses requires a specific regex pattern, not just the word "email."
Next, look at timeline analysis. Reconstructing the user’s activity helps establish intent. Did they download sensitive documents right before quitting? Did they delete browser history immediately after being questioned? Tools like Autopsy or X-Ways Forensics allow you to correlate timestamps from file systems, logs, and registry entries.
Don’t ignore the operating system artifacts. In Windows, the Registry holds clues about connected USB devices, recently opened files, and installed software. On macOS, the .DS_Store files and Spotlight indexes reveal browsing habits. On Linux, bash history and log files tell you what commands were executed. Each OS has its own fingerprint, and knowing where to look saves hours of manual review.
Mobile Forensics: The New Frontier
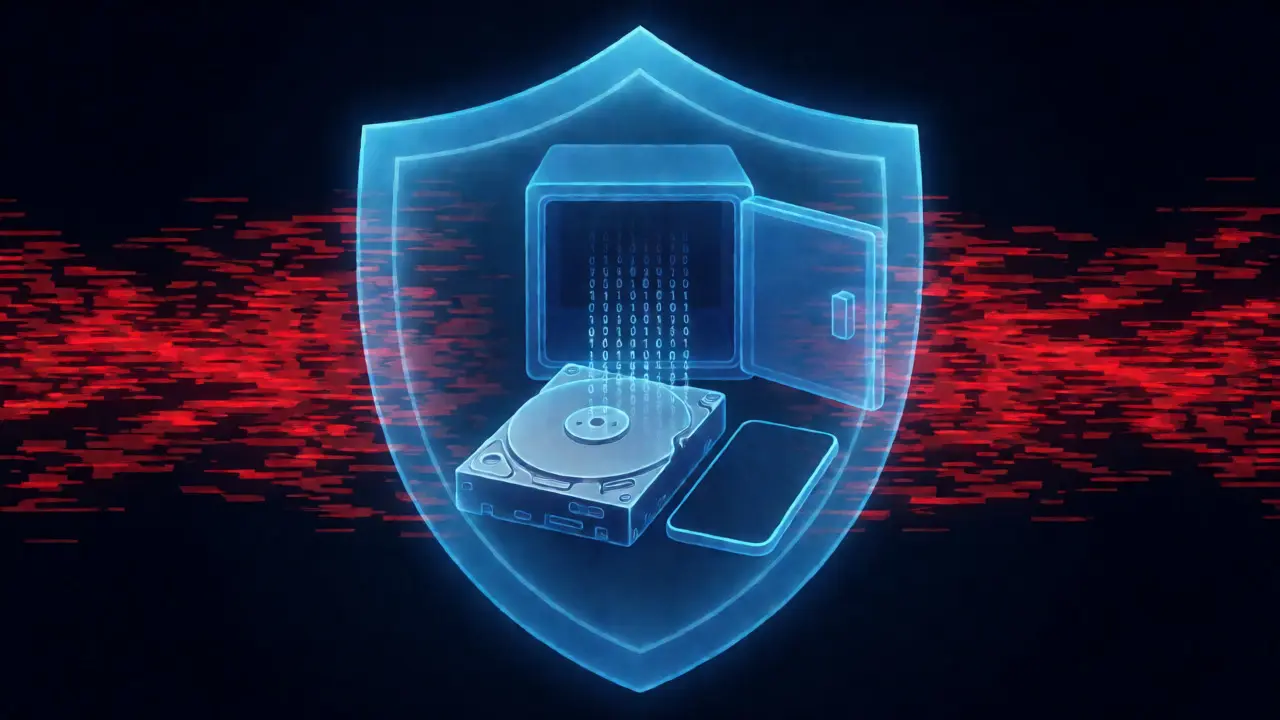
Smartphones are now the primary source of evidence in many cases. Unlike computers, phones are dynamic. They sync with clouds, update apps automatically, and change location constantly. Extracting data from iOS and Android requires specialized tools because manufacturers restrict direct access to the raw file system.
For iPhones, you often rely on iTunes backups or advanced extraction methods like File System Extraction (FSE). Android is more fragmented. Samsung, Pixel, and Xiaomi all handle security differently. Sometimes, you need to root the device to get full access, which alters the state of the phone. Document this alteration clearly. If you root a phone, note the date, time, and tool used. Judges want to know if rooting changed the evidence.
Cloud data is another hurdle. Just because a photo isn’t on the phone doesn’t mean it’s gone. It might be in iCloud, Google Photos, or Dropbox. Subpoenas for cloud providers are essential, but they take time. Meanwhile, local caches on the phone might still hold thumbnails or partial downloads. Analyze app databases directly; WhatsApp and Signal store messages in SQLite databases that can be parsed even if the app interface hides them.
Reporting: Making It Understandable
All this technical work means nothing if you can’t explain it to a jury or a manager. Your report should be clear, concise, and free of jargon. Avoid saying "I hex-edited the MBR." Instead, say "I examined the master boot record to determine if the drive was partitioned correctly."
Structure your report logically:
- Executive Summary: What did you find? Keep it to one page.
- Methodology: How did you collect and analyze the data?
- Detailed Findings: Go through each artifact with screenshots and explanations.
- Conclusion: Tie the findings back to the questions asked.
Include appendices with hash values, tool versions, and chain of custody logs. If you used commercial software, list the version numbers. Software updates can change how artifacts are displayed, so transparency protects your credibility.

Common Pitfalls to Avoid
Even experienced investigators slip up. Here are the most frequent errors I see in Portland and beyond:
- Working on Live Systems: Unless absolutely necessary, don’t analyze a live machine. Boot from a forensic USB stick to keep the original OS untouched.
- Ignoring Time Zones: Computers store time in UTC. If your suspect is in Oregon (PDT), convert times accurately. A three-hour error can place someone miles away when they were actually home.
- Assuming Deletion Equals Removal: Deleted files are rarely gone. Always check unallocated space.
- Neglecting Metadata: EXIF data in photos reveals GPS coordinates and camera models. Don’t just look at the image content.
Another trap is over-reliance on automated tools. Tools flag potential issues, but they don’t understand context. An automated report might flag 500 "suspicious" files, but only five matter. You need human judgment to filter noise from signal.
Future Trends in Digital Evidence
The landscape is shifting. Encryption is becoming standard, making passive capture harder. IoT devices-smart fridges, thermostats, and cars-are generating new types of evidence. Tesla logs driving routes; smart locks record entry times. These devices often lack standardized forensic protocols, requiring custom scripts to extract data.
Artificial intelligence is also entering the field. Machine learning algorithms help classify large datasets faster, identifying anomalies that humans might miss. However, AI is a tool, not a replacement for investigation. You still need to validate its findings manually. As we move toward 2027, expect more integration of cloud-native forensics, where data lives across multiple servers and jurisdictions simultaneously.
What is the difference between digital forensics and computer forensics?
Computer forensics is a subset of digital forensics focused specifically on computing devices like laptops and desktops. Digital forensics is broader, encompassing all electronic data sources, including mobile phones, tablets, IoT devices, and cloud storage.
How long does a typical digital forensic investigation take?
It varies widely. A simple logical image analysis might take a day. A full bit-stream image of a multi-terabyte server with encrypted volumes could take weeks. Factors include data volume, encryption complexity, and the depth of analysis required.
Can deleted files always be recovered?
No. While deletion usually just marks the space as available, new data can overwrite those sectors. Additionally, SSDs with TRIM enabled may permanently erase data blocks shortly after deletion, making recovery impossible.
Is it legal to search a personal device seized during a work investigation?
It depends on company policy and consent. Generally, employers can search company-owned devices. For BYOD (Bring Your Own Device) policies, explicit written consent is crucial. Without it, privacy laws may limit the scope of the search.
What tools do beginners need to start in digital forensics?
Start with free tools like Autopsy for analysis, FTK Imager for creating images, and X-Ways or EnCase if budget allows. Learn basic command-line skills and regular expressions. Understanding file systems (NTFS, APFS, ext4) is more important than memorizing button locations in GUI tools.