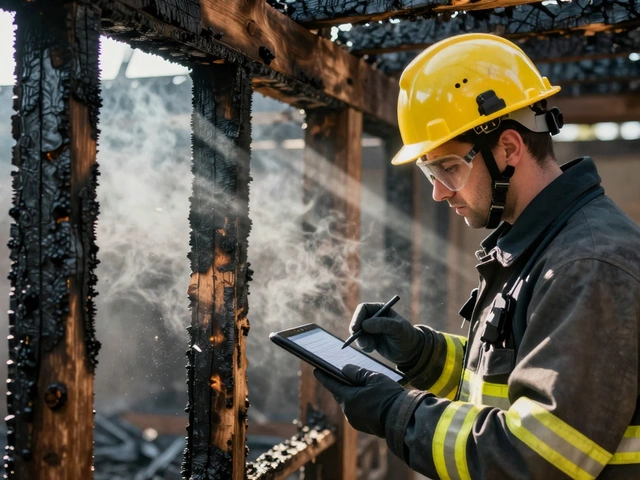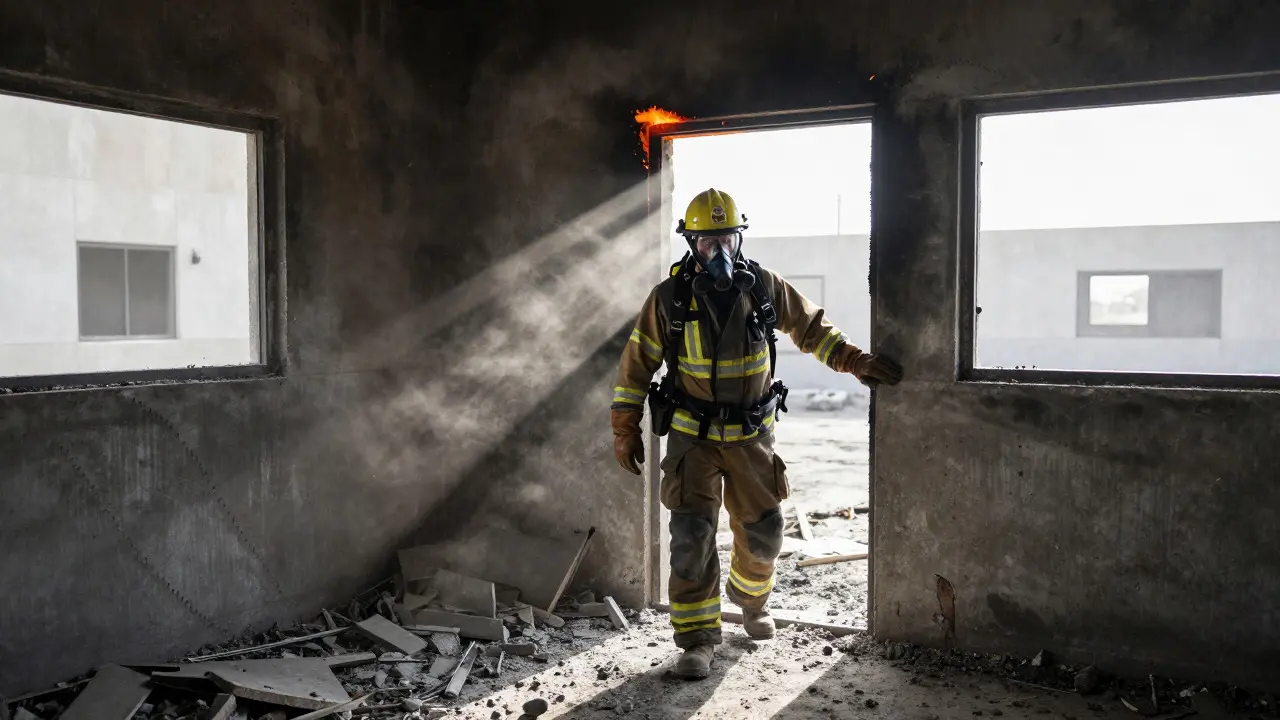
Walking into a structure that has just been consumed by flames is disorienting. The air smells like ozone and wet ash, the floor feels unstable underfoot, and every step kicks up a cloud of grey dust. For a fire investigator is a professional who determines the origin and cause of fires through scientific analysis of physical evidence, this environment is not a disaster scene; it is a crime scene or an accident site waiting to be decoded. The goal isn't just to find what burned, but to find what *didn't* burn as expected, or what was hidden beneath the char. This process, known as debris recovery is the systematic search for and preservation of physical artifacts within fire-damaged structures to determine fire origin and cause, requires a blend of archaeological patience and forensic precision.
The Science Behind Searching Through Ash
Why do we dig? Because heat moves in predictable ways, but human intervention often disrupts those patterns. When a fire starts, it creates a V-shaped pattern on vertical surfaces, with the point of the V indicating the lowest fuel level at the origin. However, if someone poured accelerant, the burn pattern might look unnatural-perhaps too deep, too wide, or concentrated in a specific corner where no natural fuel source existed. Debris recovery allows you to physically verify these visual cues. You are looking for residue containers, unusual soot patterns, or objects that survived the heat because they were buried or shielded.
It is crucial to understand that accelerants are substances like gasoline, kerosene, or alcohol used to start or spread a fire artificially. These liquids leave behind chemical traces even after they have evaporated completely. By collecting specific pieces of debris, you can send them to a lab for Gas Chromatography-Mass Spectrometry (GC-MS) analysis, which identifies these invisible residues. Without proper debris collection, a case of suspected arson often collapses due to lack of physical proof.
Preparing for the Search: Safety and Strategy
Before you touch a single piece of charred wood, you must secure the scene. Structural integrity is the first concern. A building that has lost its roof or load-bearing walls is a ticking time bomb. Work with structural engineers or experienced firefighters to mark safe zones. Next, consider personal protective equipment (PPE). You need N95 or P100 respirators to avoid inhaling fine particulate matter, heavy-duty gloves to protect against sharp rebar and broken glass, and steel-toed boots. The ground inside a burned structure is rarely flat; expect splinters, nails, and hidden holes.
Strategy matters more than speed. Rushing through debris leads to missed evidence and contaminated samples. Start at the perimeter and work inward, or follow the path of least resistance if the structure is heavily collapsed. Document everything before you move anything. Take photographs from multiple angles, including close-ups with scale rulers. If you find a potential point of origin, stop and assess. Is there a container nearby? Are there signs of forced entry? These contextual clues guide your digging efforts.
Techniques for Effective Debris Collection
Effective evidence collection is the methodical process of gathering, labeling, and preserving physical items for forensic analysis relies on three core techniques: surface sweeping, layer excavation, and targeted sampling. Surface sweeping involves using soft brushes or vacuum cleaners with HEPA filters to remove loose ash and small particles from floors and furniture frames. This reveals larger items that might have been buried under inches of debris.
- Identify Anomalies: Look for areas where the burn pattern changes abruptly. A sudden drop in temperature or a change in soot color indicates a different fuel source or ignition point.
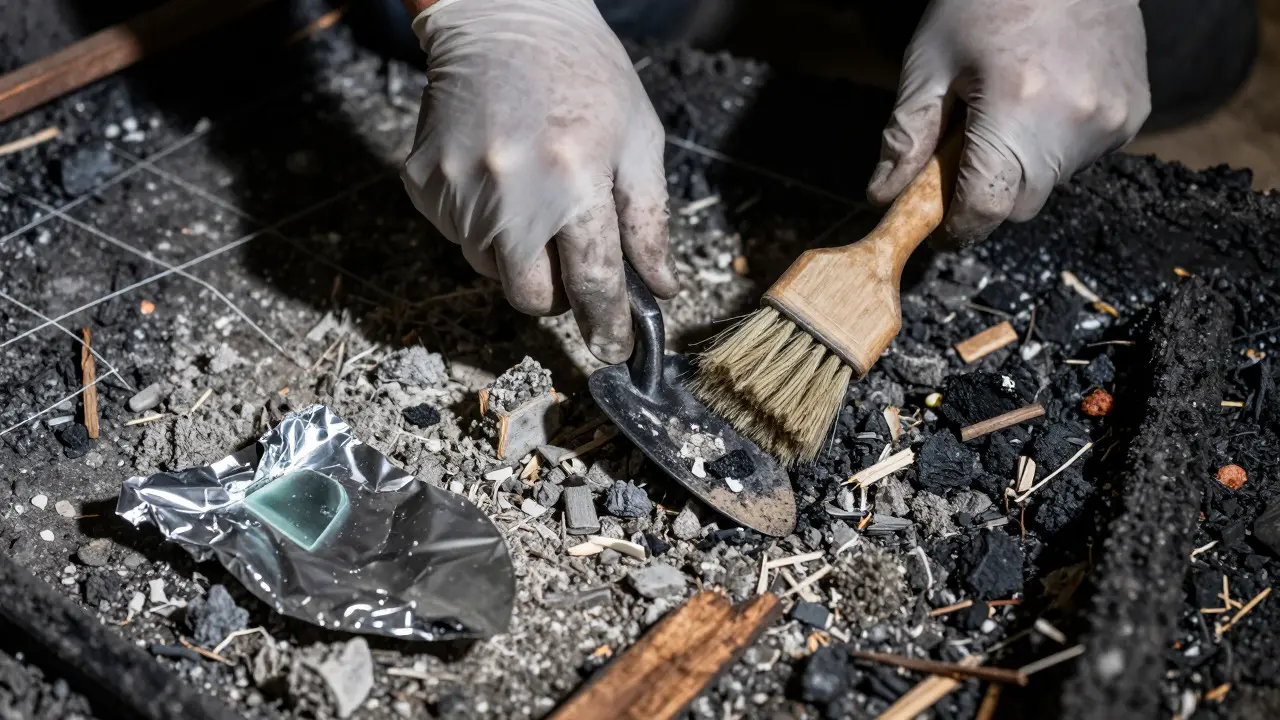
- Excavate Carefully: Use hand tools like trowels and brushes rather than shovels. Shovels destroy context. Dig in small squares, removing material in layers. Keep each layer separate in labeled bags.
- Collect Residue Samples: If you see dark, oily stains on metal or glass, collect small chips of the affected material. Wrap them in aluminum foil to prevent contamination. Avoid plastic bags, which can trap moisture and degrade volatile compounds.
- Preserve Context: Note the exact location of every item you pick up. Use a grid system if the area is large. Where an object was found is just as important as what the object is.
One common mistake investigators make is focusing only on the obvious. Everyone looks at the sofa that burned down. Fewer people look at the baseboard next to it, which might contain a trace of accelerant residue. Expand your search radius. Check electrical panels, appliances, and hidden cavities in walls.
Handling and Preserving Delicate Evidence
Not all debris is sturdy. Glass shards, melted plastics, and corroded metals require special handling. For example, if you find a melted candle holder, don't just toss it in a bag. Place it in a rigid container with padding to prevent further breakage. Label the container immediately with the date, time, location, and collector's name. Use permanent markers that won't smudge in humidity.
Contamination is the enemy of forensic science. Your own clothes, hair, and skin oils can introduce foreign chemicals. Wear clean gloves when handling delicate items. If possible, use fresh gloves for each new sample type. Store collected evidence in a cool, dry place until it reaches the laboratory. Volatile organic compounds (VOCs) can dissipate quickly if left in warm conditions, reducing the chance of detection.
| Debris Type | Risk Level | Collection Method | Packaging Material |
|---|---|---|---|
| Charred Wood | Moderate (Splinters) | Hand cut, wrap in foil | Aluminum Foil |
| Metal Fragments | High (Sharp Edges) | Tongs, place in rigid box | Cardboard Box with Padding |
| Glass Shards | High (Cutting Hazard) | Brush into paper envelope | Paper Envelope |
| Liquid Residues | Low (Chemical) | Cotton swab, air-dry | Vial or Paper Bag |
The Role of Laboratory Analysis
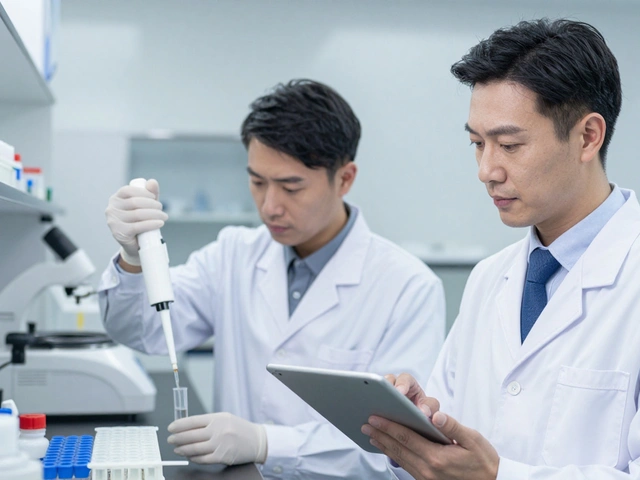
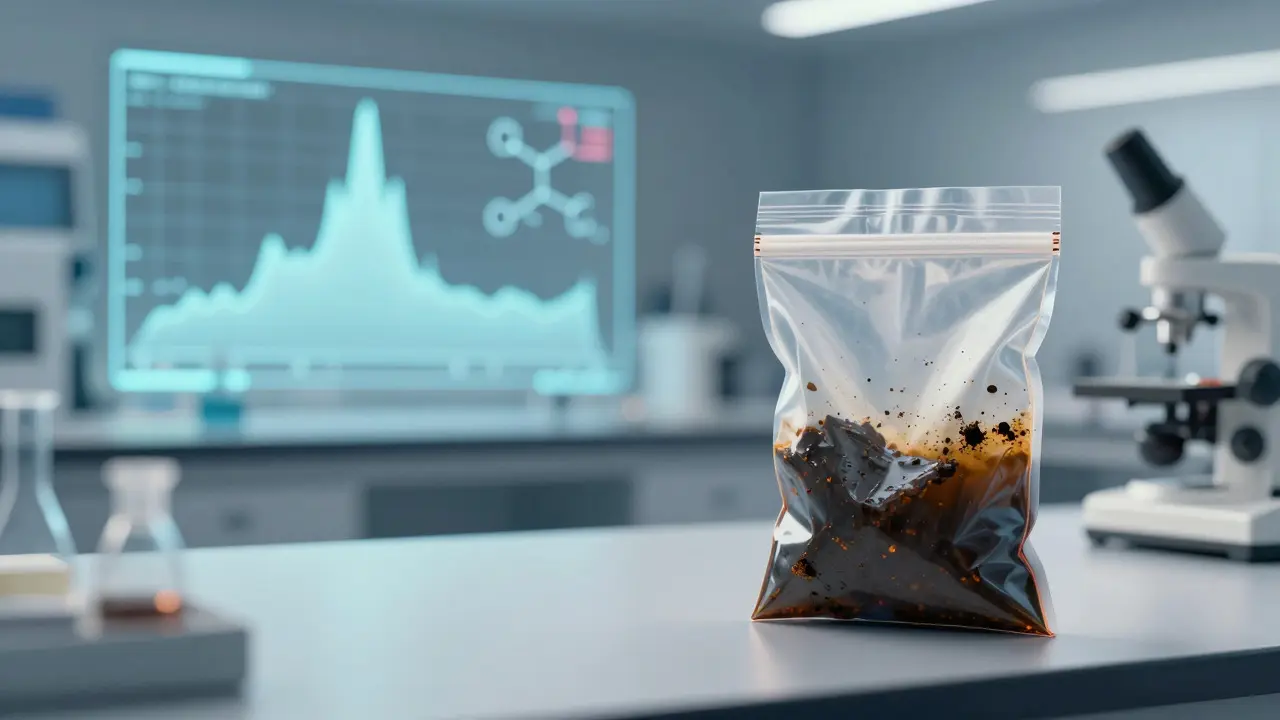
Your job ends when the evidence is sealed and logged, but the story continues in the lab. Gas Chromatography-Mass Spectrometry is an analytical technique used to identify and quantify chemical components in a sample, particularly useful for detecting accelerant residues is the gold standard for analyzing fire debris. It separates complex mixtures into individual components, allowing scientists to match peaks in the data against known chemical signatures of gasoline, kerosene, or other fuels.
However, lab results are only as good as the sample quality. If you contaminated a sample with your own sweat or stored it in plastic, the GC-MS machine might detect acetone from your nail polish remover instead of the accelerant used in the crime. That’s why meticulous fieldwork is non-negotiable. Communicate clearly with the lab technicians. Tell them what you saw, where you found it, and why you think it’s relevant. Context helps them interpret ambiguous data.
Common Pitfalls to Avoid
Even experienced investigators fall into traps. One major pitfall is assuming that any black stain is soot. Sometimes, it’s just dirt or paint. Always confirm with a magnifying lens or UV light if available. Another mistake is ignoring negative evidence. If a room burned but the electronics didn’t, that’s a clue. Did someone unplug them before the fire? Or did the fire start elsewhere and travel slowly? Documenting what *isn’t* damaged is just as valuable as documenting what is.
Finally, avoid tunnel vision. If you suspect arson, you might focus solely on finding accelerant. But what if it was an electrical fault? What if it was a cooking accident? Keep an open mind. Let the debris tell the story, not your preconceived notions. The truth is often hidden in the details that don’t fit your initial hypothesis.
Frequently Asked Questions
How long does debris recovery take?
It varies widely. A small apartment might take 4-6 hours, while a large commercial building could take days. The complexity of the collapse and the number of potential points of origin are the main factors.
What is the best tool for digging in fire debris?
A small hand trowel and a stiff-bristled brush are essential. Power tools should be avoided near potential evidence sites to prevent destroying fragile items or mixing layers.
Can you detect accelerants weeks after a fire?
Yes, but it becomes harder over time. Volatile compounds evaporate, leaving behind less stable residues. Proper sealing of evidence in foil or glass vials significantly extends the detection window.
Do I need a license to perform debris recovery?
In many jurisdictions, yes. Certification through organizations like the International Association of Arson Investigators (IAAI) is highly recommended and often required for court admissibility.
What happens if the evidence gets wet during collection?
Water can dilute liquid residues, making them harder to detect. If unavoidable, allow the sample to air-dry completely before packaging. Do not use heat to dry it, as this can evaporate the very compounds you are trying to preserve.