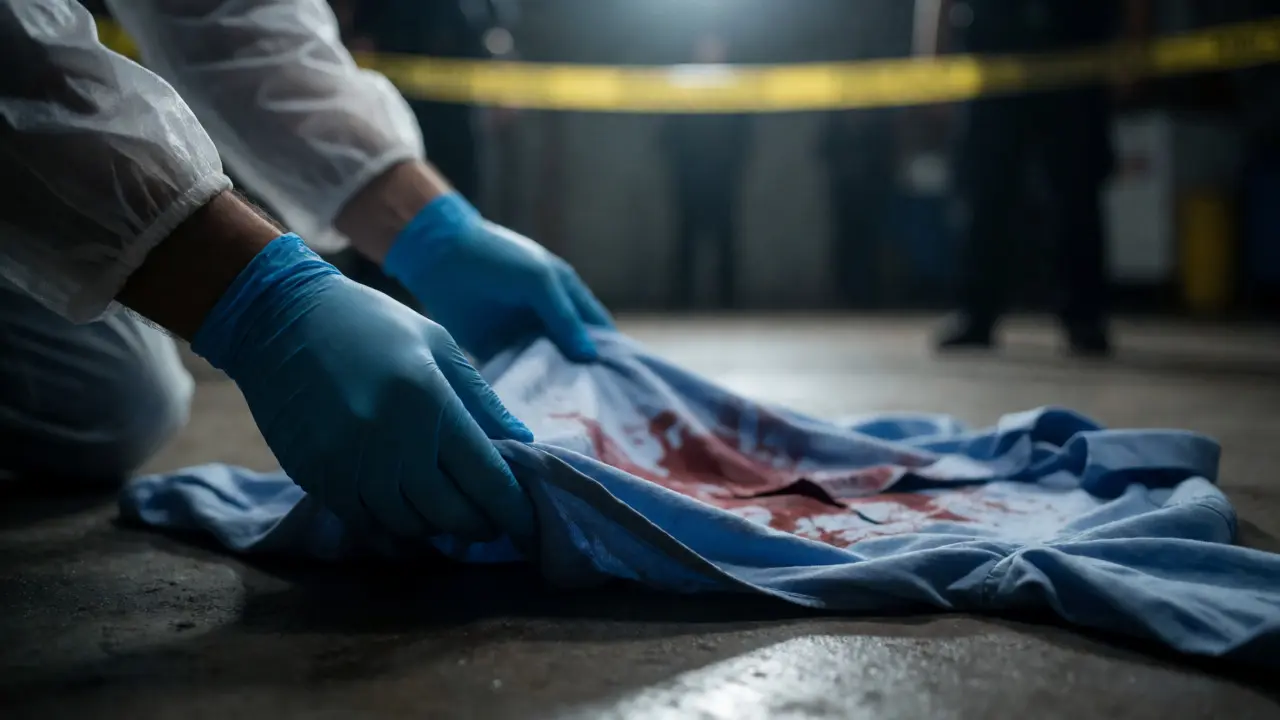
You find a bloody shirt at a crime scene. It looks like the smoking gun. But if you grab it with the same gloves you used to handle a random piece of trash nearby, that "smoking gun" might just become a pile of useless fabric. In forensic science, cross-contamination is the transfer of material from one object or person to another, compromising the integrity of physical evidence. It’s the silent killer of criminal cases.
Why does this matter? Because once DNA or trace evidence is mixed, it’s nearly impossible to unmix. A single stray hair from your own head can derail an entire investigation. This guide breaks down exactly how to prevent that disaster, step by step, so your evidence stands up in court.
The High Cost of Contaminated Evidence
Let’s be real: mistakes happen. But in forensics, a mistake isn’t just an error; it’s a legal liability. When cross-contamination occurs, defense attorneys have a field day. They’ll argue that the chain of custody is broken, that the lab results are unreliable, and that the jury shouldn’t trust anything the prosecution presents.
Think about the O.J. Simpson trial. The defense didn’t just attack the DNA results; they attacked the handling of the blood samples. They claimed contamination occurred during collection and storage. Whether you agree with the verdict or not, the lesson is clear: if you can’t prove your evidence was kept pure, its value drops to zero.
DNA contamination is particularly tricky because modern PCR (Polymerase Chain Reaction) testing is incredibly sensitive. It can amplify tiny amounts of genetic material. That means even microscopic traces of foreign DNA-like skin cells from a first responder who touched a doorknob before the police arrived-can show up on a report. If the report says "DNA present," but doesn’t specify whose, the evidence becomes ambiguous.
Core Principles of Sterile Handling
To keep things clean, you need to follow three non-negotiable rules. These aren’t suggestions; they are the foundation of professional evidence handling.
- Change Gloves Frequently: Never assume your gloves are still clean. If you touch your face, adjust your mask, or handle a non-evidence item, change them immediately. Better yet, change them between every single piece of evidence. Yes, it’s tedious. Do it anyway.
- Use Fresh Packaging: Never reuse bags, boxes, or envelopes. Each item needs its own sterile container. If you put two shell casings in the same bag, you’ve just mixed their potential trace materials. Keep them separate.
- Avoid Talking Over Evidence: Your breath contains saliva and skin cells. Don’t hover over an open evidence bag while chatting with a colleague. Step back, speak clearly, and then return to the task.
These steps seem obvious, right? Yet, studies suggest that up to 15% of collected evidence shows signs of procedural errors related to handling. Most of these errors stem from fatigue or rushing. Slow down. Precision beats speed every time.
Personal Protective Equipment (PPE) Strategy
Your PPE is your first line of defense. But wearing it incorrectly can actually cause contamination. For instance, if you pull off your gloves by grabbing the outside surface, you’re transferring whatever was on the glove to your hand. Then, when you pick up the next item, you’ve contaminated it with your hand oils.
Here’s the proper sequence for glove removal to avoid self-contamination:
- Pinch the outside of one glove near the wrist, peel it off inside out, holding it in the other gloved hand.
- Slide two fingers under the cuff of the remaining glove, peeling it off inside out over the first glove.
- Discard both gloves together, ensuring the outer surfaces never touch your bare skin.
Nitrile gloves are the industry standard because they resist punctures better than latex and don’t cause allergic reactions. Always use powder-free nitrile. Powdered gloves can shed particles onto evidence, especially biological samples like swabs or tissue fragments.
| PPE Item | Best Use Case | Risk Factor | Replacement Frequency |
|---|---|---|---|
| Nitrile Gloves | General evidence handling, biological samples | Tearing on sharp edges | Between each item or upon tear |
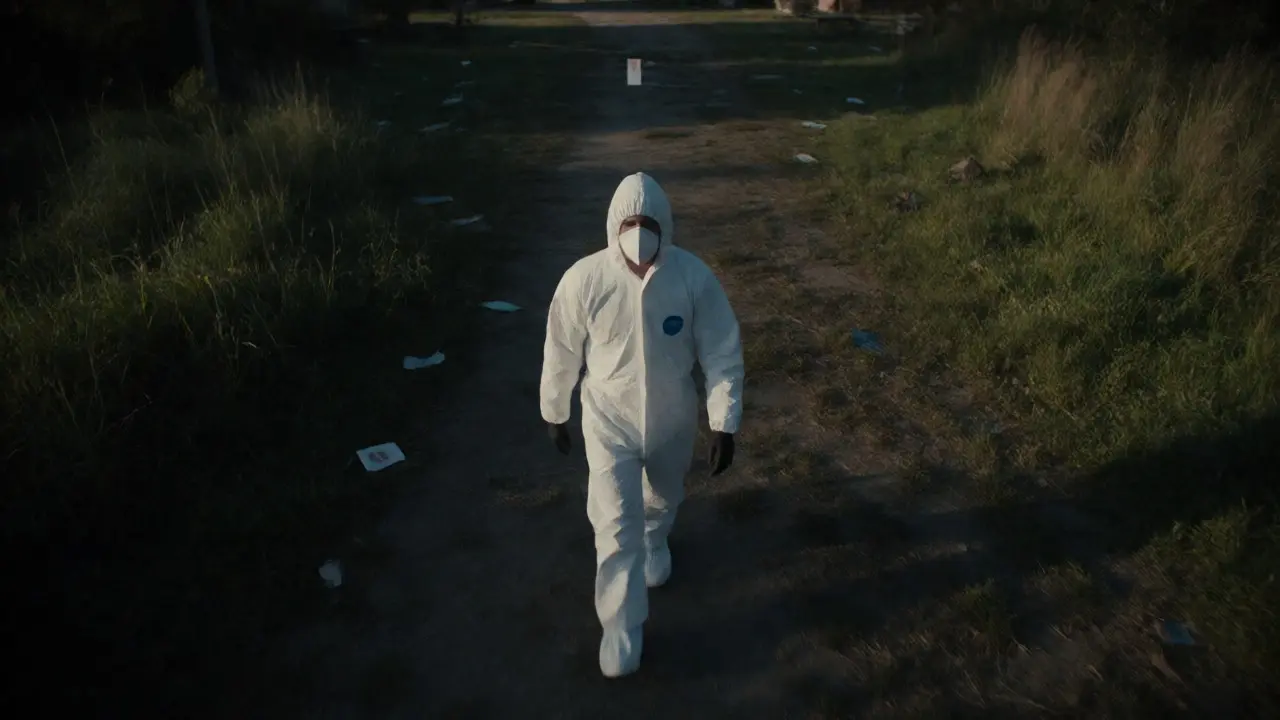
| Tyvek Suits | Full body protection in high-dust areas | Shedding fibers if low quality | Once per scene entry |
| Face Masks | Preventing respiratory droplet transfer | Moisture buildup reducing effectiveness | If damp or after heavy breathing |
| Boot Covers | Preventing shoe debris introduction | Slipping hazard on wet floors | Upon leaving the immediate area |
Scene Management and Workflow
How you move through a crime scene dictates how much contamination you introduce. Think of the scene as a grid. You want to minimize foot traffic and overlap.
Start from the least likely source of contamination and move toward the most critical evidence. Usually, this means working from the perimeter inward. Why? Because the center of the scene often holds the primary evidence (like a body or weapon), which is most vulnerable to disturbance. By approaching from the outside, you reduce the chance of stepping on something important before you’ve secured it.
Also, consider wind direction. If you’re collecting outdoor evidence, stand upwind of the item. If you stand downwind, your shed skin cells and hair will blow directly onto the evidence. It’s a small detail, but it makes a huge difference in DNA recovery rates.
Control samples are essential here. Collect samples from known individuals (suspects, victims, first responders) to help distinguish between background DNA and crime-scene DNA. Without controls, you can’t prove whether a hair found on a jacket belongs to the victim or the detective who touched it earlier.
Tools and Packaging Hygiene
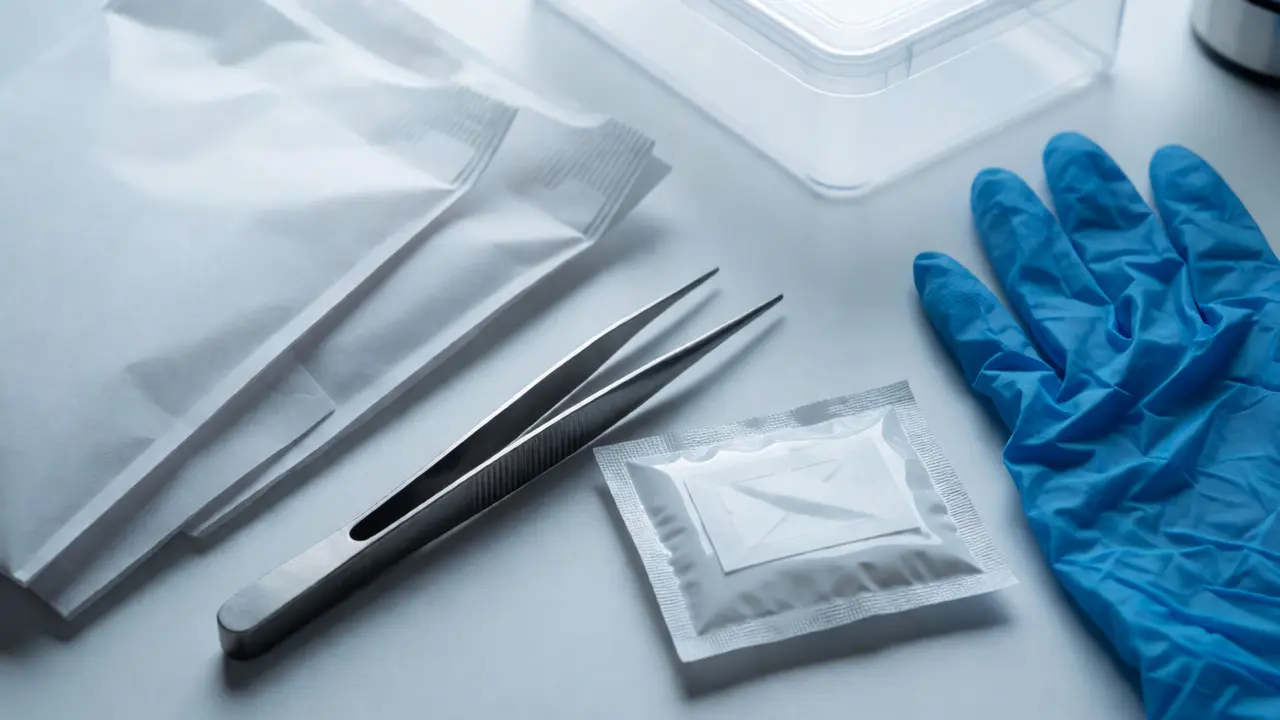
It’s not just about what you wear; it’s about what you use. Tweezers, scissors, and spatulas must be sterilized between uses. You can’t just wipe them on your pants. Use alcohol wipes or flame sterilization (for metal tools) between each item.
Packaging matters too. Paper bags are preferred for dry biological evidence because they allow air circulation, preventing mold growth. Plastic bags trap moisture, which can degrade DNA and promote bacterial growth. However, plastic is fine for non-biological items like glass or metal, provided they are dry.
Never seal a bag until you’re sure the item is properly positioned. Once sealed, reopening it introduces new risks. If you make a mistake, label the original package as "re-opened" and document why. Transparency protects you more than hiding the error.
Documentation and Chain of Custody
Contamination isn’t just physical; it’s also procedural. If you can’t document who touched what and when, the evidence is suspect. Every transfer must be logged. Who collected it? Who transported it? Who stored it?
Use unique identifiers for every item. No vague descriptions like "knife from kitchen." Instead, use "Item #47: Kitchen Knife, Silver Handle, Found Near Sink." Specificity prevents mix-ups later. If two knives look similar, only the unique ID ensures the right one goes to the lab.
Photograph everything before you touch it. Photos serve as a baseline. If a defense attorney claims you moved evidence and caused contamination, your photos prove the original state. Include a scale reference and a color chart in your shots to ensure accuracy.
Common Pitfalls to Avoid
Even experienced professionals slip up. Here are the most common traps:
- The "Quick Grab": Rushing to collect evidence before securing the scene leads to haphazard handling. Take your time.
- Shared Tools: Using the same tweezers for multiple items without cleaning. Always sterilize.
- Ignoring Background: Failing to collect elimination samples from people who legitimately had access to the scene.
- Over-Packing: Stuffing too many items into one box. Items rub against each other, causing cross-transfer.
Remember, prevention is cheaper than litigation. Fixing a contaminated sample in the lab is expensive and often impossible. Preventing it at the scene costs nothing but attention to detail.
Frequently Asked Questions
What is the biggest cause of cross-contamination in the field?
The most common cause is improper glove usage. Investigators often fail to change gloves between handling different pieces of evidence, transferring DNA or trace materials from one item to another. Other frequent causes include using non-sterile tools and poor packaging practices.
Can cross-contamination be detected in the lab?
Yes, modern DNA analysis can detect mixtures. If multiple profiles appear in a single sample, it suggests contamination. However, determining the source of the contaminant can be difficult without control samples. Trace evidence like fibers may require microscopic comparison to identify foreign sources.
Do I need to wear a full Tyvek suit for every crime scene?
Not always, but it is recommended for scenes with significant dust, debris, or biological hazards. In indoor scenes with minimal debris, a lab coat and proper footwear may suffice. The key is to prevent shedding your own clothing fibers onto the evidence.
How does weather affect cross-contamination risk?
Wind increases the risk of airborne contamination, such as pollen, dust, or shed skin cells blowing onto evidence. Rain can wash away trace evidence or spread contaminants across a wider area. Investigators should work upwind and protect exposed evidence quickly in adverse conditions.
Is it okay to use plastic bags for all evidence?
No. Plastic bags trap moisture, which can lead to mold growth and DNA degradation in biological samples. Paper bags or breathable containers are preferred for wet or biological evidence. Plastic is suitable for dry, non-biological items like glass, metal, or plastics.