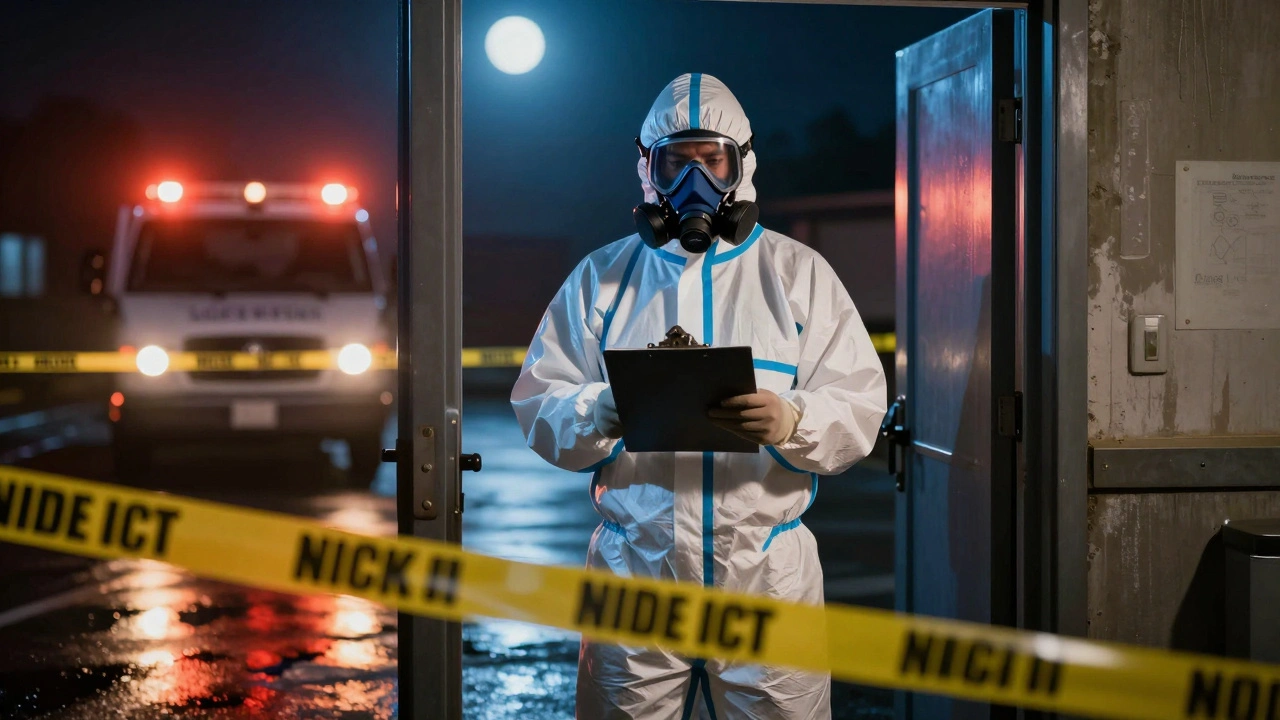
You walk up to a crime scene. The police tape is fluttering in the wind, and your gut tells you something isn't right. It’s not just the evidence that matters here; it’s whether you’ll survive long enough to collect it. Crime scene hazard assessment is the systematic process of identifying, evaluating, and controlling biological, chemical, physical, and environmental dangers before investigation begins. It is the difference between a successful case and a preventable injury or infection.
Safety is the first duty of any investigator. Before you touch a single piece of evidence, you need to know what can hurt you. This isn’t about being paranoid; it’s about professional survival. Whether you are dealing with a routine domestic disturbance or a complex clandestine laboratory, the risks are real, immediate, and often invisible.
The Core Categories of Crime Scene Hazards
To manage risk, you have to categorize it. Most training manuals and operational guides break down threats into four main buckets: biological, chemical, physical/structural, and environmental. Understanding these distinctions helps you pick the right gear and the right approach.
- Biological Hazards: Blood, body fluids, tissues, and microorganisms like bacteria or viruses.
- Chemical Hazards: Illicit drugs, toxic industrial chemicals, cleaning agents, and forensic reagents.
- Physical/Structural Hazards: Broken glass, sharp objects, unstable floors, and compromised buildings.
- Environmental Hazards: Extreme weather, confined spaces, and wildlife infestations.
These categories often overlap. A fire scene, for example, brings together structural instability (physical), smoke inhalation risks (chemical/environmental), and potential human remains (biological). You cannot assess them in isolation.
Biological Hazards: More Than Just Blood
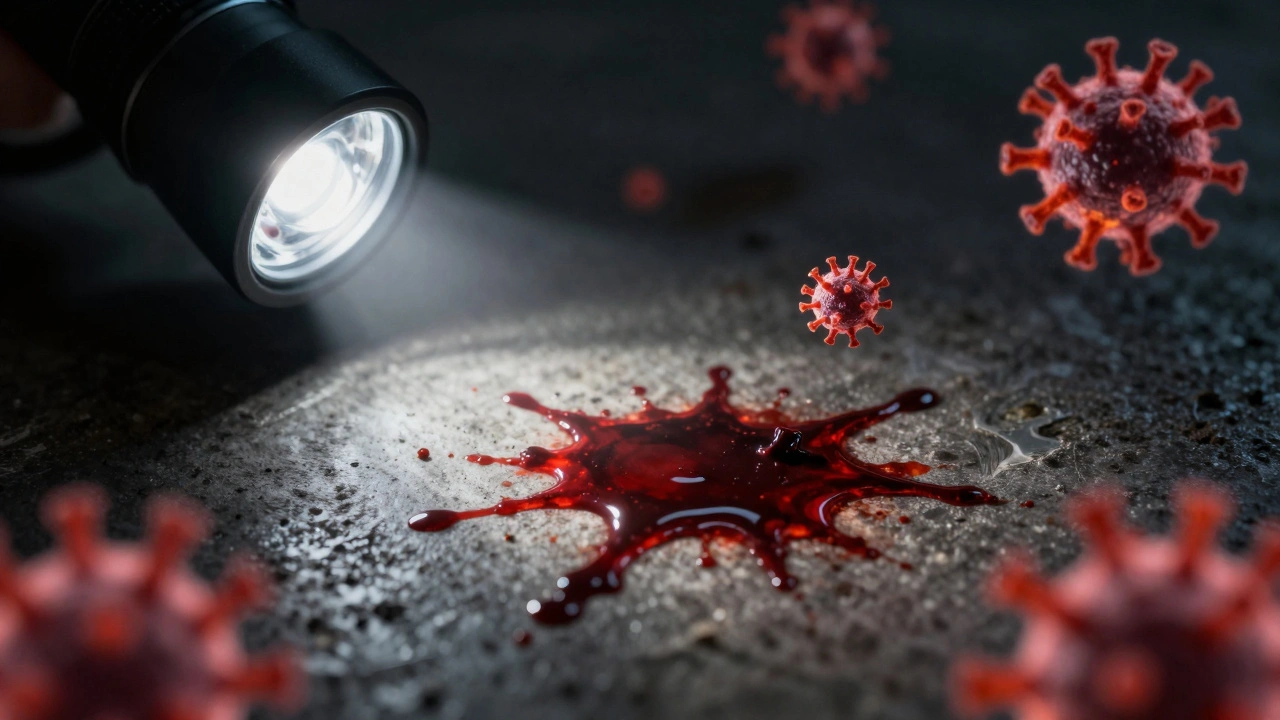
When people think of biohazards, they think of blood. And yes, bloodborne pathogens are a major concern. But the risk profile changes depending on how old the stain is and what else is present.
Hepatitis B (HBV) and Hepatitis C (HCV) can survive in dried bloodstains on surfaces for days or even weeks. Human Immunodeficiency Virus (HIV), however, does not survive well outside the body. This distinction is critical for older scenes. If you’re investigating a cold case with visible stains, HBV and HCV are still active threats, while HIV is likely not.
Beyond human fluids, consider decomposition. Decomposing tissue releases gases and fluids that can permeate porous materials like drywall and carpet. Professional remediation guidelines suggest that surface cleaning is rarely enough for heavy contamination; removal of affected materials is often necessary.
Don’t forget animal vectors. Heavy rodent infestations introduce hantavirus and other pathogens via droppings and urine. In these cases, respiratory protection with high-efficiency filters (HEPA-type) becomes mandatory, not optional.
| Pathogen | Survival Time in Dried State | Risk Level for Older Scenes |
|---|---|---|
| Hepatitis B (HBV) | Up to several weeks | High |
| Hepatitis C (HCV) | Several days to weeks | Moderate to High |
| HIV | Hours (rapidly degrades) | Low |
Chemical Hazards: From Drugs to Forensic Reagents
Chemical risks at crime scenes come from two sources: the crime itself and the tools you use to investigate it.
Illicit substances, particularly synthetic drugs produced in clandestine labs, pose severe inhalation and skin absorption risks. Toxic industrial chemicals might be present if the scene involves arson or sabotage. But surprisingly, some of the most common chemical exposures come from forensic reagents.
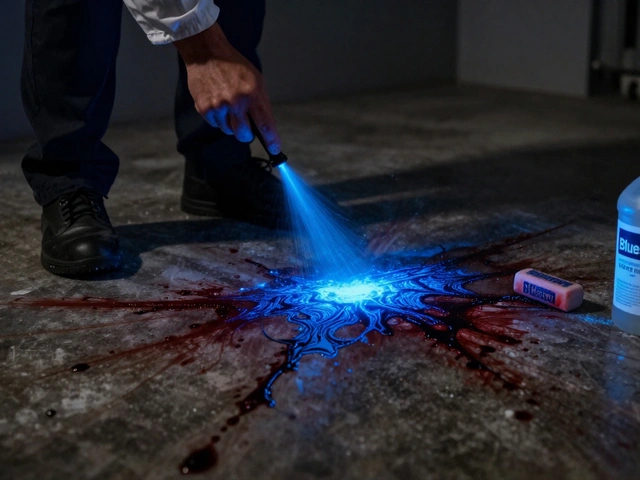
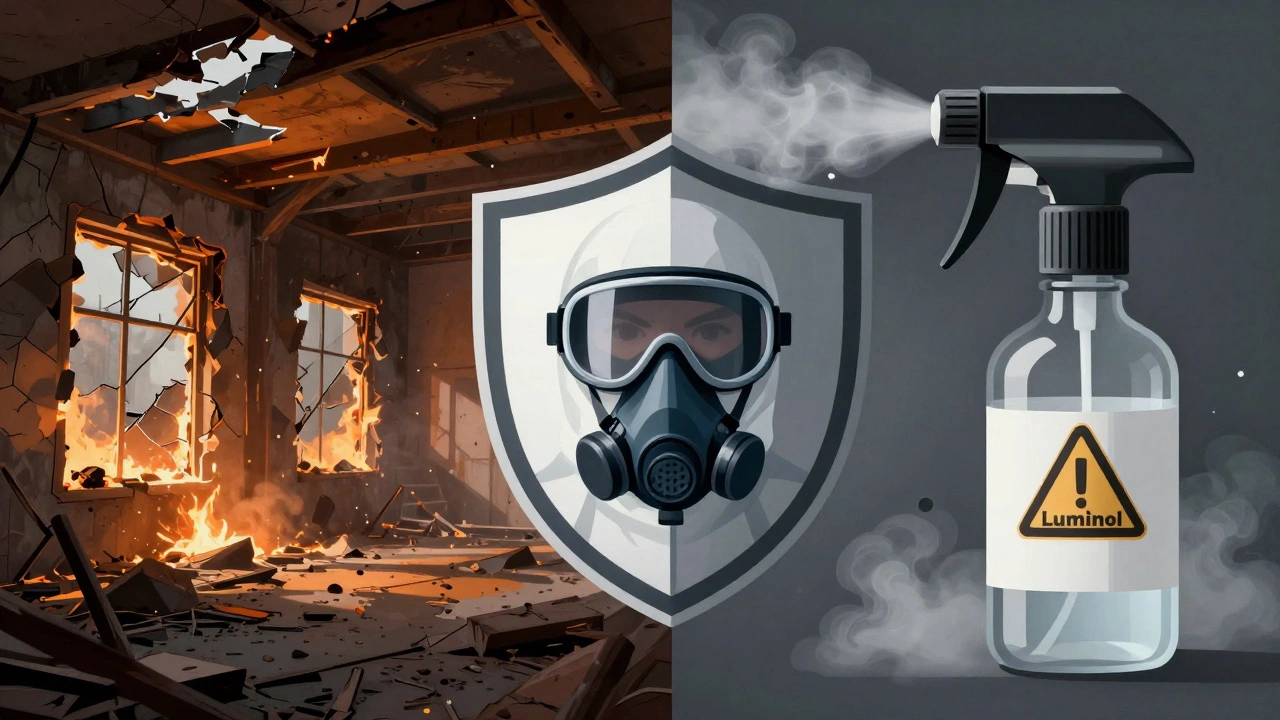
Reagents like Luminol, Amido Black, and Leucocrystal Violet are used to detect blood. While effective, they are chemicals. Many spray devices use hydrocarbon propellants that are flammable. Using these near open flames or heat sources creates an explosion risk. Furthermore, spraying these chemicals in confined, unventilated spaces can create irritating vapors or unsafe atmospheres.
Always wear gloves when handling these reagents. Use them in well-ventilated areas. Never assume that because a chemical is "standard" equipment, it is harmless. The Santa Barbara County Sheriff’s Office manual explicitly warns against using spray devices near ignition sources due to this exact risk.
Structural and Physical Risks: The Building Itself
A building can kill you faster than a pathogen. Structural hazards are often overlooked because investigators focus on the evidence inside, not the shell holding it.
In fire-damaged scenes, the integrity of the structure is compromised. Roofs may sag, floors may lose load-bearing capacity, and walls may be weakened by heat and water damage. Before entry, you must evaluate roof stability and floor conditions. Jensen Hughes, a firm specializing in fire investigation, stresses that investigators must check for hidden voids, confined spaces, and trip hazards amidst debris.
Even in non-fire scenes, look for:
- Broken Glass: Common in break-ins, but also a laceration hazard that can lead to secondary contamination if you cut yourself.
- Unstable Structures: Look for cracks, bulging walls, or signs of recent renovation gone wrong.
- Improvised Devices: In CBRN (Chemical, Biological, Radiological, Nuclear) scenarios, booby traps may be placed to harm responders. Reconnaissance should include scanning for suspicious objects.
If the structure feels unsafe, do not enter. Call in structural engineers or wait for stabilization. No piece of evidence is worth a collapsed ceiling.
The 5-Step Hazard Assessment Process
How do you actually do this? You don’t guess. You follow a structured process. The widely accepted model, used in university courses like Miami Dade College’s CJE2644 and agency manuals, consists of five steps:
- Identify the Hazards: Walk the perimeter. What do you see? Blood? Chemical containers? Unstable floors? List them all.
- Determine Who Might Be Harmed: Is it just you? Your team? First responders already on site? Members of the public nearby?
- Evaluate the Risks and Decide on Precautions: How likely is harm? How severe would it be? Based on this, choose your PPE and control measures (e.g., cordoning off areas).
- Record Findings and Implement Them: Document your assessment. Brief your team. Make sure everyone knows the rules (e.g., no eating, mandatory glove changes).
- Review and Update: Conditions change. New evidence might reveal new hazards. Weather shifts. Review your assessment regularly throughout the operation.
This is not a one-time checklist. It is a continuous loop. As you move deeper into the scene, your understanding of the risks evolves. Step 5 is crucial-static assessments fail dynamic scenes.
PPE Selection: Matching Gear to Risk
Your Personal Protective Equipment (PPE) is your last line of defense. Choosing the wrong level can leave you exposed or unnecessarily restricted.
For most routine scenes, the baseline is gloves, safety glasses, and perhaps a surgical mask or respirator if odors are strong. Gloves must be worn at all times when handling biological or chemical materials. If you have cuts or scratches on your hands, barrier protection is essential to prevent direct contact with pathogens.
In more complex scenarios, such as CBRN incidents, the UNICRI manual recommends a tiered approach:
- Level C: Used when the atmosphere contains less than 0.1% oxygen or known contaminants where air-purifying respirators are effective.
- Level B: Required for high concentrations of airborne substances where skin contact is a lesser concern.
- Level A: Reserved for the highest risk environments, involving unknown chemicals or highly toxic vapors, requiring fully encapsulating suits with self-contained breathing apparatus (SCBA).
Remember: Respiratory protection is not always required. For most standard scenes, unless there is a known airborne threat or heavy decomposition, masks may suffice. However, in clandestine labs or bomb scenes, upgrade immediately.
Decontamination and Evidence Integrity
Cleaning up doesn’t mean destroying evidence. Decontamination must be balanced with chain-of-custody requirements.
For biological spills, a 1:10 dilution of household bleach (1 part bleach to 10 parts water) is the standard disinfectant. Apply it to contaminated surfaces, let it sit, then clean. Document this step in your incident report.
However, not all evidence can be decontaminated. Some traces, especially porous ones, may absorb contaminants. In these cases, you may need to seal the item in a labeled container distinguishing it as "contaminated" rather than trying to clean it on-site. This preserves the evidentiary value while protecting lab personnel who handle it later.
Personnel decontamination is equally important. Wash hands thoroughly before eating, drinking, or smoking. Change out of contaminated clothing before leaving the scene. Secondary contamination-bringing hazards home-is a real risk that agencies must mitigate through strict hygiene protocols.
What is the first step in crime scene hazard assessment?
The first step is to identify the hazards. This involves visually inspecting the scene for biological (blood, fluids), chemical (drugs, toxins), physical (broken glass, unstable structures), and environmental risks before full entry or processing begins.
How long can Hepatitis B survive in dried blood?
Hepatitis B (HBV) can survive in dried bloodstains on surfaces for up to several weeks. This makes older crime scenes potentially infectious for HBV, unlike HIV, which degrades rapidly.
Are forensic chemicals like Luminol safe to use indoors?
Luminol and similar reagents should be used with caution indoors. They are often sprayed using flammable hydrocarbon propellants and can release irritating vapors. Always ensure good ventilation and keep away from open flames or heat sources.
When is Level A PPE required at a crime scene?
Level A PPE, which includes fully encapsulating suits and SCBA, is reserved for the highest-risk environments, such as unknown chemical spills, high-concentration toxic vapors, or specific CBRN incidents where skin and respiratory protection are critical.
What is the recommended bleach solution for decontaminating biological hazards?
A 1:10 dilution of household bleach (1 part bleach to 10 parts water) is the standard recommendation for disinfecting surfaces contaminated with blood or body fluids.