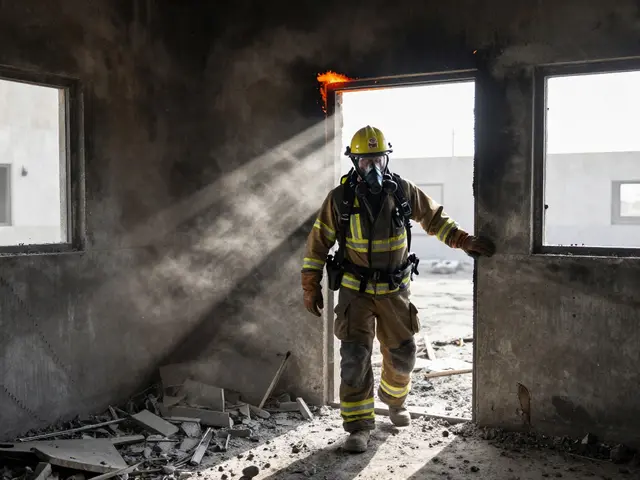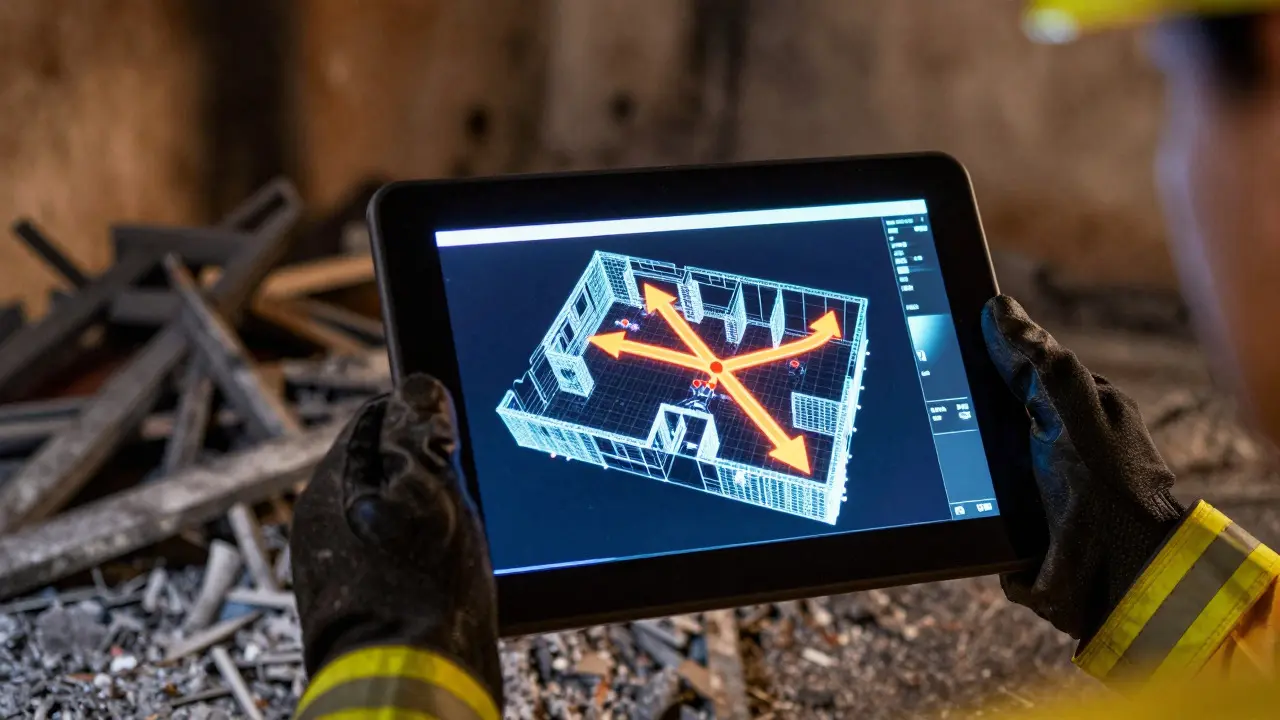
Imagine standing in a courtroom where the only physical evidence is ash. The jury can’t smell the gasoline or see the heat plume that jumped from the living room to the bedroom. Without clear courtroom visuals, the story of how a fire started often gets lost in technical jargon. For fire investigators and legal teams, the challenge isn’t just proving what happened; it’s making the invisible visible. Effective visual aids bridge the gap between complex thermodynamics and human understanding, turning abstract data into a narrative the jury can follow.
The Core Problem: Translating Physics into Storytelling
Fire behavior is governed by physics, not intuition. Heat rises, oxygen depletes, and flashover occurs when all combustible surfaces reach ignition temperature simultaneously. To a layperson, these concepts are opaque. If an investigator stands there explaining "vent-limited combustion" without a visual anchor, the jury hears noise. Visuals serve as cognitive anchors. They allow the witness to point to a specific moment in time-say, the exact second a window shattered due to thermal stress-and connect it to the origin point of the fire.
The goal isn’t to create Hollywood-style explosions. It’s to create accurate, defensible representations of sequence and causality. A good visual doesn’t guess; it illustrates what the data says. This distinction is critical because opposing counsel will attack any visual that appears speculative rather than evidentiary.
Types of Visual Aids in Fire Cases
Not all visuals are created equal. Depending on the complexity of the case, you might use static diagrams, dynamic animations, or even 3D reconstructions. Each has its place in the trial strategy.
- Static Schematics: These are floor plans with arrows indicating flow paths. They are cheap, fast, and effective for simple cases like electrical faults. However, they lack temporal context-they show *where* things happened, not *when*.
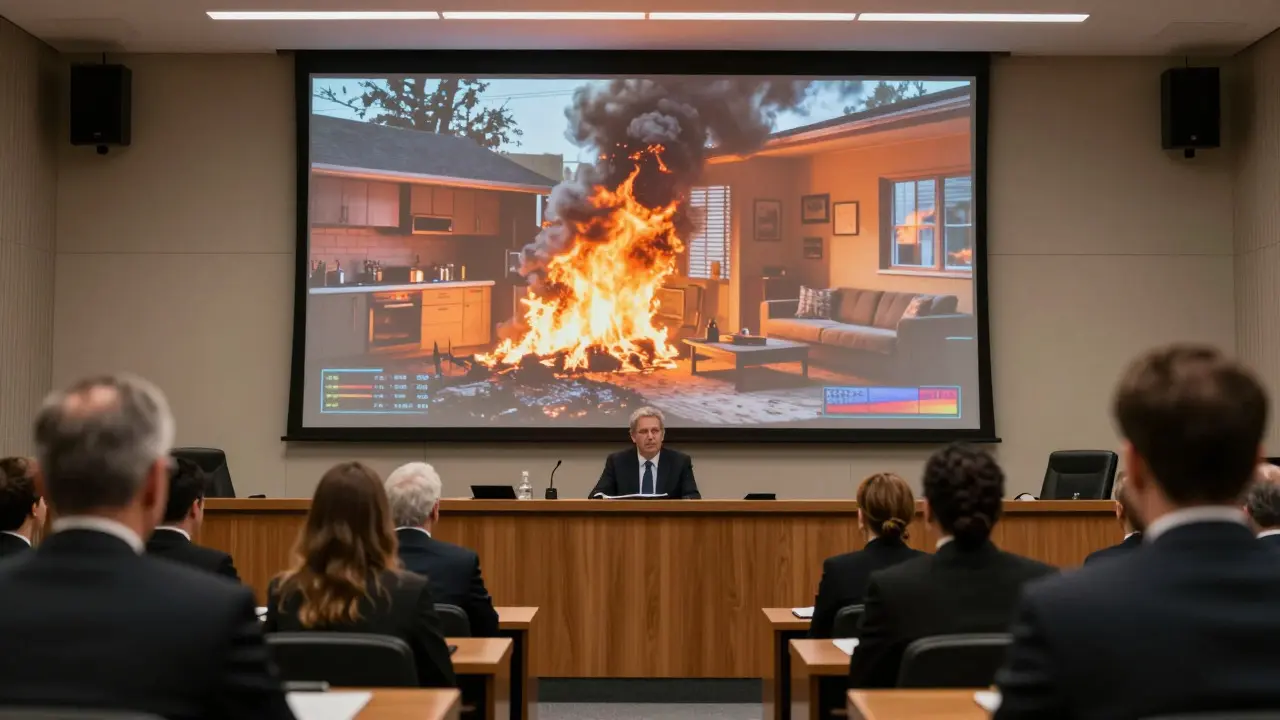
- Time-Lapse Animations: These sequences show the progression of the fire over minutes or hours. They are powerful for demonstrating how a small flame grew into a full-blaze event. The key here is pacing; if the animation is too fast, the jury misses the cause-and-effect link.
- 3D Reconstructions: Using software like SketchUp or specialized forensic tools, investigators build virtual rooms. This allows for camera angle changes, showing views from different vantage points. This is particularly useful when discussing line-of-sight issues or how smoke obscured escape routes.
When choosing between these, consider the burden of proof. In civil cases, preponderance of evidence may allow for slightly more interpretive visuals. In criminal arson cases, beyond a reasonable doubt requires visuals that are strictly tethered to measured data points.
Data-Driven Accuracy: Avoiding Speculation
The biggest risk in using visuals is introducing bias. If you animate a fire spreading based on your assumption rather than your measurements, you’ve opened the door to cross-examination. Every frame of an animation should be backed by a data source: temperature logs, video footage, witness statements, or lab analysis of debris.
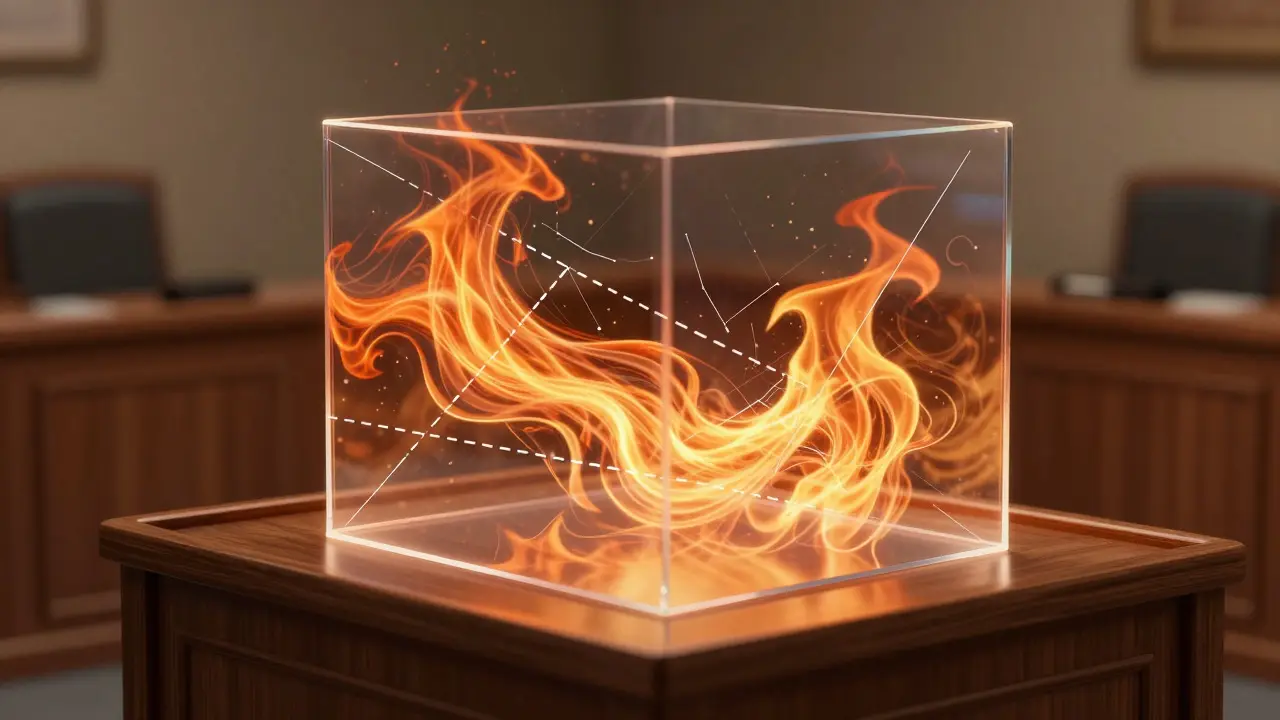
For example, if you claim the fire spread via convection currents, do you have wind speed data or ceiling height measurements to support that? If not, label the visual as "illustrative" rather than "evidentiary." Jurors are smart enough to tell the difference, but they need help distinguishing fact from inference. Use color coding to separate verified facts (solid lines) from inferred movements (dashed lines). This transparency builds trust with the judge and jury alike.
Technical Standards and Software Tools
While high-end CGI is impressive, it’s not always necessary. Many successful trials use simpler tools. The key is consistency. If you use a specific scale for your floor plan, keep it consistent across all slides. Mixing scales confuses the audience and weakens your argument.
| Tool Type | Best Use Case | Cost Level | Evidentiary Strength |
|---|---|---|---|
| Hand-Drawn Diagrams | Simple origin/cause cases | Low | Moderate (if annotated clearly) |
| Vector Graphics (Illustrator/InDesign) | Clean presentations, slide decks | Medium | High (professional appearance) |
| Forensic Animation Software | Complex spread patterns, timeline reconstruction | High | Very High (if data-backed) |
| 3D Modeling (SketchUp/Blender) | Spatial orientation, view obstruction | Medium-High | High (contextual clarity) |
Note that "cost level" refers not just to software licenses but also to the time required to produce the asset. A hand-drawn diagram takes hours; a custom 3D animation can take weeks. Budget accordingly based on the stakes of the case.
Presenting Visuals Effectively in Court
Creating the visual is only half the battle. How you present it matters just as much. Never leave the screen unattended while talking. Point to specific elements as you explain them. Use remote controls to zoom in on critical areas rather than relying on the jury to squint at a small corner of the screen.
Anticipate objections. Opposing counsel will likely argue that the animation is "unduly prejudicial" or "speculative." Your defense is preparation. Have a backup set of still images ready in case the animation glitches. Ensure your file formats are compatible with the court’s display system before you arrive. Technical failures during testimony destroy credibility faster than any logical fallacy.
Common Pitfalls to Avoid
Even experienced investigators make mistakes with visuals. Here are the most common traps:
- Over-animation: Adding unnecessary motion distracts from the core message. Keep movement purposeful.
- Inconsistent Scaling: If the kitchen is 10x10 feet in one slide and 8x8 in another, the jury will notice. Double-check dimensions against blueprints.
- Jargon Overload: Don’t put scientific terms on the screen unless you define them verbally. Let the image speak, let your voice explain.
- Ignoring Lighting Conditions: If the fire occurred at night, reflect that in the visual. Dark backgrounds with bright highlights mimic real conditions better than white backgrounds.
Avoid using stock photos of fires unless they perfectly match the scene. Generic flames can mislead jurors about the intensity or color of the actual blaze. Always prioritize original photography or data-derived renders.
Preparing for Cross-Examination
Opposing experts will dissect your visuals. They’ll ask about the assumptions behind every arrow and shadow. Be ready to defend your methodology. Know your sources. If you used a specific fire model to predict spread rates, know the inputs you gave it. If you adjusted parameters to fit observed data, admit it. Honesty in methodology strengthens your position, even if the results seem unfavorable.
Remember, the visual is a tool, not the evidence itself. The evidence is the data, the testimony, and the physical artifacts. The visual simply makes those pieces accessible. When the jury walks out, they won’t remember the specific software you used. They will remember the story you told them, and whether it made sense. Make sure your visuals help that story land.
What is the best software for creating fire investigation visuals?
There is no single "best" software. For simple diagrams, vector tools like Adobe Illustrator work well. For complex 3D scenes, SketchUp or Blender are popular. Specialized forensic animation software exists but is expensive. Choose based on the complexity of the case and your team's skill set.
How detailed should courtroom visuals be?
Only as detailed as necessary to prove your point. Excessive detail can confuse the jury or open up new lines of questioning. Focus on the origin area and the path of spread. Omit irrelevant details like furniture placement unless it directly impacts the fire's behavior.
Can animations be admitted as evidence?
Yes, but they must be authenticated. You need to testify that the animation accurately represents the events based on available data. Judges have discretion to exclude visuals that are deemed unduly prejudicial or misleading, so accuracy is paramount.
How do I handle discrepancies between video footage and my visual reconstruction?
Align your visual as closely as possible with the video timestamps. If there are gaps in the video, use dashed lines or semi-transparent overlays to indicate inferred movement. Transparency helps prevent accusations of fabrication.
Do I need a specialist to create these visuals?
Not necessarily. Many investigators learn basic design skills. However, for high-stakes criminal cases, hiring a forensic artist or animator can ensure professional quality and reduce the risk of technical errors during presentation.