Imagine a detective staring at a bloody shirt that’s been sitting in a trunk for three weeks. The heat is breaking down the DNA before it can be analyzed. This isn't just a bad day; it's a case lost to poor temperature requirements. Biological evidence is fragile. Unlike a fingerprint or a digital file, biological samples degrade over time if not stored correctly. Getting the temperature wrong can mean the difference between a conviction and an acquittal.
This guide breaks down exactly how to store biological evidence so it survives the legal process. We will look at specific temperatures for different sample types, the risks of getting it wrong, and the practical steps your lab or field team needs to take. No fluff, just the facts you need to keep your evidence admissible.
Why Temperature Matters More Than You Think
Biological evidence consists of organic material like blood, saliva, semen, hair, and tissue. These materials contain enzymes that continue to work even after death or collection. If the environment is warm, these enzymes speed up decomposition. Bacteria multiply. Proteins break down. DNA strands snap. This process is called degradation, and it is irreversible.
The goal of proper storage is to pause this clock. By lowering the temperature, we slow down metabolic processes and microbial growth. However, freezing isn't always the answer. Some samples are damaged by ice crystals forming inside cells. Others need to stay dry to prevent mold. So, the right temperature depends entirely on what kind of evidence you have.
Standard Temperature Ranges for Common Samples
Not all biological evidence is treated the same. Here is the breakdown for the most common items found in casework.
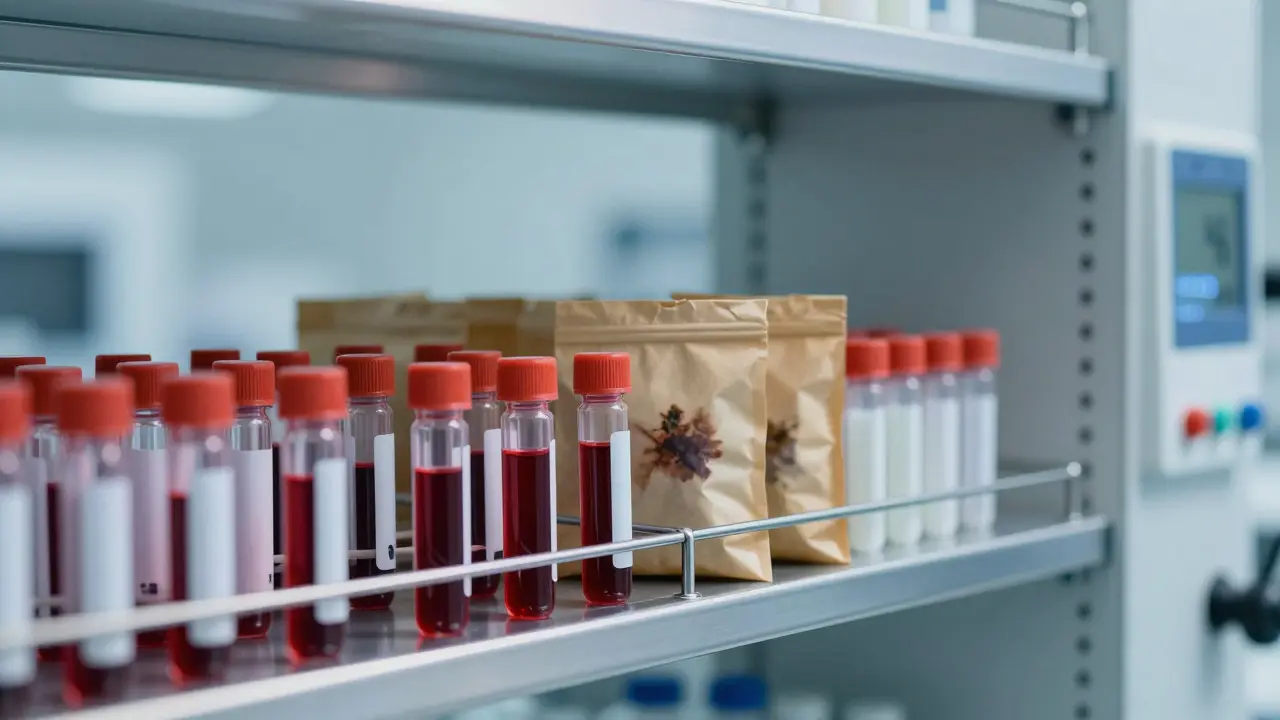
- Fresh Blood (Liquid): Store at 4°C (39°F) in a refrigerator. Do not freeze liquid blood unless you are separating the plasma. Freezing whole blood lyses red blood cells, releasing hemoglobin which can inhibit PCR testing later. Keep it in airtight containers to prevent evaporation.
- Dried Blood Stains: Air-dry completely first. Once dry, store at room temperature (15-25°C / 59-77°F) in a paper bag or envelope. Paper allows moisture to escape. Plastic traps humidity, leading to mold. If the stain is large or thick, refrigeration at 4°C is safer for long-term storage.
- Semen and Saliva: Similar to dried blood. Dry thoroughly, then store at room temperature in paper packaging. For wet samples, refrigerate at 4°C immediately.
- Hair and Fibers with Root Bulbs: These are robust. Room temperature storage in paper bags is usually sufficient. Avoid direct sunlight, which causes UV damage to DNA more than heat does.
- Tissue and Organs: These require freezing at -20°C (-4°F) or colder. Wrap them in plastic wrap to prevent freezer burn, then place in a sealed Ziploc bag. Label clearly.
- Toxicology Samples (Urine/Blood): Refrigerate at 4°C for short term. Freeze at -20°C for long term. Add preservatives like sodium fluoride if required by your lab protocol to stop bacterial growth.
The Danger Zones: Heat, Humidity, and Light
Temperature is only one part of the equation. Three other factors can ruin your evidence just as fast as the wrong degree setting.
Humidity is the enemy of dried stains. If you put a wet shirt in a plastic bag without drying it, you create a petri dish for bacteria. Always use breathable paper packaging for dried biologicals. If you must use plastic for liquids, ensure the seal is tight to prevent leakage but allow air exchange if possible for semi-solid samples.
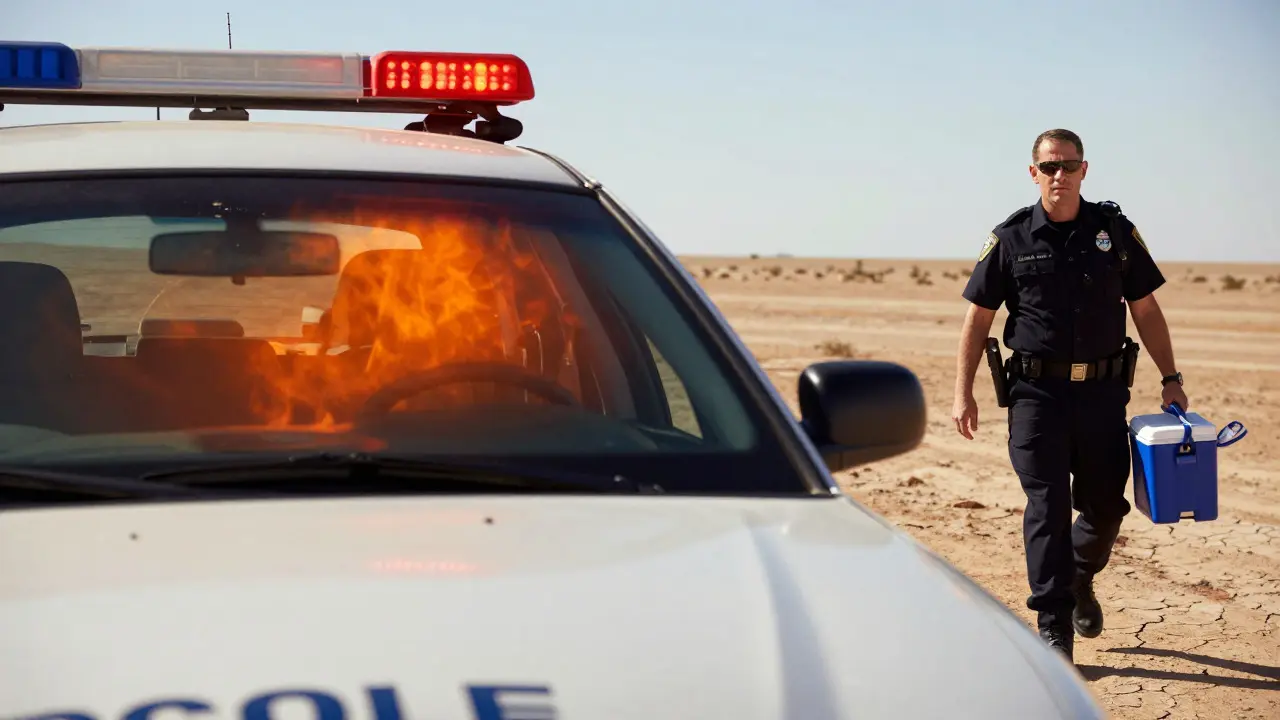
Heat exposure happens more often than you’d think. Leaving evidence in a patrol car on a summer day is a classic mistake. In Portland, Oregon, summers can hit 90°F (32°C), but in Phoenix, they routinely exceed 110°F (43°C). Even a few hours at high temperatures can significantly reduce the yield of usable DNA. Use insulated coolers with ice packs for transport if the journey exceeds 30 minutes.
Light, specifically ultraviolet (UV) light, breaks down DNA bases. Store all biological evidence in the dark. Brown paper bags are ideal because they block light while allowing airflow. Clear plastic bags let light in, making them a poor choice for long-term storage of DNA-rich samples.
Transporting Evidence: Keeping the Cold Chain
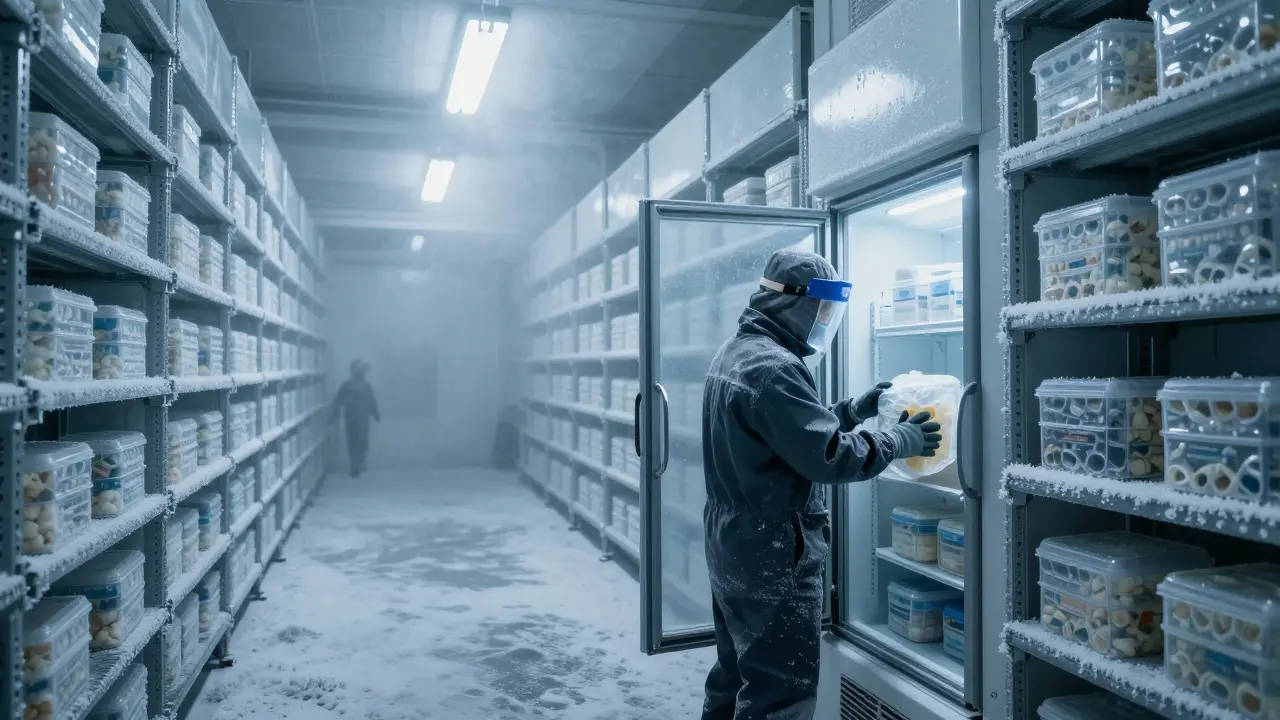
Storage in the lab is easy. Transport is where things go wrong. The "cold chain" refers to maintaining consistent low temperatures from collection to analysis. Breaking this chain compromises the integrity of the sample.
- Assess the Sample: Is it liquid, solid, or dried? Liquid needs immediate cooling. Dried samples are less urgent but still benefit from protection from heat.
- Packaging: Use primary containment (tube or bag) and secondary containment (leak-proof box). Label both with case number, date, collector name, and sample type.
- Cooling Method: For liquid biologicals, use a cooler with gel ice packs. Do not place ice directly against the sample container, as extreme cold shock can crack glass tubes. Wrap the tube in foam or cloth.
- Documentation: Record the starting temperature and the estimated duration of transport. If a temperature logger was used, attach the data log to the chain of custody form.
If you are transporting toxicology samples, remember that some metabolites are unstable at room temperature. Refrigerated transport is non-negotiable for anything containing urine or blood intended for drug testing.
Long-Term Archiving: What Happens After the Case Closes?
Cases don't end when the trial is over. Appeals can happen years later. New technology might allow re-testing of old evidence. This means you need a strategy for long-term archiving.
For DNA samples, the gold standard is -80°C (-112°F) freezers. At this temperature, molecular activity is virtually halted. However, not every lab has access to -80°C units. If you only have -20°C freezers, that is acceptable for most DNA work, provided the power supply is stable. Power outages are a major risk. Invest in backup generators or temperature alarm systems that send alerts to your phone if the freezer warms up above -15°C.
Keep a log of freezer maintenance. Check seals, clean coils, and monitor temperature twice a week. A single night of power loss can thaw a rack of samples, destroying years of potential evidence.
Common Mistakes to Avoid
Even experienced technicians make errors. Here are the top pitfalls that lead to inadmissible evidence.
- Storing wet evidence in plastic: Leads to mold and bacterial overgrowth. Use paper for anything that can be dried.
- Freezing whole blood: Causes cell lysis. Separate plasma if freezing is necessary, otherwise refrigerate.
- Mixing samples: Cross-contamination ruins everything. Use separate tools for each sample. Change gloves between items.
- Ignoring the chain of custody: If you can’t prove who had the evidence and at what temperature, the defense will attack its reliability. Document every transfer.
- Leaving evidence in vehicles: Cars are ovens in summer and freezers in winter. Both extremes are bad. Bring evidence inside as soon as possible.
Practical Checklist for Your Lab
Use this checklist to audit your current practices. Print it out and tape it to the door of your evidence room.
- [ ] Are all refrigerators set to 4°C ± 1°C?
- [ ] Are all freezers set to -20°C or lower?
- [ ] Do you have temperature loggers in every unit?
- [ ] Is there a backup plan for power outages?
- [ ] Are paper bags available for all dried biological samples?
- [ ] Are coolers stocked with fresh ice packs for field teams?
- [ ] Is there a clear protocol for separating liquid blood before freezing?
- [ ] Are staff trained on the difference between UV damage and thermal degradation?
Proper biological evidence storage isn't about being fancy. It's about consistency. Follow the rules, document everything, and treat every sample as if it’s going to court tomorrow. Because one day, it will.
What is the best temperature for storing dried blood stains?
The best temperature for storing dried blood stains is room temperature, typically between 15°C and 25°C (59°F to 77°F). They should be stored in paper bags or envelopes to allow air circulation and prevent moisture buildup, which can lead to mold and bacterial growth.
Can I freeze liquid blood for DNA testing?
Generally, no. Freezing whole liquid blood causes red blood cells to burst (lyse), releasing hemoglobin which can interfere with DNA extraction and PCR amplification. Instead, store liquid blood in a refrigerator at 4°C (39°F). If long-term storage is needed, separate the plasma from the cells and freeze the plasma at -20°C or lower.
How long can biological evidence last in a refrigerator?
In a refrigerator at 4°C, fresh biological samples like blood or tissue can remain viable for several weeks to a few months, depending on the initial quality and presence of preservatives. For longer storage beyond three months, moving the sample to a -20°C freezer is recommended to halt degradation processes effectively.
Does sunlight affect biological evidence?
Yes, sunlight, particularly ultraviolet (UV) rays, can damage DNA by breaking chemical bonds in the nucleotide bases. This leads to mutations and fragmentation, reducing the amount of usable DNA for analysis. Always store biological evidence in dark conditions using brown paper bags or opaque containers.
What should I do if evidence is left in a hot car?
If evidence is left in a hot car, move it to a controlled environment immediately. Assess the duration of exposure. Short exposures (under 30 minutes) may not cause significant damage to dried samples, but liquid samples are at higher risk. Document the incident in the chain of custody notes, including estimated temperatures and duration, so the laboratory can factor this into their interpretation of results.