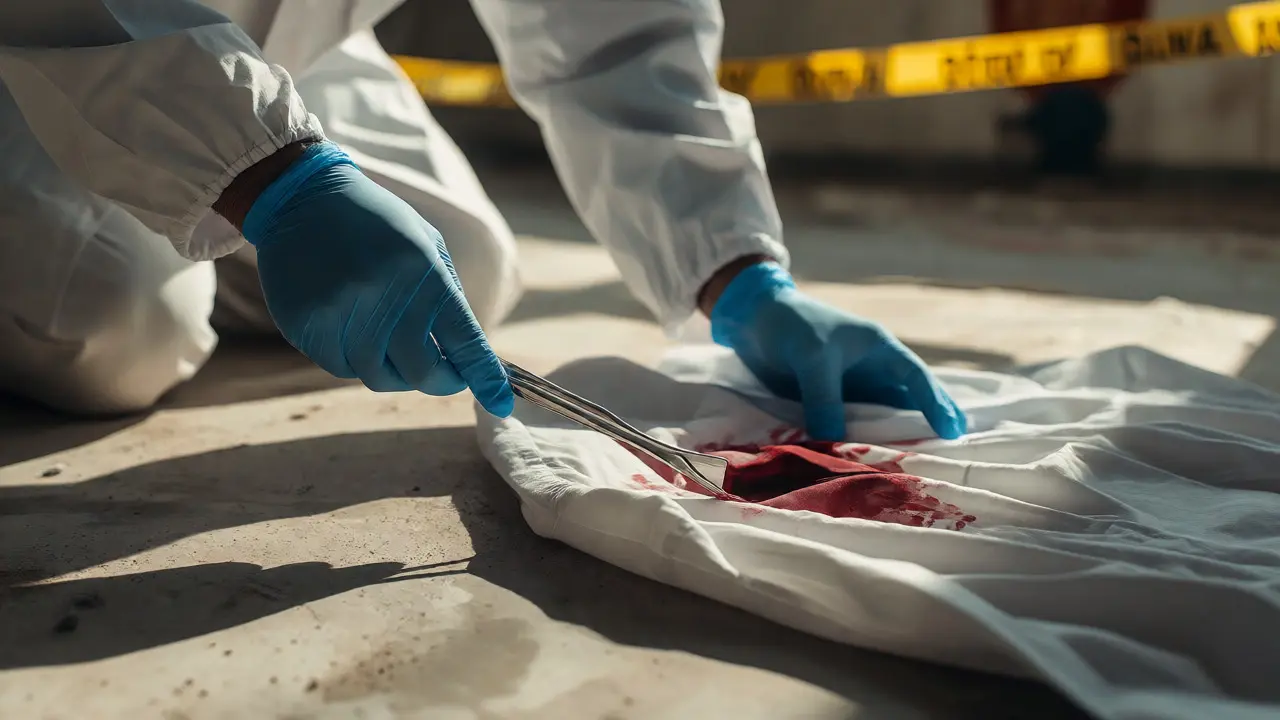
You just found a bloody shirt at a crime scene. It looks like the key to solving the case. But if you toss it in a plastic bag and shove it in a hot car, you might have just destroyed the very DNA that could convict the killer. Clothing isn't just fabric; it's a complex biological and trace-evidence carrier. Improper clothing evidence handling can lead to mold growth, bacterial degradation, or cross-contamination that renders samples useless in court.
Why does this matter? Because unlike a bullet or a knife, clothing is porous. It traps fluids, fibers, pollen, and skin cells. The moment you pick it up, you start a clock. If you don't dry it properly, bacteria eat the DNA. If you fold it incorrectly, you lose blood spatter patterns. This guide breaks down exactly how to handle garments so they survive from the scene to the lab bench.
The Core Problem: Why Clothes Are Fragile Evidence
Think about what happens when you leave a wet towel in a gym bag. It gets smelly, right? That smell is bacteria multiplying. Now imagine that towel has your blood on it. In forensic science, we call this "biological degradation." Moisture is the enemy. When wet clothing sits in a sealed container, humidity rises. Bacteria and fungi thrive in that dark, damp environment. They consume the protein structures in blood and semen stains. Within hours, a viable DNA profile can turn into a mushy mess.
But it's not just biology. It's physics. Blood dries differently depending on whether the fabric was folded, crumpled, or hanging. If you crumple a shirt with a fresh bloodstain, you smear the pattern. You lose the directionality-the tell-tale signs that show where the victim was standing or how hard they were hit. Preserving these physical characteristics is just as important as preserving the DNA.
Immediate Actions at the Crime Scene
Your first move determines everything else. Do not rush. Wear proper personal protective equipment (PPE). Gloves are non-negotiable. If you touch the stain area with bare hands, you introduce your own sweat and oils. Use clean forceps or wear new gloves when picking up items to avoid touching the suspected evidence areas directly.
- Air Dry First: If the item is wet, do not bag it immediately. Hang it in a secure, shaded area using clean paper clips or clothespins. Avoid direct sunlight, which can degrade certain chemical compounds and bleach colors.
- Protect Fragile Areas: If there's a tear or a loose button, cover it with a piece of clean paper or aluminum foil before moving the garment. This prevents further damage during transport.
- Document Before Moving: Photograph the item in situ. Show its relationship to other objects. Is the shoe next to the jacket? That spatial relationship matters.
What if you can't dry it on-site? Maybe it's raining, or the suspect is being transported to the hospital. In those cases, use breathable containers. Paper bags are your best friend here. They allow air circulation. Plastic bags trap moisture. If you must use plastic temporarily, keep it open and get the item to a drying facility within two hours.
Packaging: Paper vs. Plastic
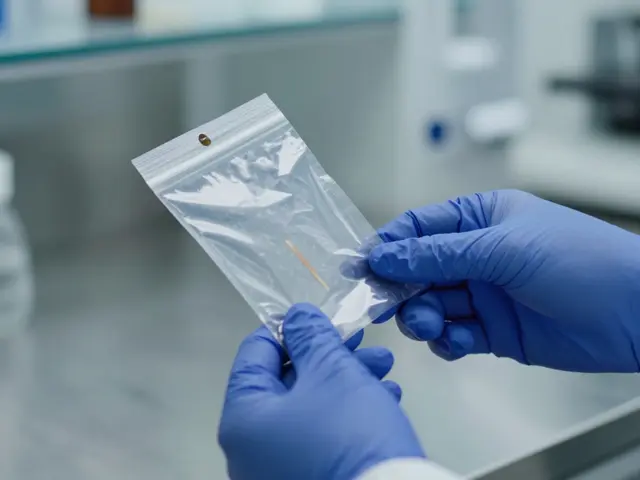
This is the most common mistake I see in rookie reports. People love plastic bags because they're easy to find. But for wet or damp clothing, plastic is a death sentence. Here’s the rule of thumb: If it’s wet, keep it out of plastic.
Once an item is completely dry, you can switch packaging types based on what you’re looking for. For general storage, large paper envelopes or boxes work well. They protect against light and dust while allowing residual moisture to escape. However, if you’re collecting trace evidence like hairs or fibers, you need to be more careful. Shaking a paper bag can dislodge loose trace material. Instead, place the item flat inside a larger box, secured with tape so it doesn’t slide around.
| Material | Best Used For | Risk Factor | Handling Tip |
|---|---|---|---|
| Paper Bags/Envelopes | Dry items, general transport | Tearing, water damage | Do not overstuff; seal securely |
| Plastic Bags | Small dry items, non-biological | Mold growth, condensation | Use only if item is bone-dry |
| Cardboard Boxes | Bulky coats, suits, shoes | Crushing delicate fabrics | Line with acid-free tissue paper |
| Foil Wrapping | Very fragile or small fragments | Creasing, heat transfer | Use for temporary protection only |
Preserving Biological Samples: The Cut-Out Method
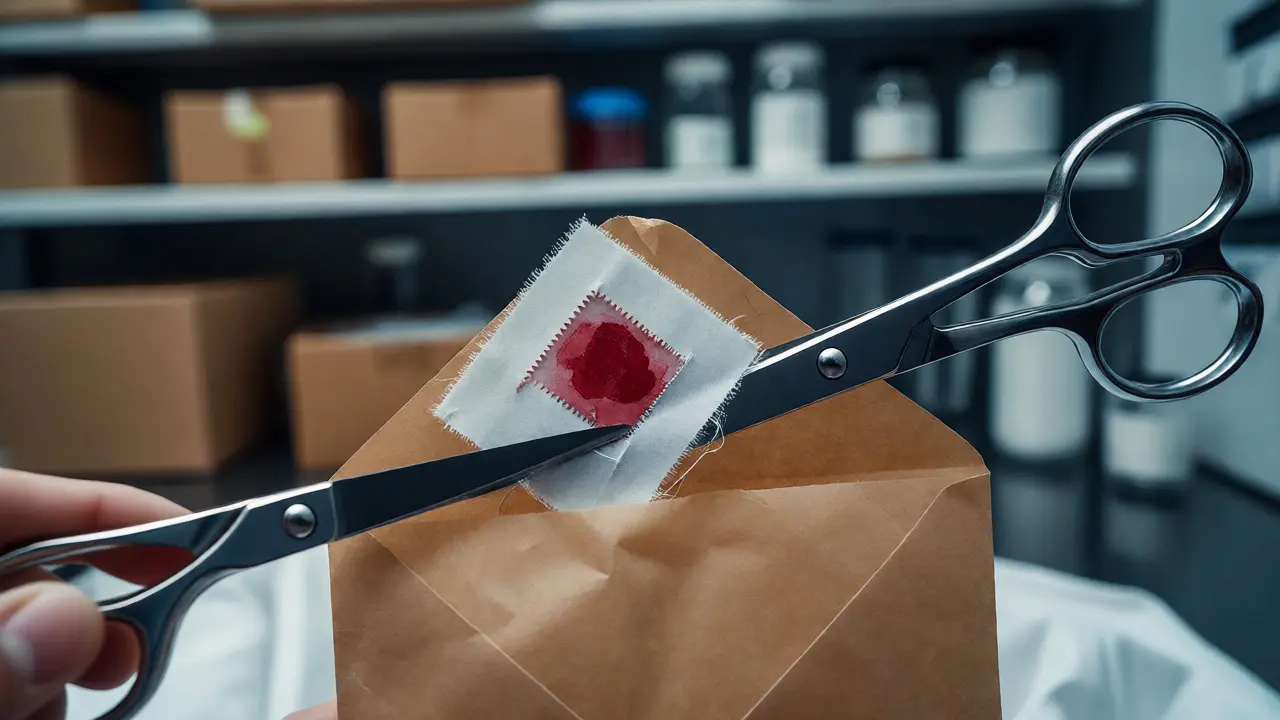
Sometimes, the whole garment isn't needed. Or maybe the stain is huge, but you only need a specific drop of blood. Enter the cut-out method. This involves cutting a small section of the fabric containing the stain and submitting that piece to the lab. It saves space and focuses resources.
But you can't just hack at it with kitchen scissors. You need sterile instruments. Sterilize your scissors between cuts with flame or alcohol wipes to prevent cross-contamination. Always cut from the back of the fabric toward the front if possible, to push debris away from the sample surface. Leave a margin of unstained fabric around the cut-out. This "control" area helps the lab technicians distinguish between the actual stain and potential background contamination.
Where do you put the cut-out? Never in a pill bottle. Pill bottles are plastic and often contain lubricants that interfere with DNA extraction. Use a clean paper envelope. Label it clearly with the location on the original garment. "Left sleeve cuff, 2 inches from wrist" is better than "sleeve." Precision saves time later.
Chain of Custody: Keeping the Story Straight
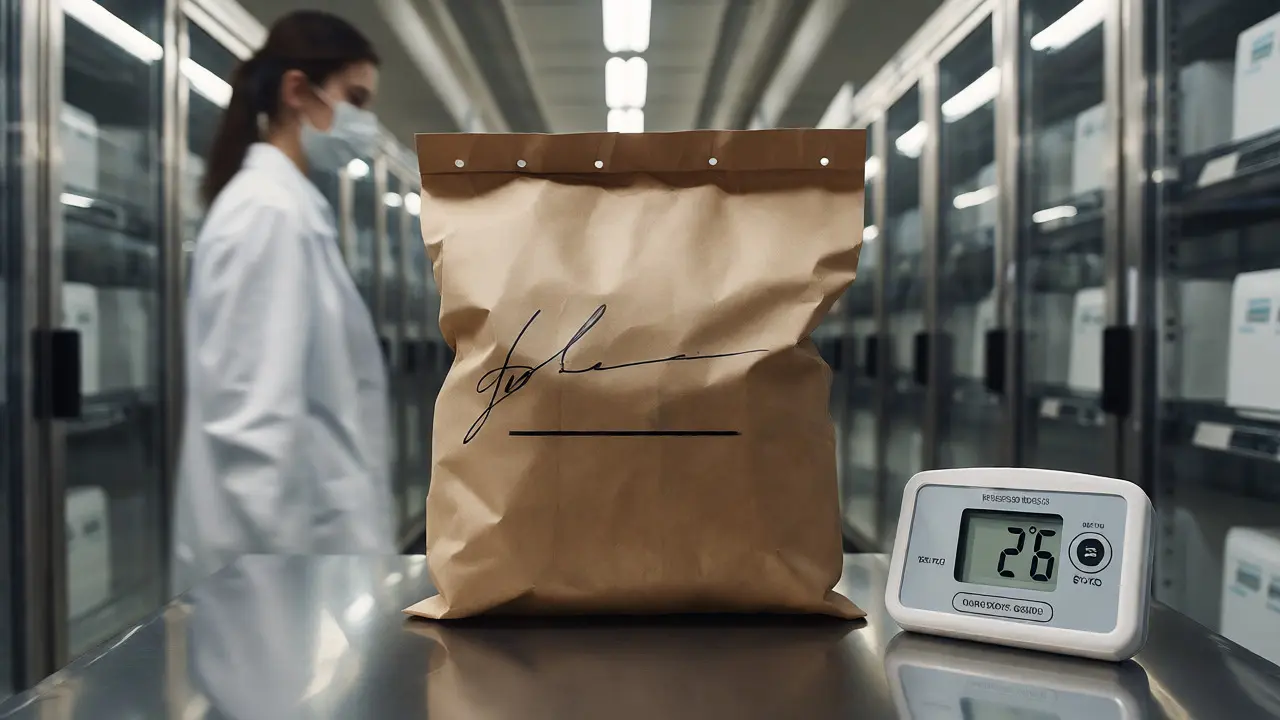
Even if you handle the cloth perfectly, the legal battle starts on paper. The chain of custody documents who touched the evidence, when, and why. Every handoff needs a signature. If you pass the evidence bag to a colleague, write down the time and their name. If you take it home for overnight processing, document that too.
Gaps in the chain are fatal. Defense attorneys love them. If there's a four-hour window where no one signed for the jacket, they'll argue it could have been swapped or tampered with. Keep your notes contemporaneous-write them as things happen, not at the end of the shift. Memory fades fast, especially after a long night at a messy scene.
Common Pitfalls and How to Avoid Them
I've seen seasoned detectives make simple errors. Here are the big ones to watch out for:
- The "Folded Crease" Error: Folding wet blood across a crease causes wicking. The blood spreads along the fold line, distorting the pattern. Always lay items flat or hang them until fully dry before folding.
- Overlapping Stains: If you stack two wet shirts, the stains from the top shirt will bleed onto the bottom one. Now you have mixed profiles. Separate them with clean cardboard dividers.
- Ignoring Odor: If a garment smells strongly of chemicals, gasoline, or decomposition, isolate it. Volatile organic compounds can evaporate and contaminate nearby evidence. Bag it separately, even if it's dry.
- Shoe Confusion: Shoes are technically footwear, not clothing, but they're often treated similarly. Stuffing shoes with cotton wool can absorb odors useful for scent dogs, but it can also trap moisture. Check agency protocols before stuffing.
Lab Submission and Storage
Once the evidence arrives at the lab, the clock keeps ticking. Labs typically store wet biological evidence in refrigerators set between 2°C and 8°C. This slows bacterial growth without freezing the sample, which can rupture cells. Dry evidence goes in locked cabinets, away from direct light.
If you're submitting multiple items from one person, group them logically. Don't mix the victim's pants with the suspect's shirt in the same box unless necessary. Use separate envelopes within a larger container. This reduces the chance of accidental commingling during high-volume processing periods.
Remember, the goal isn't just to collect evidence; it's to preserve the truth. Every step you take-or skip-affects the final report. Treat every thread, every stain, and every fold with the respect it deserves. Your careful handling today ensures justice tomorrow.
Can I use ziplock bags for wet clothing?
Generally, no. Ziplock bags are plastic and non-breathable. If the clothing is wet or damp, sealing it in a ziplock creates a humid microenvironment where mold and bacteria thrive, potentially degrading DNA. Only use ziplocks if the item is completely dry and you are protecting it from external contaminants for short-term storage.
How long can wet clothing sit before drying?
Ideally, wet clothing should begin drying within one hour of collection. If left wet for more than two hours, significant bacterial growth may occur, compromising biological samples. If immediate drying isn't possible, store the item in a breathable paper bag in a cool, shaded area, but prioritize getting it to a controlled drying environment as soon as feasible.
Should I wash clothing evidence before submission?
Never wash clothing evidence yourself. Washing removes trace evidence like fibers, hair, and gunshot residue, and it destroys blood spatter patterns. It can also dilute or remove biological fluids. Submit the item exactly as found, unless specific agency protocols dictate otherwise for safety reasons (e.g., hazardous materials).
What if the clothing is contaminated with fire accelerant?
Fire accelerants require special handling. Place the item in an unused metal can or a specialized nylon bag designed for volatile evidence. Plastic bags can react with some accelerants or allow vapors to escape. Seal the container tightly to prevent evaporation of the volatile compounds, which are critical for identifying the type of fuel used.
Does sunlight affect clothing evidence?
Yes. Ultraviolet (UV) radiation from sunlight can degrade DNA and break down certain chemical compounds. It can also fade dyes, which might be relevant for color comparison analysis. Always dry clothing in the shade or indoors under artificial light. Store completed evidence in opaque containers to block light exposure.