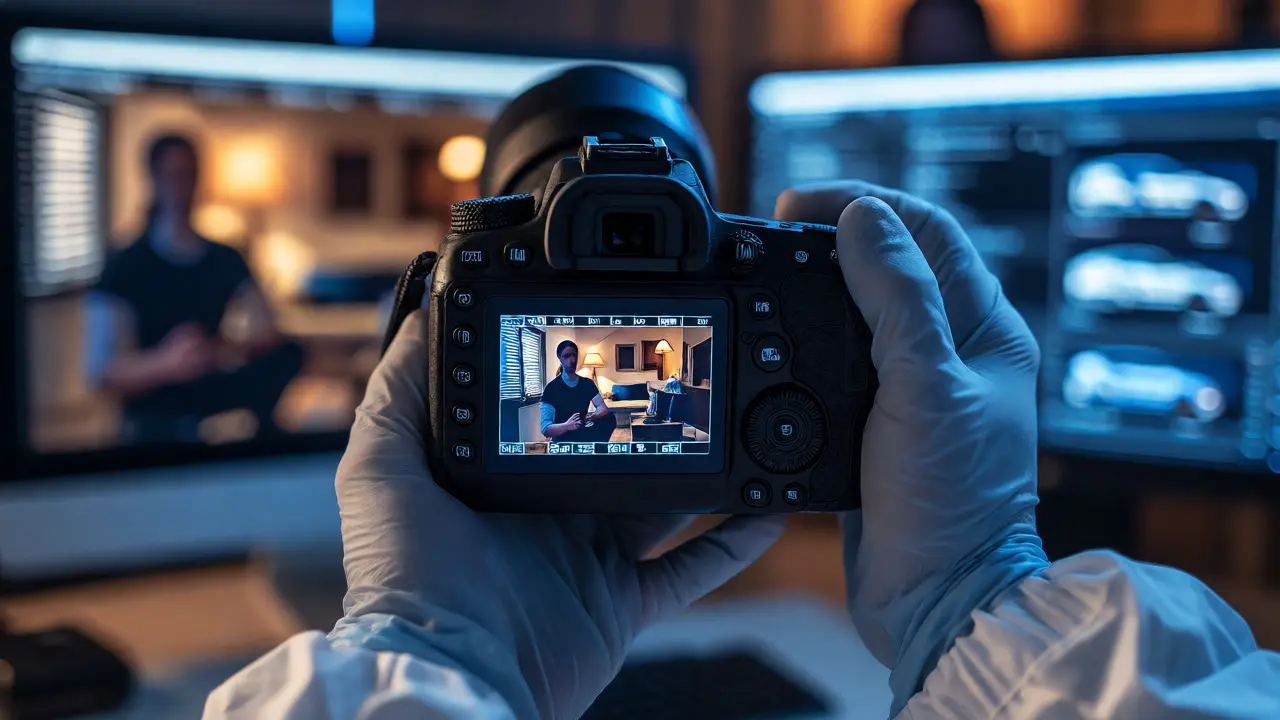
You just walked out of a chaotic crime scene. The cameras are packed, the samples are bagged, and you have gigabytes of raw images sitting on your hard drive. But there’s a problem: half those photos show bystanders’ faces, license plates that belong to innocent drivers, or medical conditions that should stay private. If you upload these as-is to a public court record or share them with defense counsel without care, you’re not just leaking information-you’re potentially compromising an investigation or violating someone’s right to dignity.
This is where redaction protocols become critical. It’s not about hiding the truth; it’s about presenting only what is relevant while protecting what isn’t. For anyone handling sensitive scene imagery, getting this wrong can lead to mistrials, privacy lawsuits, or unnecessary media circus. Let’s break down how to do this right, keeping both legal standards and human decency in mind.
Why Redaction Matters More Than You Think
Most people think redaction is just blacking out names on a document. In digital forensics, it’s far more complex. When you take a photo at a scene, you capture context. That context often includes things that have zero bearing on the case but everything to do with privacy. Think about a domestic dispute call. The primary evidence might be a broken window. But the wide shot shows the family’s new car, their pet dog, and a neighbor looking over the fence.
If you release that wide shot unredacted, you’ve exposed personal data unrelated to the incident. Under laws like the Fourth Amendment protections against unreasonable searches (as interpreted through modern digital privacy rulings) and specific state statutes like California’s CCPA or New York’s SHIELD Act, agencies can face penalties for mishandling personally identifiable information (PII). Beyond legal risk, there’s an ethical duty. Victims deserve respect. Suspects deserve presumption of innocence. Bystanders deserve anonymity unless they are witnesses.
Key Takeaways:
- Redaction protects PII (faces, plates, addresses) and sensitive details (medical, religious).
- Poor redaction leads to legal challenges and loss of public trust.
- Non-destructive editing is preferred over permanent deletion to preserve audit trails.
- Standardized workflows prevent human error during high-volume processing.
The Core Entities: What Needs Hiding?
To build a protocol, you first need to know what constitutes "sensitive." This varies by jurisdiction and case type, but generally, you are looking at three categories of entities within the frame.
| Entity Type | Examples | Risk Level | Recommended Action |
|---|---|---|---|
| Personally Identifiable Information (PII) | Faces, tattoos, birthmarks, license plates, street signs | High | Blur or pixelate completely |
| Medical/Biological Data | Blood spatter patterns revealing injury type, visible wounds, prescriptions | Medium-High | Crop or blur if not evidentiary |
| Contextual Privacy | Interior home decor, family photos on walls, computer screens | Low-Medium | Blur background or crop tightly |
Notice the distinction between "evidentiary" and "contextual." A blood stain on the floor is likely evidence. A prescription bottle on the nightstand might be evidence of drug use, or it might just be heart medication. If it’s not tied to the theory of the crime, it’s noise. And noise creates liability.
Choosing Your Tools: Destructive vs. Non-Destructive Editing
Here is a trap many beginners fall into: they open a JPEG in basic software, draw a black box, and save. Done? No. That’s destructive editing. You’ve lost the original pixels forever. If a judge later asks, "What was under that black box?" you can’t answer. You’ve altered the evidence.
Professional forensic imaging requires non-destructive workflows. This means using layers, masks, or separate files to apply redactions so the original image remains untouched underneath. Software like Adobe Photoshop, GIMP, or specialized tools like Amped FIVE allow this.
When you use non-destructive methods, you maintain a clear chain of custody. You can export two versions: one "raw" for internal investigative use and one "redacted" for public disclosure. Both link back to the same source file hash. This integrity is vital when opposing counsel tries to argue that the police manipulated the visual record.
Step-by-Step Redaction Workflow
Don’t wing it. Follow a strict sequence to ensure consistency across hundreds of photos.
- Ingest and Hash: Import all RAW or JPEG files into your asset management system. Generate SHA-256 hashes immediately. This proves the file hasn’t changed since capture.
- Initial Review: Flag images that contain potential PII. Don’t edit yet. Just tag them. Use metadata fields like "Keywords: Face Detected" or "License Plate Visible."
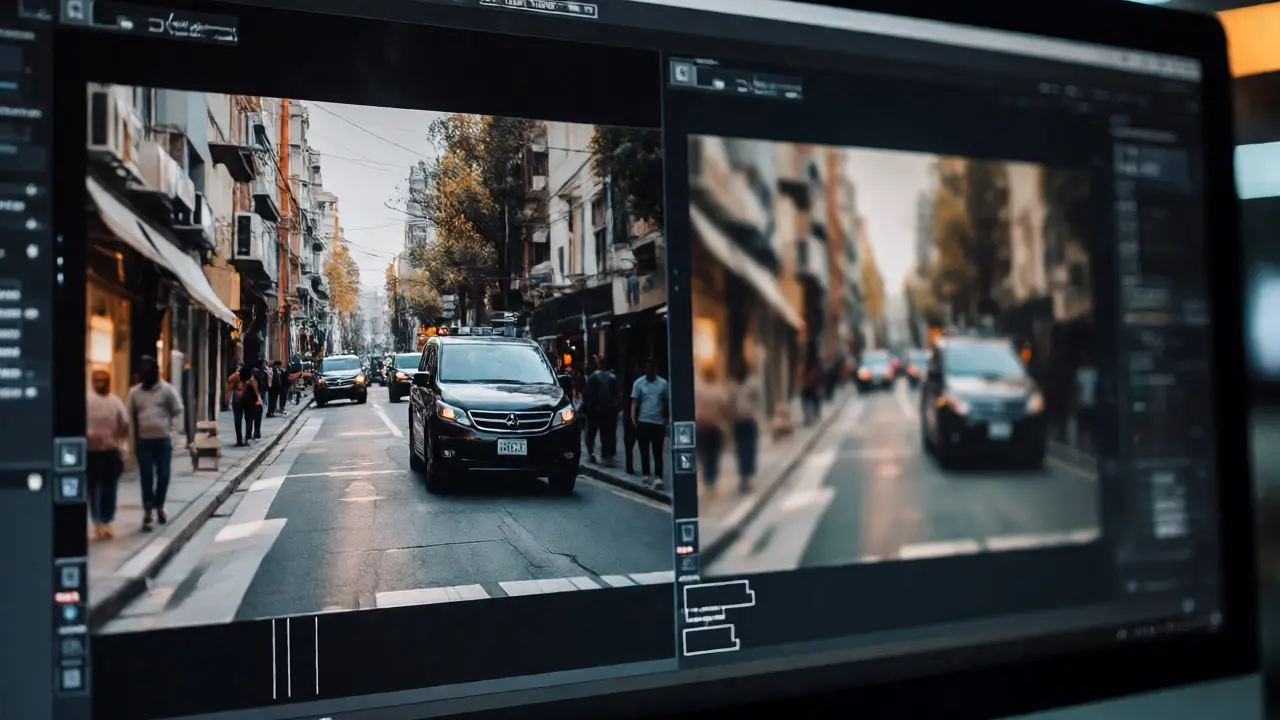
- Apply Masks: Open flagged images in your editor. Create a new layer for each redaction area. Use Gaussian Blur (radius 10-20px usually suffices) or Pixelation. Avoid solid black boxes unless absolutely necessary-they look suspicious and hide too much context.
- Verify Against Original: Toggle the visibility of the redaction layer. Ensure you haven’t blurred the actual evidence. Did you accidentally blur the knife handle because it was near a hand? Check again.
- Flatten and Export: Once satisfied, flatten the image into a new file named clearly (e.g.,
IMG_045_redacted.jpg). Do not overwrite the original. - Document Changes: Log every action. "Image IMG_045: Blurred face of subject A, blurred plate of vehicle B." This log becomes part of the discovery packet.
A common pitfall here is inconsistent blurring. One officer uses a light blur; another uses heavy pixelation. To a jury, this looks sloppy. Standardize your settings. Decide once: "All faces get a 15px Gaussian Blur." Stick to it.
Legal Standards and Courtroom Admissibility
Will a judge accept a redacted photo? Generally, yes, provided the redaction doesn’t obscure material facts. However, you must be prepared to defend your choices.
Under the Federal Rules of Evidence (specifically Rule 901 regarding authentication), you need to testify that the redacted image accurately represents the scene minus the protected elements. If you removed a face that was actually a witness, and that witness contradicts the testimony, your credibility takes a hit.
Consider the concept of "prejudicial effect." If a photo shows a suspect’s gang tattoo, but the charge is simple assault, showing the tattoo might prejudice the jury unnecessarily. Redacting it keeps the focus on the act, not the person’s identity or affiliations. Conversely, if the tattoo is the motive, leave it in. Context is king.
Also, remember that different jurisdictions have different rules. Some states require redaction of all minors’ faces automatically. Others allow full disclosure if the minor is a victim. Always check local statutes before hitting "publish."
Automation and AI: Friend or Foe?
With thousands of photos per major case, manual redaction is slow. Enter Artificial Intelligence. Tools now exist that auto-detect faces and license plates. They can batch-process images, applying blurs instantly.
But beware: AI makes mistakes. I’ve seen algorithms miss a partial face obscured by a hat, or fail to detect a vanity plate. Never trust automation blindly. Use AI for the "first pass," then conduct a human review. Think of it as spellcheck-it catches most errors, but you still need to read the text.
Furthermore, ensure your AI tool processes data locally if possible. Uploading sensitive crime scene photos to a cloud server raises security questions. Who else has access to that data? Is it encrypted at rest? These are questions your IT department will ask, so have answers ready.
Related Concepts and Next Steps
Mastering redaction is part of a larger discipline called Digital Evidence Management. It ties closely into Cyber Forensics, where you might be dealing with screen captures instead of physical scenes. The principles remain similar: minimize exposure, maximize relevance, and document everything.
If you’re managing a team, create a style guide. Include screenshots of "good" vs. "bad" redactions. Train new hires on why we blur, not just how. Culture matters as much as technology.
Can I use a black marker on a printed photo for redaction?
While acceptable for quick internal notes, never submit a marked-up printout as official evidence. Scan the original, digitally redact it, and print the clean version if needed. Physical marks can be argued as tampering or alteration of the original record.
Does blurring a face make the photo inadmissible?
No, provided the redaction does not hide material evidence. Courts generally accept redacted images if the party offering them explains the reason for redaction (privacy) and offers to produce the unredacted version in camera (privately to the judge) if challenged.
How do I handle reflections in mirrors or windows?
Reflections count as visible identifiers. If a face or plate is visible in a mirror, it must be redacted just like direct views. Pay special attention to shiny surfaces like stainless steel appliances or glass doors, which are easy to overlook during quick reviews.
Should I redact timestamps from EXIF data?
Usually, no. Timestamps are crucial for establishing timelines. Only strip EXIF data if it contains GPS coordinates that reveal the exact location of a private residence or if required by specific privacy orders. Otherwise, keep the metadata intact for authenticity.
What if I accidentally redact evidence?
This is why non-destructive editing is mandatory. If you realize you blurred a key piece of evidence, simply delete the redaction layer and re-export. If you used destructive editing, you may have to disclose the error and potentially re-photograph the scene, which is costly and time-consuming.