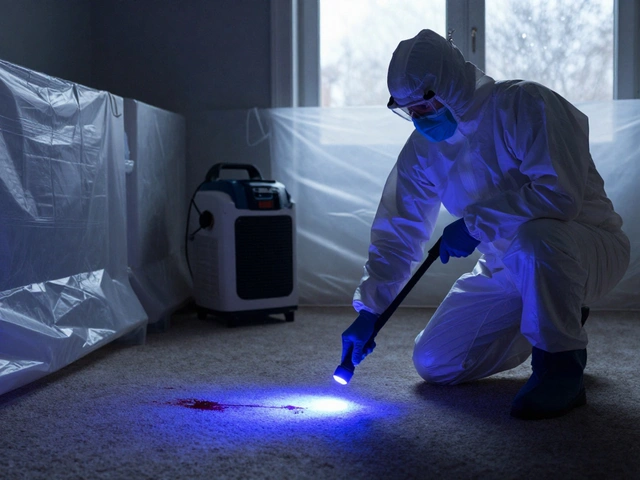
Walking into a crime scene or a hoarder's house, the first thing you notice isn't just the smell-it's the texture of the mess. Is it sitting on top of the surface, or has it soaked in? That single distinction dictates whether you spend two hours cleaning a floor or two days replacing drywall. In biohazard cleanup, this decision is critical. Get it wrong, and you risk leaving behind pathogens that can cause secondary infections for future occupants or your own crew.
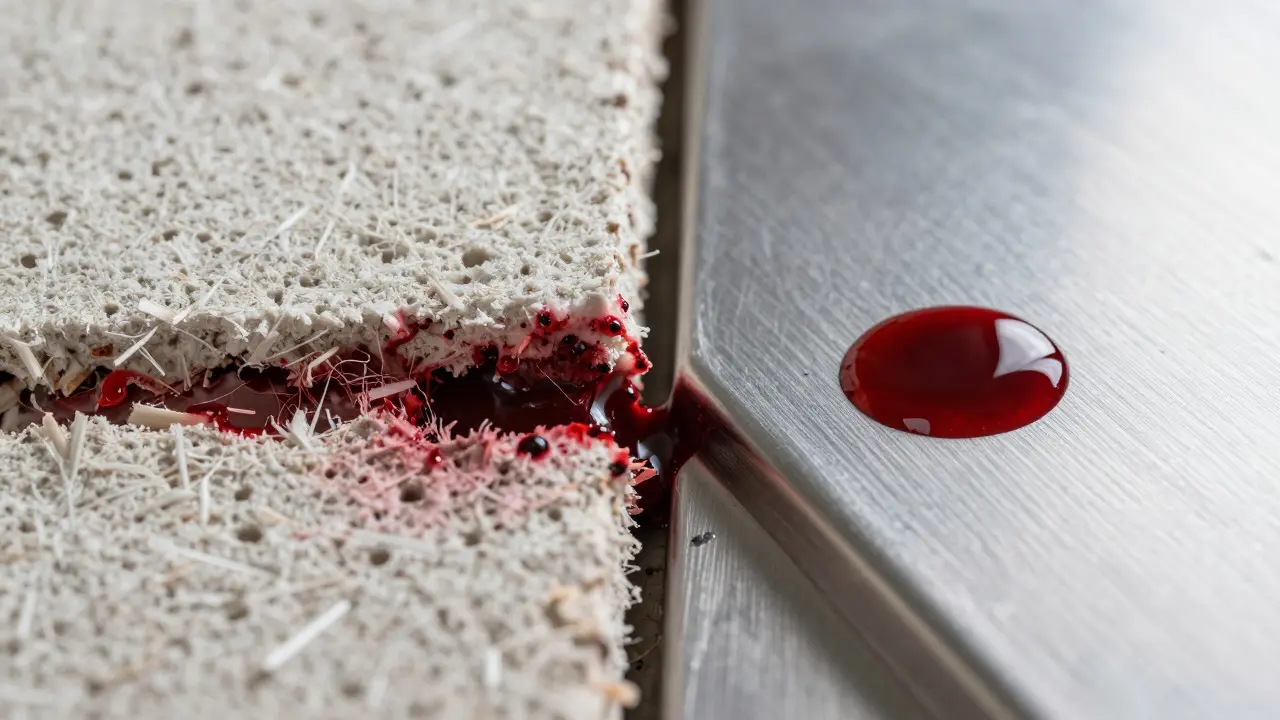
The core problem is simple: liquid contaminants behave differently depending on the material they touch. A drop of blood on tile stays where you put it. A drop of blood on carpet becomes a reservoir. This guide breaks down how to identify these materials, the specific risks they pose, and the practical steps to decide between sanitizing and discarding.
Understanding Material Porosity in Contamination Contexts
To make good calls on-site, you need a clear definition of what makes a material porous versus non-porous. It’s not just about how it looks; it’s about its microscopic structure.
- Porous Materials are substances with open cells or voids that allow liquids and gases to penetrate deeply. Common examples include drywall, wood, carpet, upholstery, and unsealed concrete. These materials act like sponges. Once contaminated, the pathogen moves from the surface into the interior matrix, making surface-level wiping ineffective.
- Non-Porous Materials are dense surfaces with no visible openings that prevent liquid penetration. Examples include glazed ceramic tile, stainless steel, glass, sealed laminate, and hard plastic. Here, contamination remains on the exterior. If you can wipe it off, you can clean it.
A common point of confusion is semi-porous materials. Think of painted drywall or waxed linoleum. The base material might be porous, but the finish creates a barrier. However, scratches, cracks, or worn edges break that barrier, turning a non-porous-looking surface into a porous trap. Always test for integrity before assuming a surface is safe to sanitize.
Risk Assessment: Why Porosity Matters for Pathogens
Why do we care so much about where the bacteria lives? Because location determines survival time. Pathogens like Bloodborne Pathogens (including HIV, Hepatitis B, and C) and Bacillus anthracis (anthrax spores) have different survival profiles based on environmental conditions.
In non-porous environments, evaporation happens quickly. As the water content drops, many viruses lose their viability within hours to days. In porous materials, moisture is trapped. This creates a humid microclimate that keeps pathogens active for weeks or even months. For example, Hepatitis B virus can remain infectious on dried blood for up to seven days, but in a damp, dark corner of a carpet pad, it can survive significantly longer due to sustained humidity.
There is also the issue of shading. On a non-porous surface, UV light and air exposure help kill microbes. Inside a piece of furniture or under a carpet layer, there is no airflow and no light. This anaerobic, dark environment is ideal for bacterial growth and spore persistence.
Decision Framework: Sanitize or Discard?
When you stand in front of a contaminated area, you need a fast, reliable method to decide your next move. Use this three-step heuristic:
- Check Penetration Depth: Can you see the stain only on the surface, or does it bleed through? If it bleeds through, assume deep penetration.
- Test Wipeability: Take a sterile swab or paper towel. Wipe the surface vigorously. If the contaminant comes off cleanly and the surface underneath looks unchanged, it’s likely non-porous. If the stain remains or the material degrades, it’s porous.
- Assess Cost vs. Risk: Compare the cost of replacement against the cost of professional deep-cleaning. For high-value, easily replaceable items (like standard drywall), discard. For unique or expensive items (like hardwood floors), consider specialized remediation if the penetration is shallow.
General rule of thumb: If the material is soft, fibrous, or unpainted wood, discard it. If it is hard, smooth, and sealed, sanitize it. When in doubt, err on the side of caution and replace.
Step-by-Step Remediation Protocols
Once you’ve classified the materials, you follow specific protocols for each type. Mixing up these steps is a common source of re-contamination.
Protocol for Non-Porous Surfaces
Cleaning non-porous surfaces is straightforward but requires attention to dwell time.
- Remove Gross Debris: Use disposable tools (trowels, scoops) to pick up solid matter. Bag immediately in leak-proof biohazard bags.
- Initial Rinse: Apply a neutral detergent solution to loosen remaining residue. Do not scrub yet; let it sit for 5 minutes.
- Apply Disinfectant: Use an EPA-registered hospital-grade disinfectant effective against the specific pathogen. Ensure the concentration is correct (e.g., 10,000 ppm chlorine for bleach solutions).
- Respect Dwell Time: Keep the surface wet for the manufacturer-recommended time (usually 10-20 minutes). If it dries out, the disinfectant stops working. You may need to reapply.
- Final Rinse & Dry: Rinse with clean water to remove chemical residue. Dry thoroughly with disposable towels or fans. Moisture left behind invites mold, which is a new biohazard.
Protocol for Porous Surfaces
True remediation of porous materials is rare. Most often, the protocol is removal. But if you must treat them (e.g., for large structural elements), here is the approach:
- Containment: Seal the area with plastic sheeting to prevent airborne spread during handling.
- Saturation Cleaning: Apply a heavy-duty enzymatic cleaner or disinfectant designed to penetrate fibers. Let it soak until the material is fully saturated.
- Agitation: Gently agitate the material (if structurally sound) to work the solution deeper. Avoid excessive force that could tear the material and release more particulates.
- Drying Phase: This is the most critical step. Use dehumidifiers and air movers to dry the material completely. Target a moisture content below 15% for wood products. If it stays damp, mold will grow within 48 hours.
- Verification: Use ATP bioluminescence testing or microbial culture swabs to verify that the surface is clean. Visual inspection alone is insufficient for porous materials.
Comparison of Material Handling Strategies
To visualize the differences, look at how key factors compare between the two material types. This table helps crews make quick decisions on-site.
| Factor | Non-Porous Materials | Porous Materials |
|---|---|---|
| Typical Examples | Tiles, Glass, Stainless Steel, Sealed Laminate | Carpet, Drywall, Wood, Upholstery, Unsealed Concrete |
| Contamination Location | Surface only | Surface and Interior Matrix |
| Primary Action | Disinfect and Rinse | Discard or Deep-Clean & Dry |
| Pathogen Survival Risk | Low (after proper drying) | High (due to trapped moisture) |
| Time Required | Minutes to Hours | Hours to Days (drying phase) |
| Cost Implication | Low (labor + chemicals) | High (replacement costs + disposal fees) |
Common Pitfalls and How to Avoid Them
Even experienced technicians make mistakes. Here are the most frequent errors in biohazard remediation and how to fix them.
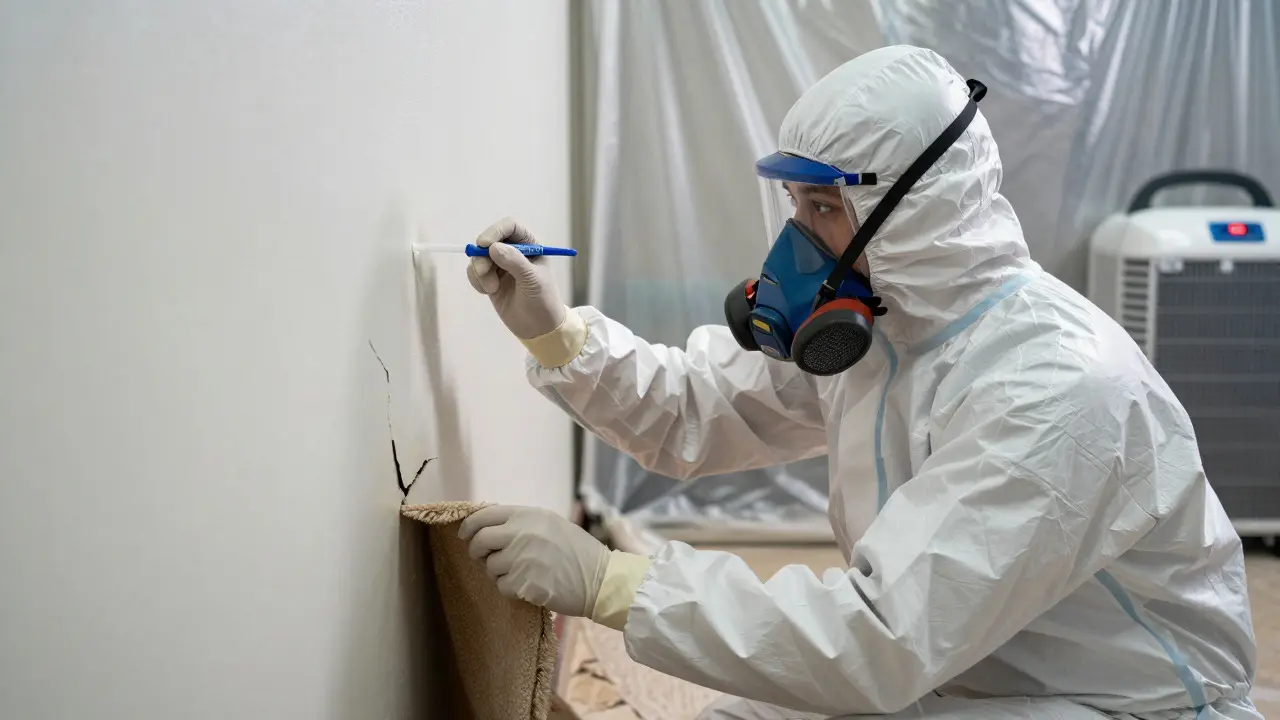
Mistake 1: Assuming Painted Walls Are Non-Porous. Paint provides a barrier, but hairline cracks are inevitable. If blood seeps into a crack, the underlying drywall is compromised. Always check for cracks near impact zones. If found, treat as porous.
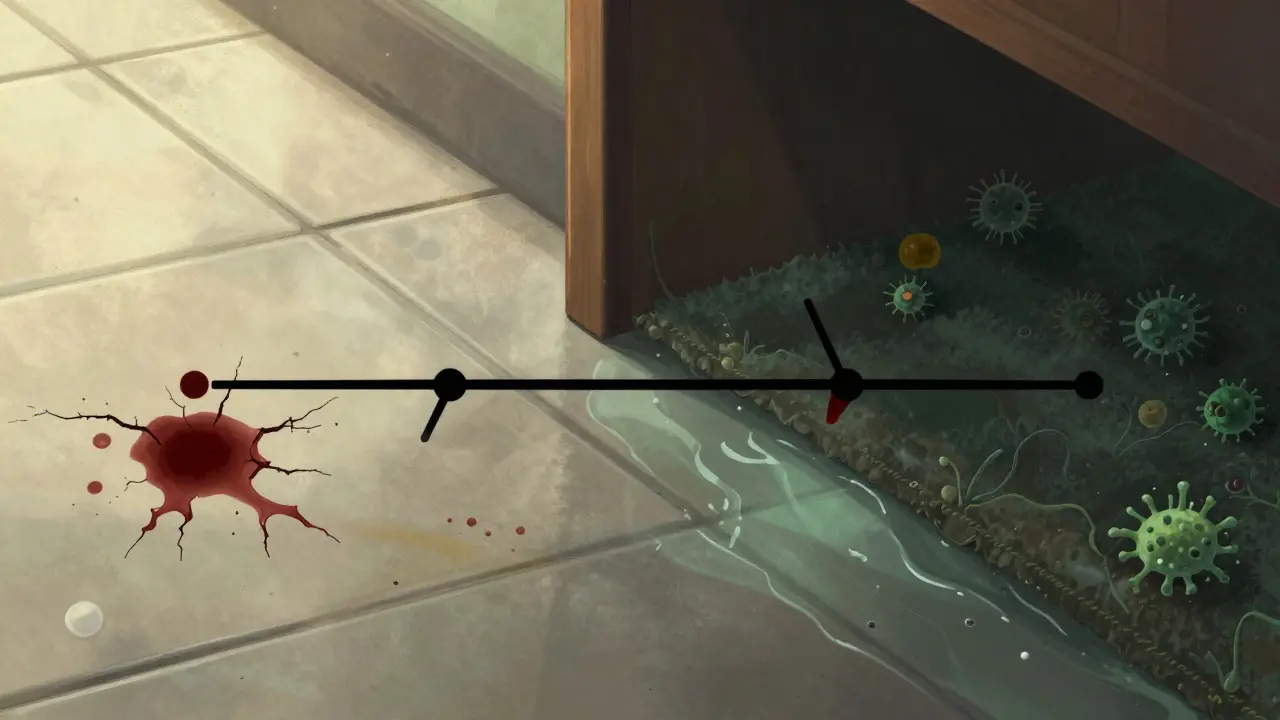
Mistake 2: Ignoring Sub-Surfaces. You cleaned the carpet, but did you check the pad underneath? Or the subfloor? Contaminants wick downward. Always lift corners of rugs and inspect the layer below. If the pad is stained, discard both the rug and the pad.
Mistake 3: Skipping the Drying Phase. Technicians often rush to leave once the area looks clean. But if the porous material is still damp, you haven’t finished. Mold spores germinate quickly in warm, moist conditions. Leave dehumidifiers running until moisture meters confirm dryness.
Mistake 4: Using Wrong Chemical Concentrations. Too little disinfectant means surviving pathogens. Too much can damage materials or create toxic fumes. Always measure chemicals with calibrated tools, not by guesswork. Follow OSHA guidelines for PPE when mixing strong solutions.
Equipment and Tools for Effective Remediation
You don’t need a lab to do this right, but you do need the right gear. Standard household cleaners won’t cut it.
- HEPA Vacuums: Essential for removing dust and particulate matter after debris removal. Regular vacuums blow particles back into the air.
- Moisture Meters: Pin-type meters for wood and pinless meters for drywall/concrete. These tell you when a material is truly dry.
- ATP Bioluminescence Testers: Provide immediate feedback on surface cleanliness. They detect organic residue, which correlates with potential microbial load.
- Personal Protective Equipment (PPE): N95 respirators (or PAPRs for aerosols), nitrile gloves, eye protection, and coveralls. Change gloves frequently; they are the primary vector for cross-contamination.
- Enzymatic Cleaners: Break down proteins and fats in biological waste, making them easier to remove from fibers.
Regulatory Standards and Compliance
Remediation isn’t just about safety; it’s about compliance. In the US, OSHA (Occupational Safety and Health Administration) sets standards for handling bloodborne pathogens. Their Bloodborne Pathogens Standard (29 CFR 1910.1030) requires that all potentially contaminated areas be cleaned using appropriate disinfectants.
For larger jobs, local health departments may require clearance certificates. This usually involves an independent third-party inspector taking samples for laboratory analysis. The lab will test for specific markers (like Endotoxins or specific viral antigens) to ensure the site is safe for reoccupation. Keeping detailed logs of every step-chemical concentrations, dwell times, drying periods-is crucial for passing these inspections.
Frequently Asked Questions
Can I use regular household bleach to clean biohazard spills?
Yes, but only if diluted correctly. A 1:10 dilution of standard household bleach (5.25% sodium hypochlorite) creates a 5,000 ppm solution, which is effective for many bloodborne pathogens. However, for certain resistant spores or high-volume spills, higher concentrations (10,000 ppm) may be needed. Always wear PPE and ensure good ventilation.
How long should I wait before re-entering a cleaned room?
Wait until the area is completely dry and ventilated. For non-porous surfaces, this might be a few hours. For porous materials, it can take 24-72 hours depending on humidity and airflow. Use a moisture meter to confirm dryness before allowing re-entry without PPE.
What is the difference between cleaning and disinfecting?
Cleaning removes dirt and organic matter physically. Disinfecting kills or inactivates pathogens chemically. You must clean first because organic matter shields pathogens from disinfectants. Never apply disinfectant directly to heavy soil without pre-cleaning.
Are all carpets considered porous?
Yes. Carpet fibers are inherently porous. Even if the carpet face looks clean, the backing and the pad underneath are almost certainly contaminated if the spill was significant. Replacement is the standard recommendation for any biohazard incident involving carpet.
Do I need to dispose of clothing found in a biohazard zone?
Usually, yes. Clothing fabrics are porous and difficult to fully decontaminate. Unless the item is of extreme sentimental or monetary value and can be professionally laundered with industrial-grade disinfectants, it is safer and cheaper to discard it in biohazard bags.