Imagine this: you’ve just handled a traumatic incident at home-a fall in the bathroom, a severe illness, or perhaps an unattended death. The mess is biological, potentially hazardous, and definitely not something your regular house cleaner can tackle. You hire a professional Biohazard Cleanup team. They do their job, the house looks clean, but then comes the hard part: getting your insurance company to actually pay for it.
Here’s the brutal truth about insurance claims for biological remediation: if it isn’t documented, it didn’t happen. Insurance adjusters are skeptical by design. They see thousands of claims a year, many of which are inflated or vague. To get reimbursed quickly and fully, you need more than just an invoice. You need a paper trail that proves the scope of the damage, the necessity of the work, and the safety protocols followed. This guide breaks down exactly what photos and work logs you need to keep your claim bulletproof.
The Core Problem with Biological Claims
Unlike water damage, where moisture meters provide objective data, biohazard cleanup is often subjective to the untrained eye. Once a surface is cleaned, it looks normal. How does the adjuster know there was blood on the carpet? How do they know the subfloor needed replacement versus just cleaning? That’s where your documentation bridges the gap between "we cleaned it" and "we restored it safely according to industry standards."
Most rejected claims fail for one of three reasons:
- Vague Scope: The line item says "Clean room," but doesn't specify square footage or materials affected.
- Missing Evidence: No before-and-after photos showing the extent of contamination.
- Lack of Protocol Proof: No record showing that proper Personal Protective Equipment (PPE) and disinfectants were used.
Photographic Evidence: What to Shoot and Why
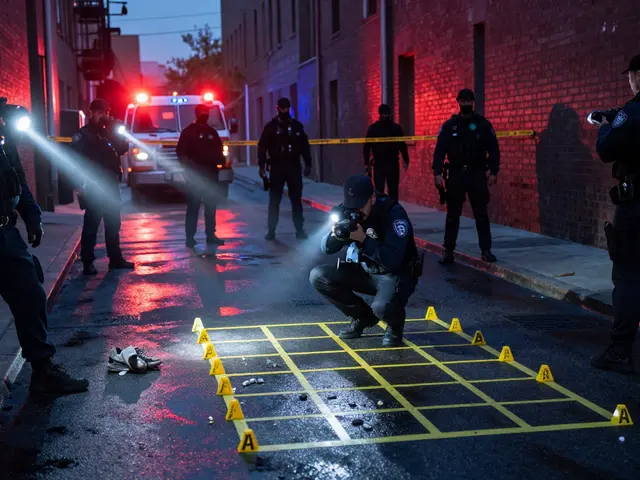
Photos are your strongest weapon, but only if they tell a complete story. A blurry close-up of a stain won’t cut it. You need a systematic approach that captures context, detail, and progression. Think of yourself as a forensic photographer documenting a scene, because in many ways, you are.
The Wide Shot (Context)
Start wide. Before any cleaning begins, take photos from multiple corners of the room. These shots should show the entire space, including furniture, walls, and flooring. This establishes the baseline. If a wall has blood spatter, the wide shot shows how far it reached-was it just near the toilet, or did it splash up to the mirror? Adjusters need this to verify that the quoted labor hours match the physical reality.
The Medium Shot (Damage Specifics)
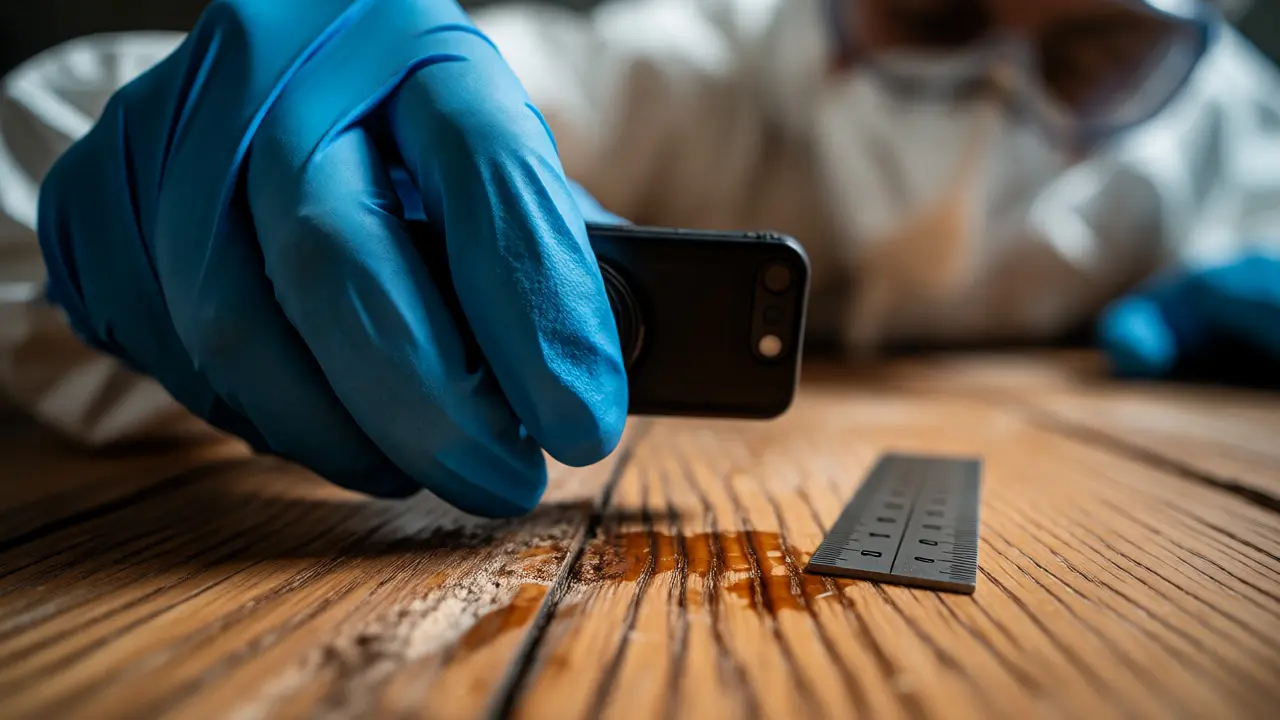
Next, move in closer to capture specific areas of concern. If there’s contamination on hardwood floors, photograph the grain of the wood next to the stain. This helps distinguish between surface-level spills (which might be cleanable) and absorbed fluids (which often require removal). Use a ruler or a coin for scale in these shots. It sounds small, but seeing a quarter next to a stain instantly tells the adjuster the size without them having to guess.
The Macro Shot (Detail)
Finally, get tight on the texture. For carpets, show the fibers matted down by dried fluids. For drywall, show if the paint is bubbling or peeling due to saturation. These details justify why simple wiping wasn’t enough and why specialized extraction or demolition was necessary.
| Photo Type | Purpose | What to Include |
|---|---|---|
| Wide Angle | Establishes room size and overall impact | Entire room, entry points, adjacent rooms |
| Medium Angle | Shows extent of damage on specific surfaces | Flooring, walls, baseboards, furniture |
| Macro/Close-up | Demonstrates severity and material absorption | Stain texture, discoloration, saturation depth |
| Process Shots | Proves work was performed | Crew in PPE, equipment setup, removal of debris |
| Final Result | Confirms restoration completion | Cleaned area, same angles as initial wide shots |
The Work Log: Your Narrative Timeline
While photos show what happened, the work log explains how and when. A detailed daily log transforms a static invoice into a dynamic account of the remediation process. This is particularly crucial for complex jobs involving odor control, structural drying, or multi-day decontamination.
Your work log should include:
- Date and Time: Start and end times for each crew member.
- Personnel: Names and certifications (e.g., OSHA Bloodborne Pathogens trained).
- Actions Taken: Be specific. Instead of "cleaned floor," write "extracted standing water from 150 sq ft of laminate flooring using truck-mounted extractor; applied enzymatic cleaner to subfloor."
- Materials Used: List specific disinfectants (EPA-registered), absorbents, and disposal bags. Mention brands if possible (e.g., Oxine, Residue Solvent).
- Disposal Details: Where did the waste go? Note the facility name and manifest numbers if applicable. This proves compliance with local health codes.
Why does this matter? Because different materials require different treatments. If you’re claiming $500 for antimicrobial treatment, the log must prove that product was applied, how long it dwelled, and that it was appropriate for the substrate. Without this, an adjuster might argue that bleach would have sufficed, cutting your reimbursement in half.
Aligning with Industry Standards (IICRC S570)
You don’t need to be a scientist, but referencing recognized standards adds weight to your documentation. In the US, the Institute of Inspection, Cleaning and Restoration Certification (IICRC) sets the gold standard for biohazard remediation guidelines, specifically the S570 standard for blood and other potentially infectious materials (OPIM).
Mentioning that your cleanup adhered to IICRC S570 signals to the insurer that you weren’t just mopping around-you followed a rigorous protocol. This includes:
- PPE Compliance: Logs should note when crews changed gloves, masks, or suits. Cross-contamination is a real risk, and insurers want to know the workers were safe.
- Containment: Did you use plastic sheeting to isolate the area? Photograph this. It shows you prevented the spread of pathogens to clean zones.
- Verification: If ATP testing (adenosine triphosphate bioluminescence) was used to verify cleanliness, include those results. A number below a certain threshold (often < 50 RLU) is objective proof of success.
Common Pitfalls That Kill Claims
Even with good intentions, mistakes happen. Here are the most common errors we see in Portland homes and beyond:
1. Waiting Too Long to Document
Once the cleaners leave, the site changes. Furniture gets moved back, air fresheners mask odors, and dust settles. Take your final photos immediately after the crew finishes, before any re-entry occurs. If you wait two days, the adjuster will question whether the "after" photo truly reflects the cleaning service.
2. Ignoring Hidden Damage
Blood and bodily fluids travel via gravity and capillary action. Just because the carpet looks clean doesn’t mean the pad underneath is fine. Your work log should explicitly state if padding was removed and replaced. If it wasn’t, explain why (e.g., "pad showed no wicking effect upon inspection"). Silence here invites doubt.
3. Poor Lighting and Angles
A dark photo hides stains. Always use flash or additional lighting. Ensure the camera lens is clean. Blurry photos look like excuses. Sharp, well-lit images look like professionalism.
How to Organize Your Claim Packet
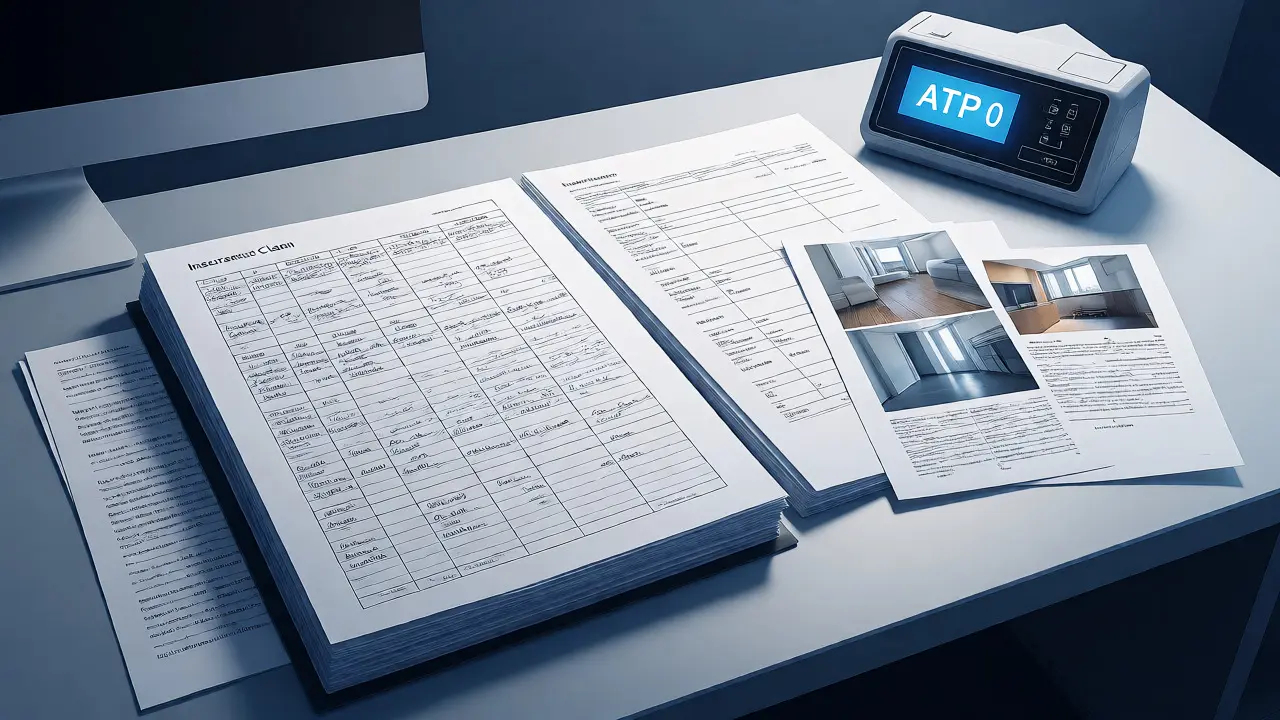
Don’t just dump files into an email. Structure them so the adjuster can review them in minutes, not hours. A logical flow reduces friction and speeds up approval.
- Section 1: Incident Report: Police report (if applicable), medical report, or witness statement explaining the cause.
- Section 2: Initial Assessment: Wide and medium photos taken before work began. Include a sketch or diagram of the affected area with measurements.
- Section 3: Work Log & Invoice: The detailed daily log paired with the itemized invoice. Highlight key tasks that correlate with high-cost line items.
- Section 4: Completion Evidence: Final photos matching the initial angles. Include ATP test results or clearance certificates if available.
- Section 5: Compliance Docs: Copies of worker certifications, insurance licenses, and disposal manifests.
Real-World Example: The Bathroom Fall
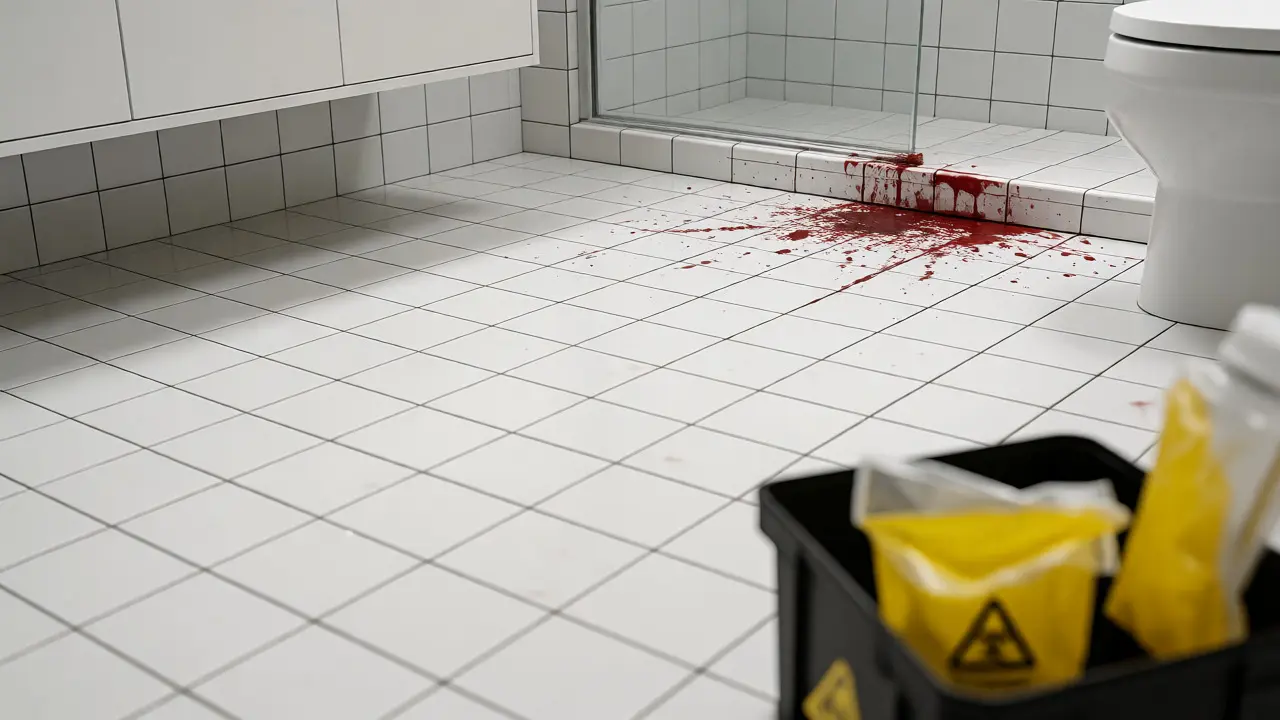
Let’s look at a typical scenario. Mrs. Henderson slipped in her shower, resulting in significant blood loss onto tile and grout, with some splatter on the vanity and wall. She hired a local restoration firm.
Weak Documentation: One blurry photo of the floor, an invoice saying "Biohazard Clean - $800," and a receipt for supplies.
Strong Documentation:
- Before: Three photos showing the pool of blood on tiles, splatter on the mirror (with a ruler for scale), and the doorway leading out.
- Log: "Crew arrived 9 AM. Set up containment barrier at door. Applied enzymatic cleaner to grout lines (dwell time 10 mins). Extracted residue. Treated wall behind vanity with quaternary ammonium disinfectant. Removed and disposed of 2 gallons of liquid waste. Crew wore Level C PPE."
- After: Same angles, now pristine. ATP swab result attached: 12 RLU (pass).
- Result: Claim approved in 3 days without negotiation.
Tips for Homeowners vs. Contractors
If you’re a homeowner doing DIY cleanup (for minor incidents), your role is simpler but still critical. You must document the condition before you start cleaning. If you scrub first and photograph later, you’ve lost your leverage. Keep receipts for all supplies-disinfectants, gloves, bags-and save them in a dedicated folder.
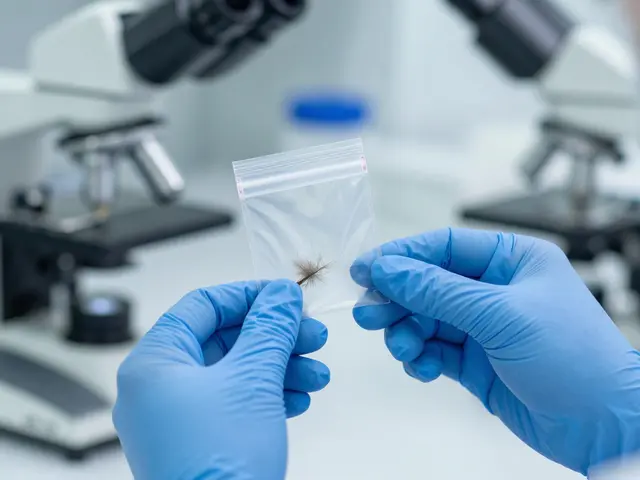
For contractors, your reputation hinges on transparency. Provide clients with a digital link to their photo album. Make it easy for them to forward it to their insurer. If you make the client’s life easier, they’ll refer you to others. Plus, clear documentation protects you from liability claims later if someone argues the cleanup wasn’t thorough.
Conclusion: Protect Your Investment
Biohazard cleanup is expensive, stressful, and technically demanding. Don’t let poor paperwork cost you money. By treating your photos and logs as legal evidence rather than just administrative chores, you ensure fair compensation. Remember: specificity wins. Vague descriptions invite scrutiny; precise records command respect.
Do I really need professional photos for a small biohazard cleanup?
Yes, even for small jobs. Insurers often deny small claims simply because they lack visual proof of the hazard's extent. Smartphone photos are usually sufficient if they are clear, well-lit, and taken from consistent angles before and after the work.
What is an ATP test and why should I care?
ATP (Adenosine Triphosphate) testing measures organic residue on surfaces. It provides an objective number indicating cleanliness levels. Including these results in your documentation proves that the area was sanitized to a microbiological standard, not just visually clean, which strengthens your claim significantly.
Who keeps the original work logs-the homeowner or the contractor?
Ideally, both. The contractor should retain copies for their records and liability protection, while the homeowner needs originals or certified copies to submit to the insurance company. Digital PDFs are widely accepted and easier to share.
Can I use video instead of photos?
Video is excellent for showing context and audio commentary, but photos are better for specific detail analysis by adjusters who may not watch the whole video. Use video for the walkthrough and photos for the specific damage points. Combining both offers the best coverage.
What if my insurance adjuster disputes the scope of work?
Refer back to your work log and photos. Show the before-state that justified the specific actions taken (e.g., "The log notes that the subfloor was saturated, requiring removal, which matches the macro photo showing wicking"). If discrepancies remain, request a re-inspection with your documentation in hand.