When handling forensic evidence, even a single microorganism can ruin a case. A fingerprint smudged by bacteria, DNA transferred from a contaminated swab, or fungal growth on an old textile-these aren’t just lab errors. They’re legal liabilities. Collection equipment sterilization isn’t optional. It’s the first line of defense against cross-contamination in evidence handling.
Why Sterilization Matters More Than You Think
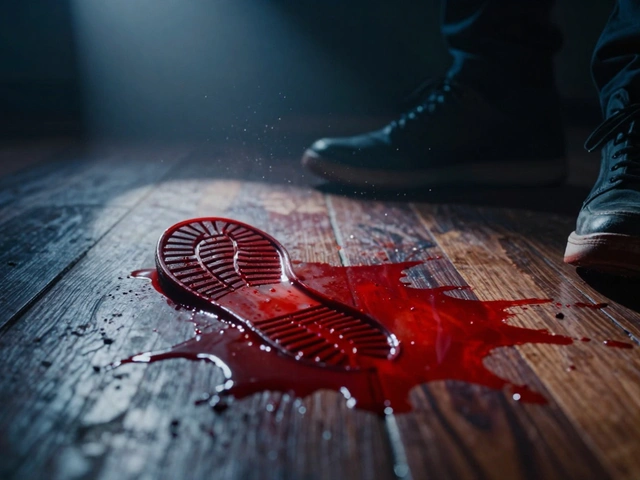
Think about a bloody shirt collected from a crime scene. It’s sealed in a paper bag, labeled, and stored. But what if the swab used to collect blood from the shirt was never sterilized? That swab could carry DNA from a previous case, a lab technician’s skin cells, or even mold spores from a damp storage closet. Now you’ve got mixed profiles, false leads, and a defense attorney with a smoking gun. Cross-contamination doesn’t just happen during analysis. It starts at collection. Gloves, forceps, swabs, specimen containers, even the boxes they’re stored in-everything that touches evidence must be clean. Not just clean. Sterile. The goal isn’t to kill germs. It’s to eliminate any biological material that doesn’t belong to the evidence itself. That includes bacteria, viruses, fungi, and even spores that can survive for years. In forensic labs, contamination isn’t a bug-it’s a dealbreaker.How Sterilization Methods Work (And Which Ones Fit Your Needs)
Not all sterilization methods are created equal. The right one depends on what you’re sterilizing. Here’s how the major methods stack up.Ethylene Oxide (EO) Sterilization
EO gas is the go-to for delicate items. It works at low temperatures, making it ideal for plastics, rubber, electronics, and layered packaging. Think of it like a slow, deep clean: items are placed in a sealed chamber, exposed to ethylene oxide gas, then left to air out for hours to let residual gas escape. It’s slow-sometimes taking 24 hours-but it’s one of the few methods that won’t warp a plastic evidence bag or melt a DNA collection kit. Used in over half of U.S. medical device sterilization, EO is reliable, but it demands strict protocols. You need a dedicated chamber, trained staff, and a ventilation system. It’s not something you do on a whim. But for high-value evidence like wearable tech, clothing with embedded sensors, or fragile textiles, it’s often the only option.Gamma Irradiation
Gamma irradiation uses Cobalt-60 to blast microorganisms with high-energy radiation. It’s like an X-ray on steroids. The radiation breaks down DNA, stopping bacteria from reproducing. The big advantage? It works through packaging. You can sterilize a sealed evidence container without opening it. That means less risk of recontamination after sterilization. It’s perfect for bulk items: swab packs, collection kits, plastic containers, and even entire boxes of evidence. It’s fast, consistent, and leaves no residue. But it’s not something you can do in-house. You need access to a commercial irradiation facility. Most forensic labs contract this out. If you’re sending evidence to a lab, ask if they use gamma sterilization for their collection tools.E-Beam Sterilization
E-beam is gamma’s faster cousin. Instead of radioactive isotopes, it uses accelerated electrons. It’s quicker than gamma, with less material degradation. That’s a big deal for plastic components that can become brittle over time. E-beam is great for items like pipette tips, test tubes, and syringes used in DNA extraction. It’s also more energy-efficient than gamma. If your lab handles high volumes of disposable tools, e-beam offers a sustainable, cost-effective solution. But like gamma, it requires external facilities. You can’t set up an e-beam unit in your evidence room.Steam Sterilization (Autoclaving)
The classic. Steam under pressure-usually 121°C for 15-20 minutes-kills everything. It’s cheap, fast, and effective. But it’s also brutal. Water and heat? Not great for paper evidence, leather, wood, or anything with glue or plastic components. Use steam sterilization only for metal tools: forceps, scalpels, scissors. Even then, make sure they’re corrosion-resistant. A rusted pair of tweezers can leave metallic traces on evidence, complicating analysis. Autoclaving is reliable, but it’s not universal.Hydrogen Peroxide Gas Plasma
This one’s for heat-sensitive, moisture-sensitive items. A vaporized hydrogen peroxide solution is turned into plasma using radio waves. The plasma releases free radicals that destroy microbial DNA. It’s fast-about an hour-and leaves no toxic residue. Perfect for electronics, polymer-based collection tools, and items that can’t handle steam or gas. It’s becoming popular in modern forensic labs because it’s compatible with complex equipment. Think fingerprint scanners, digital evidence loggers, or portable DNA analyzers. If your lab uses tech-heavy tools, this method should be on your radar.Dry Heat and UV
Dry heat uses high temperatures (160-170°C) for hours. It’s slow, but it’s great for glassware and metal items that can’t be autoclaved. Think glass vials, metal spatulas, or ceramic containers. UV light? It’s useful for surface disinfection-like wiping down a workbench or sterilizing the inside of a laminar flow hood. But UV doesn’t penetrate. It won’t sterilize the inside of a swab or a sealed container. Use it as a supplement, not a primary method.What You Can’t Sterilize (And What to Do Instead)
Some items are too fragile. Old documents. Textiles with dyes. Organic materials like bone, hair, or plant matter. You can’t autoclave a 200-year-old letter. You can’t irradiate a piece of fossilized wood. For these, you need isolation, not sterilization. Use clean, single-use gloves. Work under a laminar flow hood. Store items in sealed, sterile containers. Use chemical disinfectants on surfaces around them. The goal isn’t to sterilize the artifact-it’s to keep it from touching anything else. For example: if you’re collecting a piece of fabric from a historical crime scene, don’t try to sterilize the fabric. Sterilize the tweezers, the storage box, and the gloves. That’s how you prevent contamination without damaging the evidence.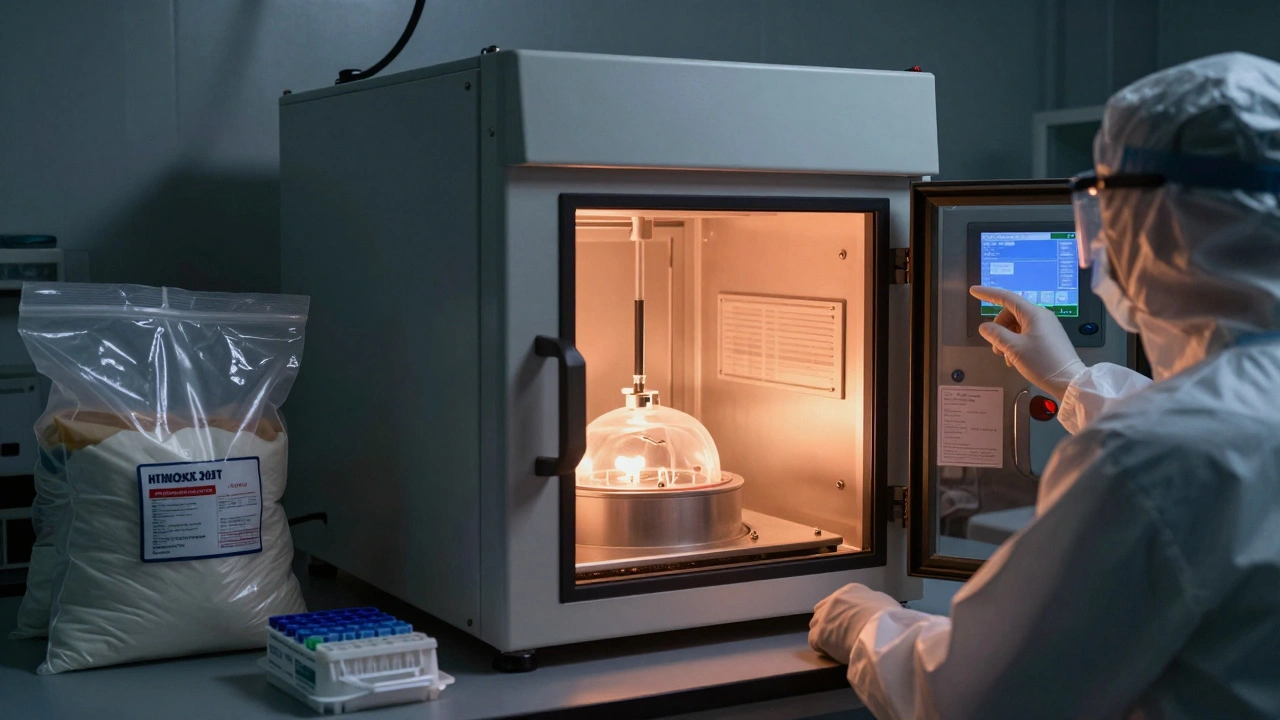
Validation and Monitoring: Don’t Skip This Step
Sterilization isn’t a one-time thing. You need proof it worked. That’s where biological indicators come in. These are small strips or vials containing known, hard-to-kill bacterial spores. You run them through your sterilization cycle. Then you test them. If the spores are dead, your process is working. If they’re alive? Your chamber is faulty. Your cycle is too short. Your gas concentration is off. For EO, gamma, and e-beam, you need quarterly validation. For steam and hydrogen peroxide, it’s often monthly. Document everything. Log dates, cycle times, temperature, pressure, and biological indicator results. A single unmonitored sterilization cycle could be the reason your DNA sample is compromised. Don’t assume. Test.Handling After Sterilization: The Silent Risk
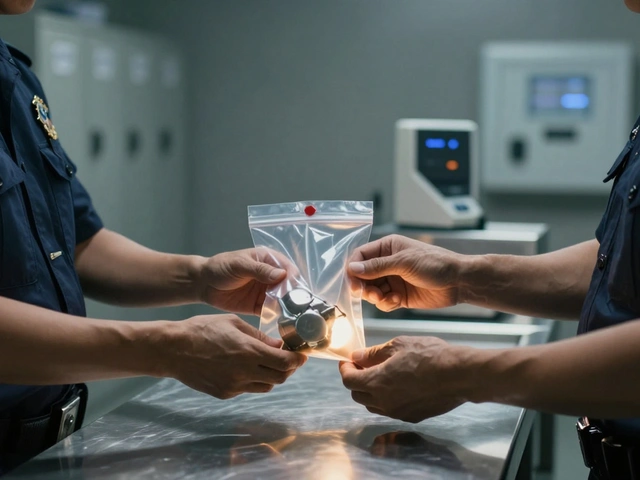
Sterilized equipment is useless if you touch it with dirty gloves. Or if you store it in a dusty drawer. Or if you open the package in a non-clean room. Aseptic technique isn’t a buzzword. It’s a routine. Use sterile gloves. Open sterilized items only in clean zones. Don’t leave them exposed. Seal them immediately after use. Label sterilized items with the date and method. Rotate stock-first in, first out. The best sterilization method in the world fails if you handle the equipment like it’s a coffee mug.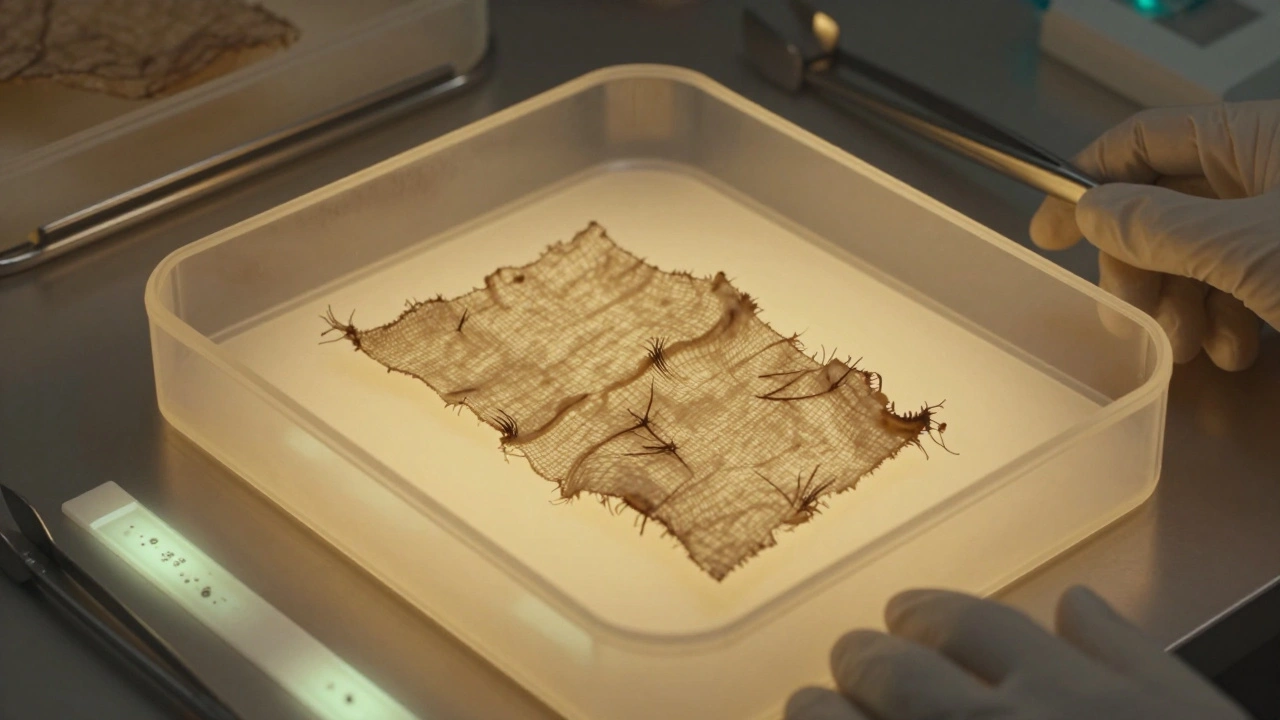
Building a Sterilization Protocol That Works
Here’s how to set up a real-world system:- Classify your equipment: What’s heat-resistant? What’s plastic? What’s electronic?
- Match each item to the right sterilization method: EO for delicate plastics, steam for metal tools, gamma for sealed kits.
- Designate storage: Keep sterilized items separate from unsterilized ones. Use sealed, labeled containers.
- Train every handler: Even your intern needs to know why gloves matter.
- Track everything: Log sterilization cycles, biological indicator results, and handling logs.
- Review quarterly: If you’re not auditing your process, you’re not managing risk.
Common Mistakes (And How to Avoid Them)
- Using the same swab for multiple samples
- Reusing non-sterile packaging
- Storing sterilized tools next to dirty gloves
- Skipping biological indicators because "it’s always worked before"
- Assuming UV light sterilizes everything