When you walk into a crime scene, the smallest detail can make or break a case. A single hair, a smudge of paint, a drop of blood-these aren’t just objects. They’re evidence. And how you handle them determines whether justice is served or a suspect walks free. There’s no room for guesswork. No shortcuts. No exceptions.
Proper evidence collection isn’t about following a checklist. It’s about building a story that holds up under scrutiny. One misstep-a contaminated swab, a missing signature, a torn envelope-and the entire case can unravel. Courts don’t care if you were tired or rushed. They care about proof. And proof starts with how you collect, label, and document every single item.
Start with the Scene: What You See Isn’t Always What You Get
Before you touch anything, stop. Breathe. Look around. A crime scene isn’t just a location-it’s a puzzle with pieces scattered in every direction. The first rule? Don’t walk through it like you’re cleaning up spilled coffee. Use a systematic search pattern. For open areas, the grid method works best. For indoor scenes, a spiral pattern from the center outward keeps you from missing hidden items. If you’re dealing with footprints or tire tracks, stick to the spiral-it minimizes disturbance.
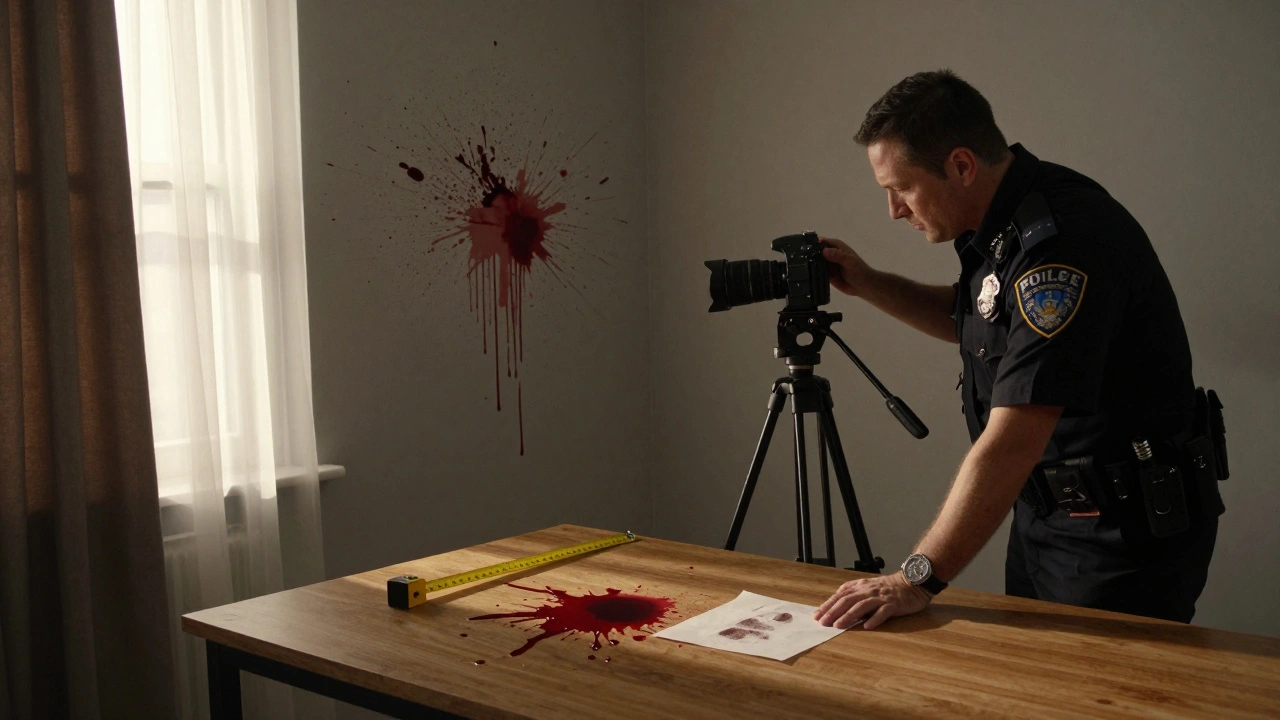
Photography is your first line of defense. Take pictures before you move anything. Start with wide shots that show the whole scene. Then zoom in-medium shots of key areas, close-ups of evidence with a ruler or scale in frame. Don’t forget angles. Shoot from above, from the doorway, from the suspect’s likely position. Aerial shots from a drone can reveal patterns invisible at ground level. And yes, take photos of people too: witnesses, officers, vehicles. These aren’t just for memory-they’re legal records.
Sketch the scene. Not a fancy drawing. A rough, labeled diagram. Note distances, object positions, entry/exit points. Use a tape measure. Write down what you see: "Blood pool, 3 ft from east wall, 2 ft from door." Don’t wait until you get back to the station. Memory fades. Details vanish. If you don’t write it down now, it doesn’t exist in court.
Labeling and Packaging: No Guesswork Allowed
Every piece of evidence gets a tag. Not a sticky note. Not a pencil mark. The Evidence Seizure Tag (Form 3-487). It’s made of Tyvek-weatherproof, tear-resistant. It has a unique number. That number links to your case file. Write the case number (INV), date, time, location, your name and badge number. If you’re collecting clothing, each item gets its own tag. No exceptions.
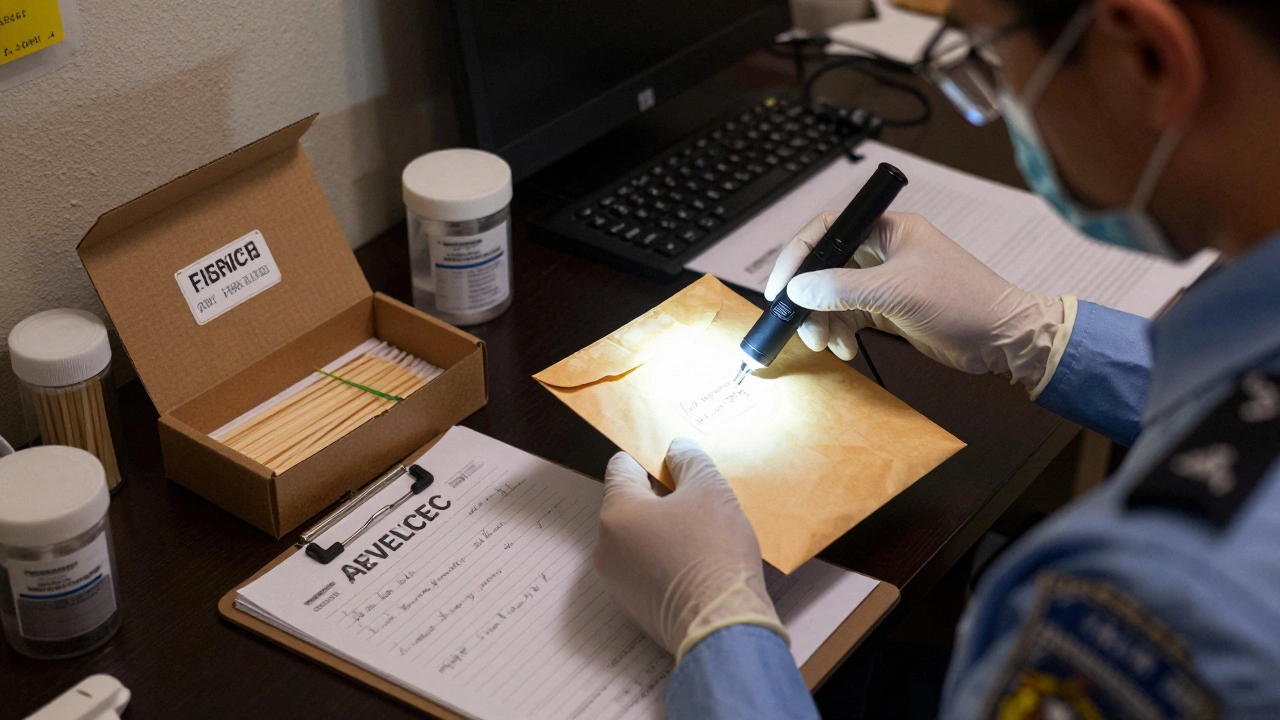
Bagging matters. Paper bags. Not plastic. Plastic traps moisture. Moisture destroys DNA. Blood, hair, saliva-they all degrade in plastic. Paper lets air circulate. It preserves biological evidence. Seal the bag. Tape it. Initial and date across the seal. Do it in front of another officer if possible. That’s not bureaucracy-it’s your protection.
For trace evidence-glass shards, fibers, paint chips-use separate envelopes. Don’t toss them all into one bag. A single fiber from a suspect’s jacket can be the difference between conviction and acquittal. If you mix samples, you risk contamination. And contamination means the evidence is useless.
Biological samples? Swabs go in cardboard boxes, not plastic tubes. Hair goes in a paper envelope. Clothing? Dry it first. Wet fabric breeds mold. Washed or stained? Document it. Note the location of every tear, every stain. Take photos before bagging. Label each garment with the victim’s name, date, time, and your initials. Never put two items in the same bag unless they’re from the same person and you’ve documented why.
Chain of Custody: The Invisible Thread That Holds Cases Together
Here’s the hard truth: if you can’t prove who handled the evidence and when, it doesn’t matter how solid your case is. The court will throw it out. That’s why chain of custody isn’t optional. It’s the backbone of every investigation.
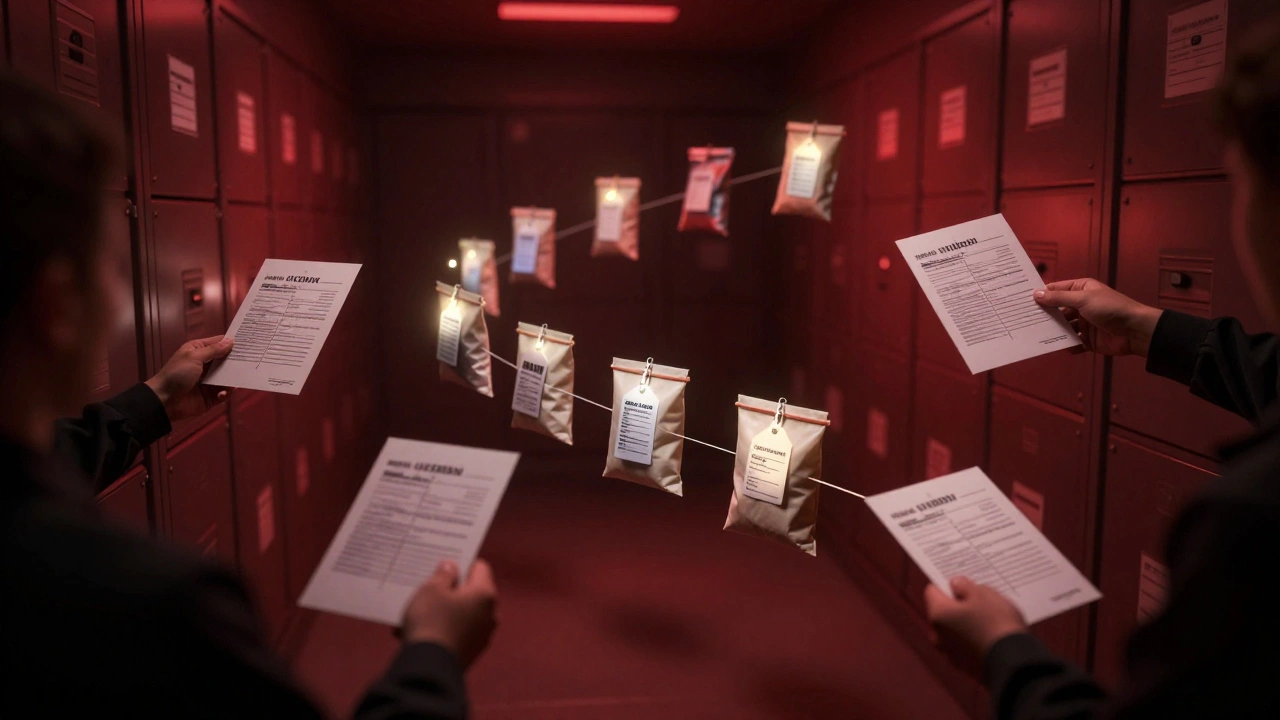
Every transfer must be recorded. When you hand evidence to the evidence clerk, sign the Chain-of-Custody Record (Form 3-2063). When the lab receives it, they sign. When it goes to the prosecutor, they sign. Every single time. No exceptions. Even if you’re just moving it from your trunk to the storage room. Write the date, time, your name, badge number, and reason for transfer. If you split a group of items-say, three blood vials-you document each one separately. No shortcuts.
According to the Journal of Forensic Sciences, cases with complete chain-of-custody records had a 30% higher rate of evidence admissibility. That’s not a suggestion. That’s a statistic backed by real court outcomes. If you skip a signature, you’re not just risking your case-you’re risking public trust in the system.
Storage logs must match. Incoming: date, time, location, evidence description using tag numbers. Outgoing: same details, plus who received it. If all items from a log entry are being moved out, write: "All Items from Log Entry #12456." Don’t guess. Don’t summarize. Be exact.
Documentation: Your Notes Are Your Testimony
Your field notes aren’t just reminders. They’re sworn statements. When you write "Suspect’s left shoe had red fibers," that’s evidence. If you don’t write it down, the defense will say you made it up.
Use the Evidence Collection Notes (Form 3-2070). It’s designed for field use. Fill it out at the scene. Include the case number, time of collection, location, item description, and tag number. If you collect more than five items, attach the Located Evidence List (Form 3-2069). Don’t rely on memory. Don’t scribble on a napkin. Use the forms. They exist for a reason.
Include everything. The weather. The lighting. The condition of the suspect’s clothing. The smell in the room. The time you found the weapon. The fact that the victim’s phone was on silent. These details seem trivial until the defense attorney asks, "Did you check the phone’s last received call?" If you didn’t note it, you can’t prove you looked.
And never, ever write in pencil. Ink fades. Pencil smudges. Use a permanent pen. If you make a mistake, strike it through with a single line, initial it, and write the correction. No white-out. No erasers. No alterations.
Tools of the Trade: What You Need to Get It Right
You don’t need a high-tech lab to collect evidence properly. But you do need the right tools-and you need to use them correctly.
- Cotton-tipped applicators: For swabs. Sterile. Single-use. Never reuse.
- Cardboard swab boxes: Store swabs flat. Never stack them. Moisture builds up. Contamination follows.
- Measuring tape: Always use one. Even if you think the distance is obvious. A foot is a foot. Not "about a foot."
- Latex or nitrile gloves: Change them between items. Even if they look clean. Your skin sheds cells. That’s evidence too.
- Flashlight with UV filter: For bodily fluids. Blood, semen, saliva glow under UV. Don’t miss what’s invisible to the naked eye.
- Evidence bags and envelopes: Paper only. No plastic unless it’s for non-biological items like electronics.
And don’t forget the control sample. If you find paint on a victim’s shirt from a hit-and-run, take a sample from a part of the suspect’s car that’s not damaged. That’s your control. It proves the paint on the shirt came from the car-not from somewhere else.
Quality Control: Audits Keep You Honest
Even the best officers make mistakes. That’s why audits matter. Every six months, someone from outside your unit should review evidence logs, storage conditions, and documentation. They’re not there to blame you. They’re there to catch errors before they cost a case.
Check for:
- Missing signatures on chain-of-custody forms
- Unlabeled or improperly bagged items
- Photographs without scales or context
- Notes that don’t match evidence tags
Fix the gaps. Update the procedures. Train your team. This isn’t about punishment. It’s about making sure the next case doesn’t fall apart because of a missed signature.
What Happens When You Get It Wrong
Think this doesn’t happen? It does. All the time.
A case in 2023 in Oregon collapsed because a blood sample was stored in a plastic bag. The DNA degraded. The lab couldn’t run the test. The suspect walked.
In another, an officer forgot to initial a sealed envelope. The defense argued the evidence was switched. The jury believed them. Guilty verdict overturned.
These aren’t rare. They’re predictable. And they’re preventable.
Proper evidence collection isn’t about being perfect. It’s about being consistent. Every time. No matter how tired you are. No matter how busy the day is. No matter how obvious the evidence seems.
Because in court, the only thing that matters is what you documented. Not what you remember. Not what you think. What you wrote down. What you sealed. What you signed for.
That’s the standard. That’s the job. And if you do it right, justice follows.
What happens if evidence is collected in plastic instead of paper?
Collecting biological evidence like blood, saliva, or hair in plastic bags causes moisture buildup, which leads to mold growth and DNA degradation. This can render the sample unusable in forensic testing. Courts often exclude such evidence because contamination or degradation undermines reliability. Always use paper bags or envelopes for biological items.
Can I skip the chain of custody if I’m the only one handling the evidence?
No. Even if you collect, store, and transport the evidence yourself, you must still document each step. The chain of custody isn’t about multiple people-it’s about proving the evidence wasn’t altered. A single signature on a form, dated and timed, creates that record. Skipping it invites doubt, and in court, doubt means acquittal.
Why do I need to take photos before moving evidence?
Photos document the scene exactly as you found it. Once evidence is moved, the context is lost. A gun on the floor looks different than a gun in a bag. A blood spatter pattern changes when you step over it. Without photos, you can’t prove where items were originally located, which weakens your entire case.
What’s the difference between a control sample and evidence?
Evidence is the material linked to the crime-like paint from a hit-and-run on a victim’s clothing. A control sample is a comparison sample taken from an uncontaminated area-like paint from a part of the suspect’s car far from the impact zone. The control helps forensic experts confirm the evidence sample didn’t come from elsewhere, making your findings more credible.
How do I handle wet clothing from a crime scene?
Never bag wet clothing. Let it air-dry in a clean, secure area away from direct sunlight. Once dry, place each garment in a separate paper bag. Label each with the victim’s name, date, time, and your initials. Document any stains or tears before bagging. Wet fabric can destroy DNA and cause cross-contamination if multiple items are stored together.
Proper evidence collection is the quiet, unglamorous work that keeps the justice system from collapsing. It’s not about flashy tech or dramatic discoveries. It’s about consistency, precision, and discipline. Do it right, every time. Because when the stakes are this high, there’s no room for error.